13.19 Administrating TOA Users (v2.5)
You can define Channel rights for users. They are defined per Channel and are completely independent of any additional users right which might have been defined on the operating system level. When starting a just:live or just:play interface the user sees the login window which allows him to choose the Channel he wants to connect to.
.png?version=1&modificationDate=1507113808243&cacheVersion=1&api=v2)
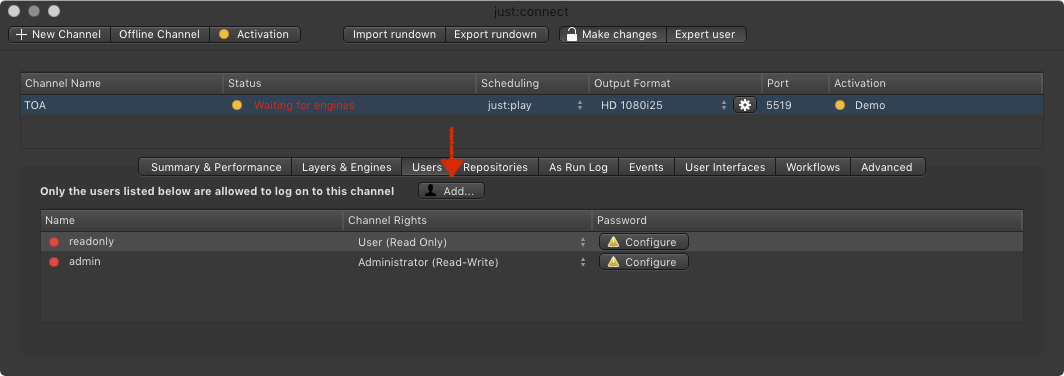
Adding a User
- Select the Channel in the Channel View.
- Go to the Users tab.
- Click the Add… button to add a new user.
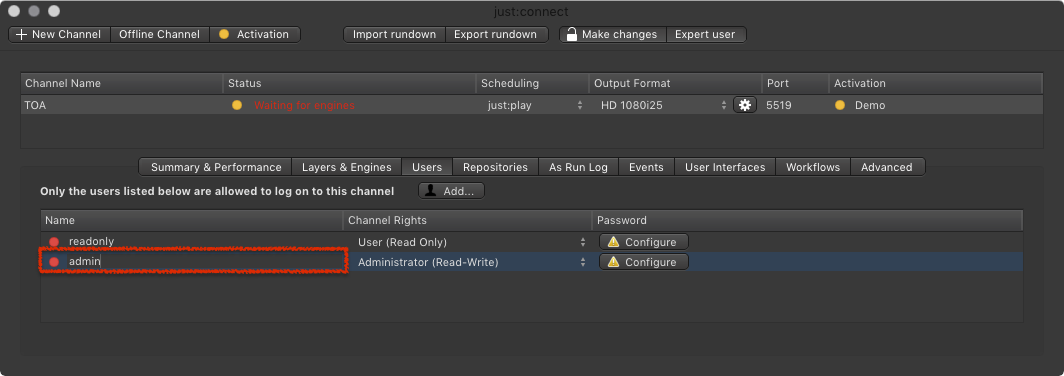
Removing a User
- Select the Channel in the Channel View.
- Go to the Users tab.
- Click on the User you would like to remove.
- Press the backspace key.
- Accept the warning dialog to remove the User. This cannot be undone.
Changing the Name of an existing User
- Select the Channel in the Channel View.
- Go to the Users tab.
Double click on the name of the user you want to change.
When the user's name is highlighted enter the new name of the user and press the return key when you are done.
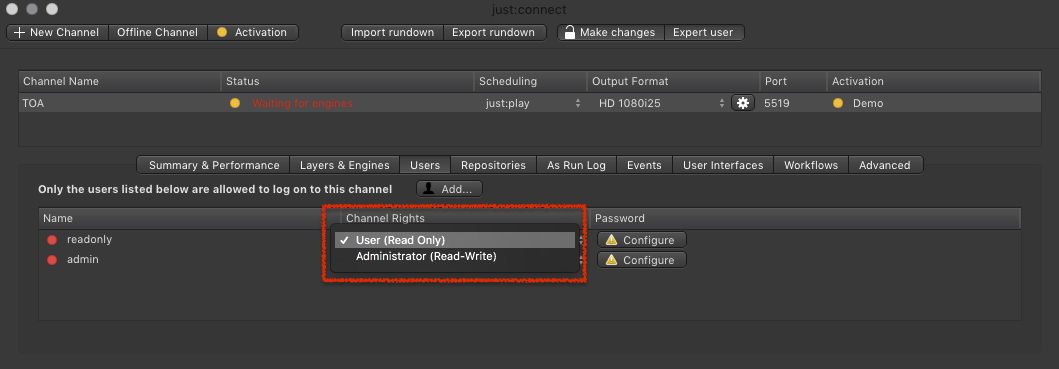
Changing the Rights of an existing User
A user can have Read and Write (Administrator), Read Only (User) rights or no access to the Channel (if the log in name is not defined in just:connect).
- Select the Channel in the Channel View.
Go to the Users tab.
In the Channel Rights column choose the right you would like to use for the particular user.
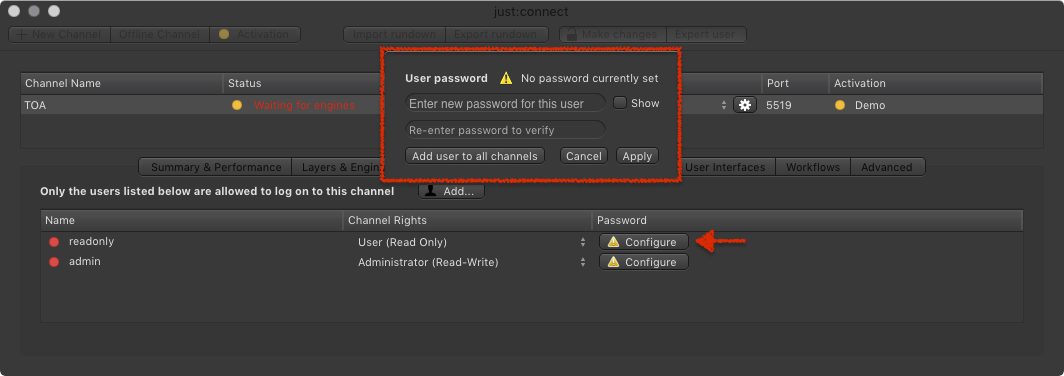
Changing a User Password
- Select the Channel in the Channel View.
Go to the Users tab.
Click on the Configure button of the particular user.
- Enter a password and click the Apply button when you are done.
Optional: Using the Add user to all Channels will add the user (including the password) to all Channels defined in this just:connect.
Using the Channel Wizard a user with the name Administrator (with Read/Write access) is generated automatically. This user can be handled like described in this chapter.