Managing Channel Views (just:in v3.5)
The just:in User Interface allows you to control multiple Channels at a time. The Main Window can be splitted, arranged and and joined to fit your needs. This chapter explains how to use the Split & Join functionality of just:in.
Table of Contents
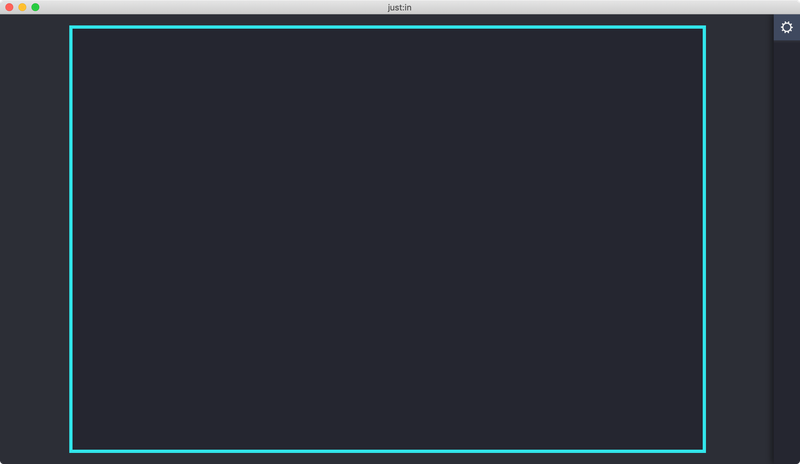
Single Channel View
When opening just:in for the first time it will present a single Channel View. Basically you can connect to one Channel now. It's possible to display multiple Channels at once by using the Split & Join functionality of just:in. Follow the steps below to learn how.
Splitting a Channel View
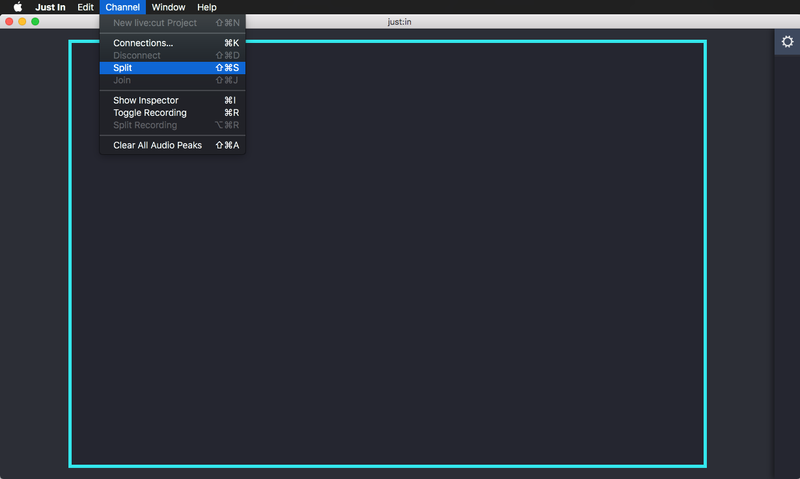
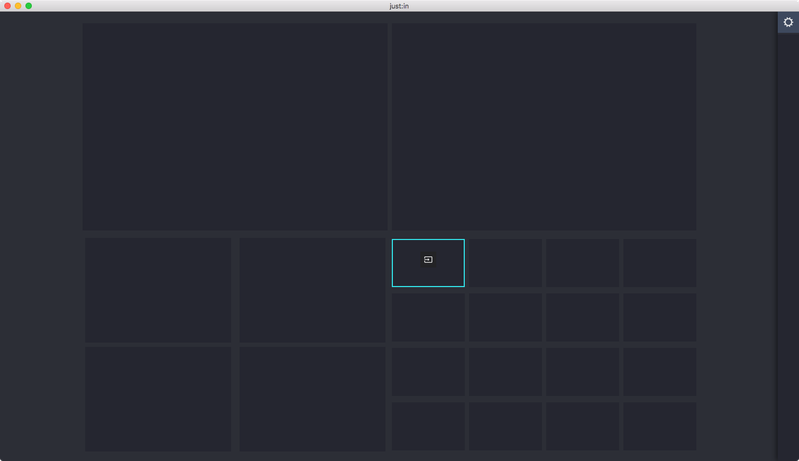
- Select the View by clicking it once, the border will turn turquoise. Make sure you don't click the button in the middle.
- Select the menu command Channel → Split or use the shortcut shift + command + S.
- Four Channel Views are now displayed. You can connect each Channel View to a Channel as described in the previous chapters.
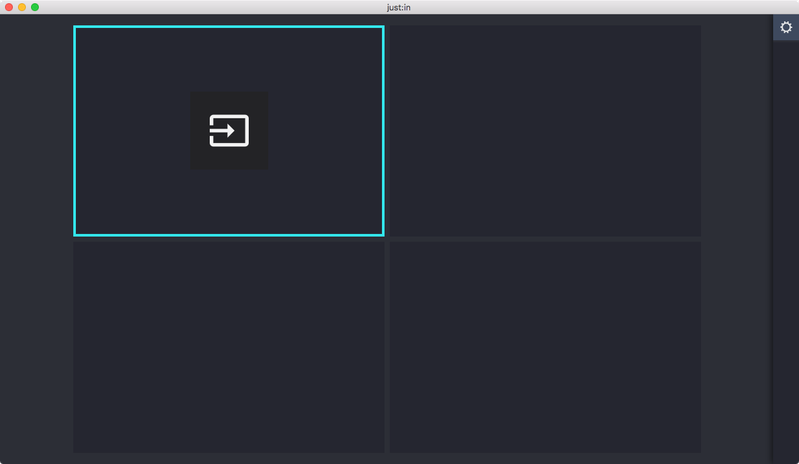
You may repeat these steps for each Channel View to create further Views.
The maximum number of possible Channel Views is 64. Each Channel View has a minimum size. Your screen resolution and/or just:in User Interface window size may limit the number of possible Channel Views.
Joining a Channel View
Joining Channel Views is only possible when all respective Channel Views are disconnected from a Channel.
- Select a Channel View by clicking it once, the border will turn turquoise. Make sure you don't click the button in the middle.
- Select the menu command Channel → Join or use the shortcut shift + command + J.
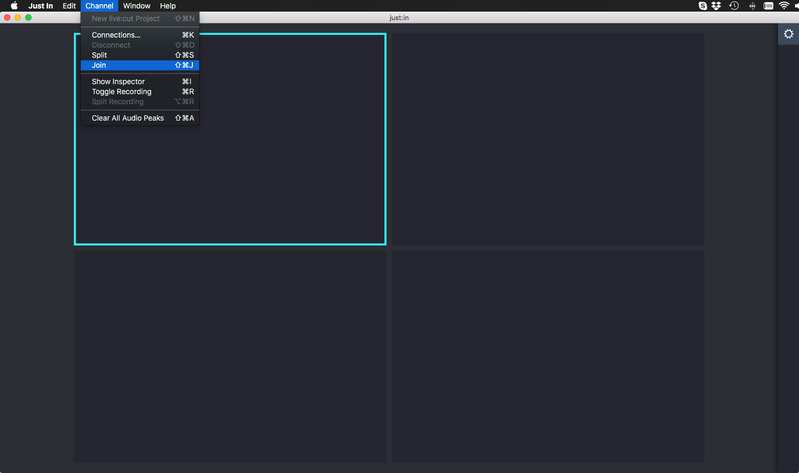
The previously available four Channel Views have been reduced to one Channel View.

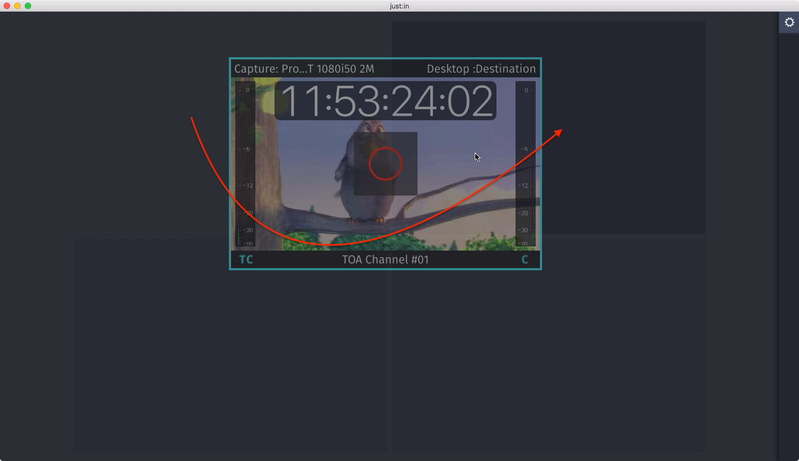
Moving Channel Views
- Make sure you have more than one Channel View.
- Drag the desired Channel View and drop it onto another Channel View. You may drop it onto a disconnected Channel View or a connected Channel View. The Channel Views will then be interchanged accordingly.