The just:in User Interface allows you to control multiple Channels at a time. The Main Window can be splitted, arranged and and joined to fit your needs. This chapter explains how to use the Split & Join functionality of just:in.
Table of Contents
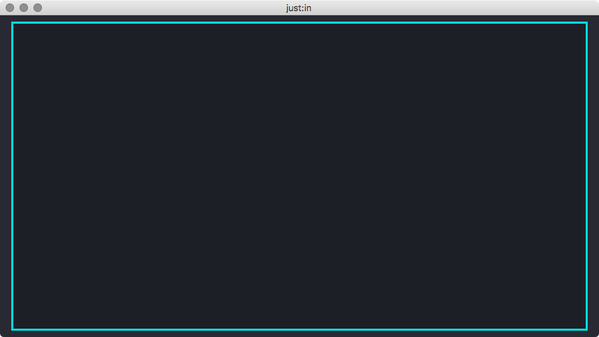
Single View
When opening just:in for the first time it will present a single View. Basically you can connect to one Channel now. It's possible to display multiple Channels at once by using the Split & Join functionality of just:in.
Splitting a View
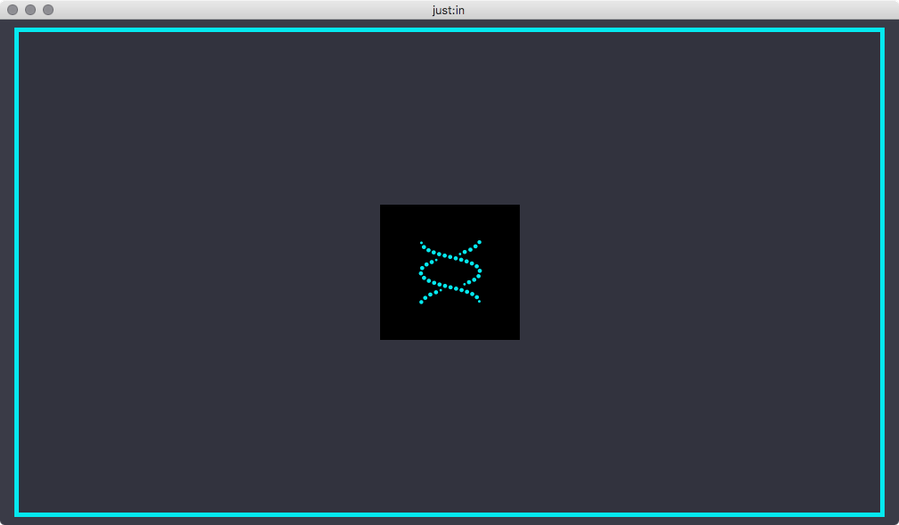
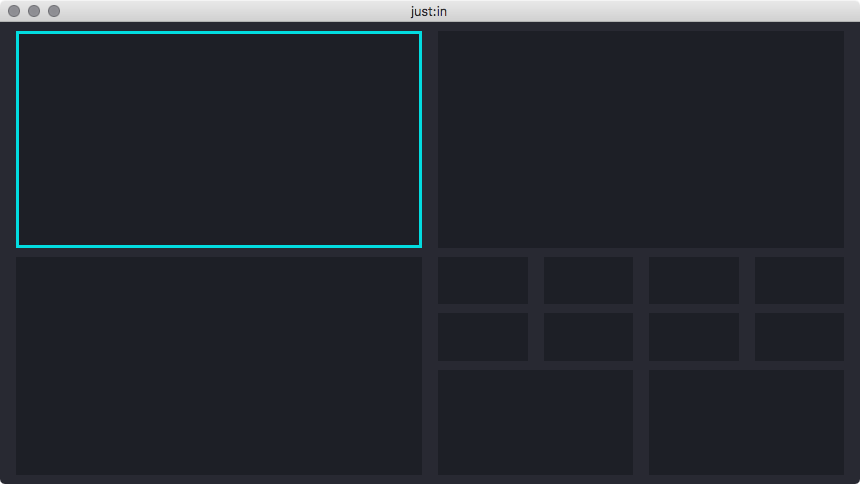
- Select the View by clicking it once, the border will turn turquoise. Make sure you don't click the button in the middle.
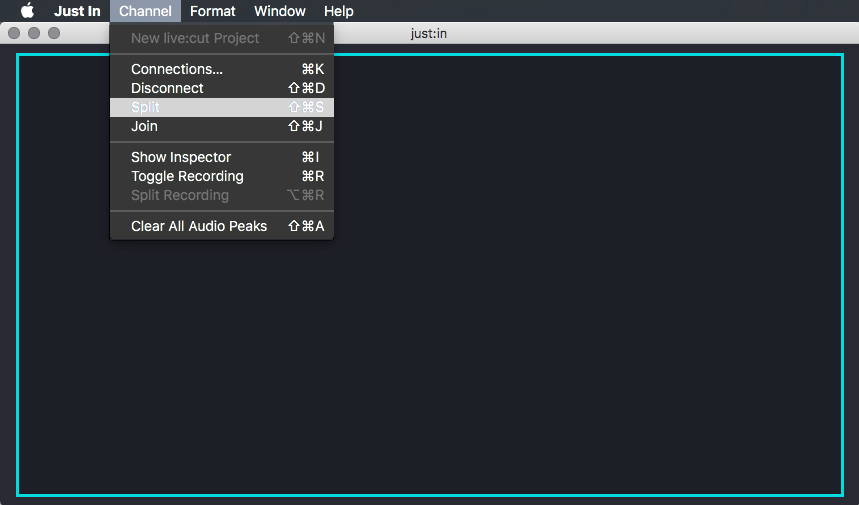
- Select the menu command Channel → Split or use the shortcut shift + command + S.
- Four views are now displayed. You can connect each View to a Channel as described in the previous chapters.
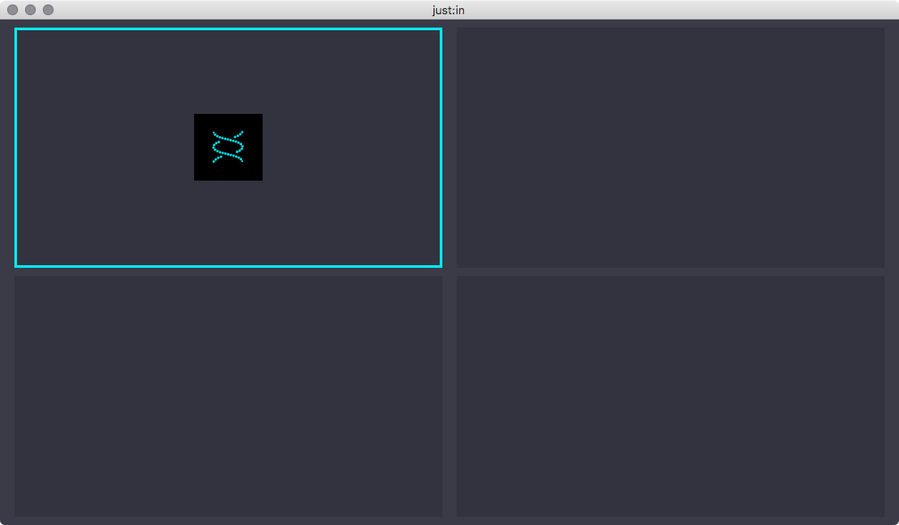
You may repeat these steps for each View to create further Views.
Each Channel Viewer has a minimum pixel size. Splitting an existing Channel Viewer is not possible if the resulting 4 new Viewers would be smaller than 201x111 pixels each.
Joining a View
- Select a View by clicking it once, the border will turn turquoise. Make sure you don't click the button in the middle.
- Select the menu command Channel → Join or use the shortcut shift, command + J.
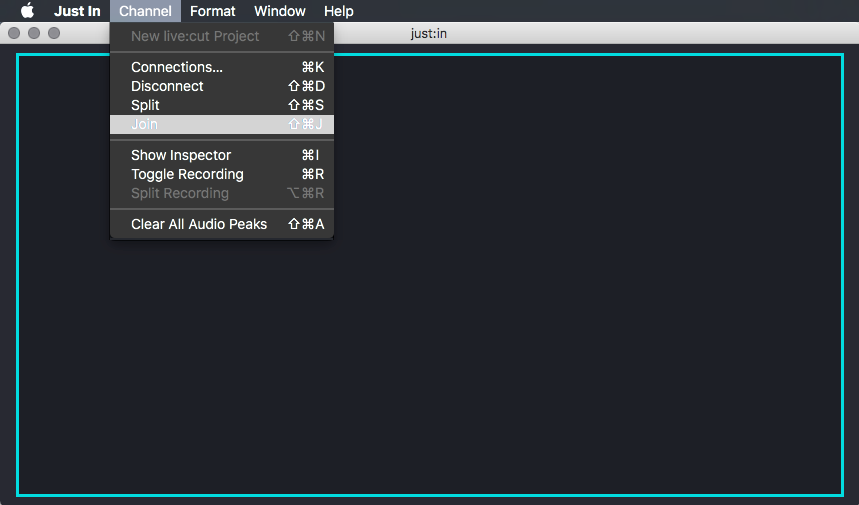
There's only one View now.

It is not possible to join Views which would result in a connected Channel becoming unavailable. Select the connected Channel of the quadrant you would like to join, otherwise the join will not work.
Moving Views
Drag and drop the View of a connected Channel to move it to another position.
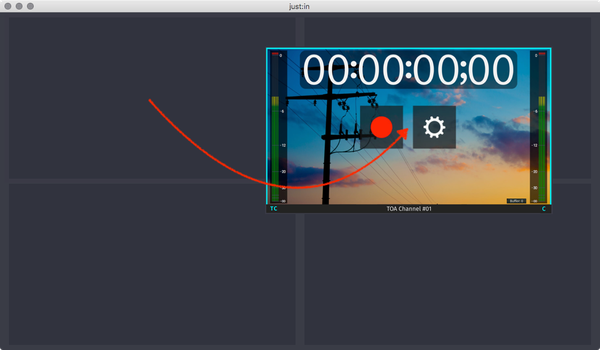
- Drag and drop a preview area of a connected Channel onto another View of a connected Channel to interchange them.
- It is not possible to Drag and Drop a Viewer, in case there is no Channel connected to that Viewer.
- It is also possible to reorder channels, even though the inspector is open.