This chapter describes the initial and basic setup of just:in Engine and the just:in user interface.
Start just:in Engine
- Make sure just:in has been installed properly as described in the chapter Installation & Upgrade (just:in v3.0).
- Got to the Applications folder.
- Start Just In Engine. The operating system may display a window which says Verifying "Just In Engine".

- When the verification process is done another dialog may appear. Press the Open button. This dialog will only appear once.

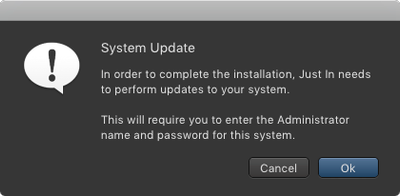
- Accept the system update dialog to continue.
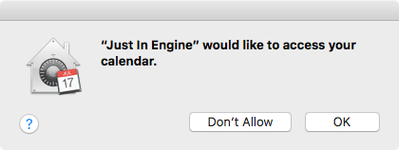
- Allow just:in Engine to access the Calendar (this is required for Scheduled Recording).
- just:in Engine will launch and display the Preferences window.
- Unlock the Preferences in the lower left corner.
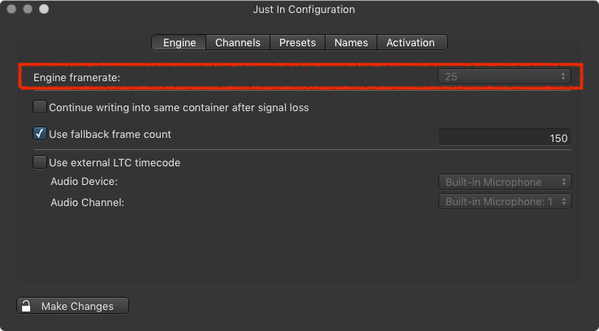
- Engine tab. Select the desired framerate in the Engine tab.
Channels tab: Configure at least the Video Mode and the Audio Bitrate of the desired Channels.
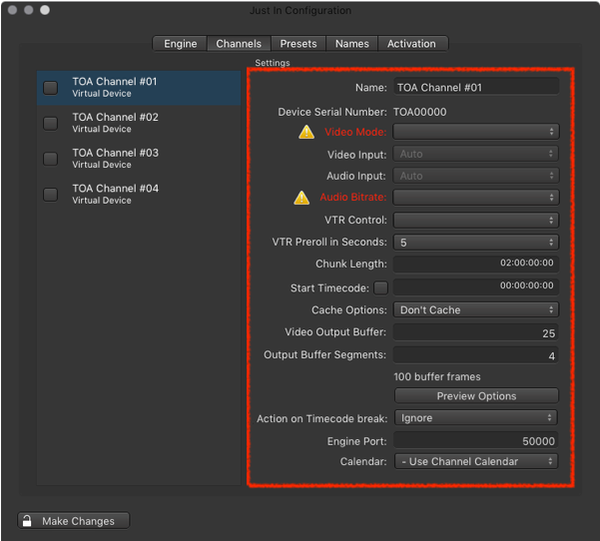
Depending on the Video device used, the Channels tab may look different.
- Enable the Channel(s) in the Channels tab by clicking the corresponding checkbox in the Channels list.

- The Channel Status window will appear.

Start just:in
- Go to the Applications folder.
- Make sure just:in Engine is running.
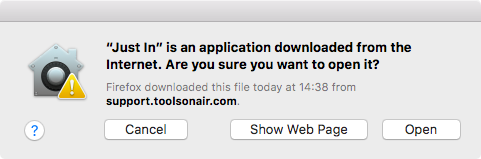
- Open the just:in application. The operating system may display a window which says Verifying "Just In".

- When the verification process is done another dialog may appear. Accept the dialog to launch the app. Both – the verification window and the opening dialog will only show once.
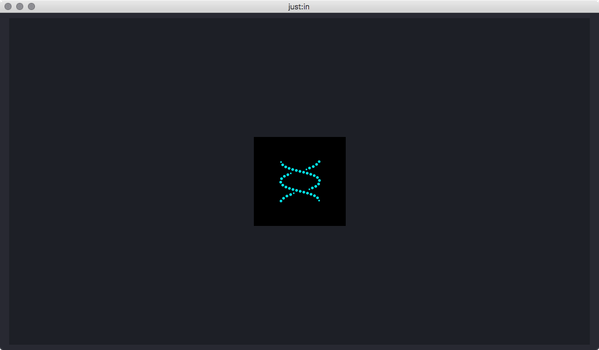
- The just:in main window appears.
- Click the icon in the center to open a connection to a Channel.
- Enter the Channel IP-Address and the Channel Port, then press the Add button. In a test setup (engine and user interface running on the same machine) you may use the following data:
IP-Address: 127.0.0.1
Port: 50000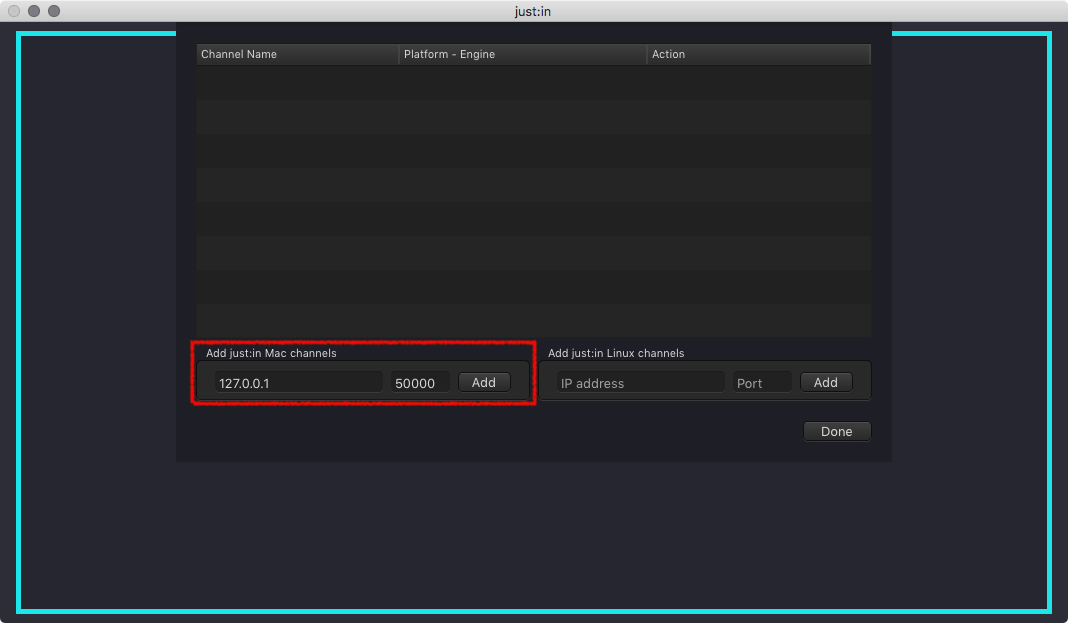
- Press the Connect button to connect to the Channel.
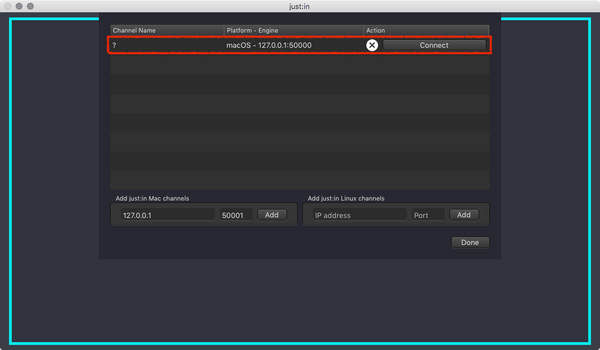
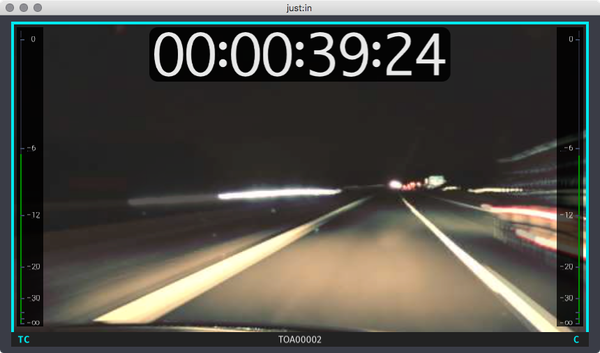
- Upon successful connection just:in displays the Channel Preview.
- Continue with the following chapters of the just:in User Manual.