...
| Table of Contents |
|---|
...
What is Crash Recording?
Crash Recording records Video signals on the fly.
Making a Crash Recording
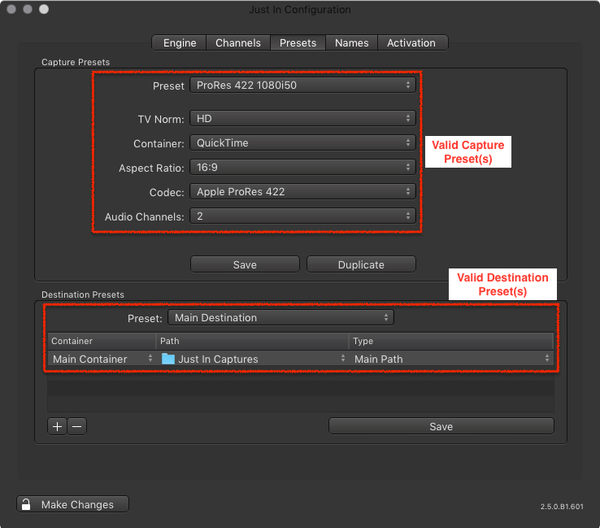
- Make sure to have at least one valid Capture and one valid Destination Preset in just:in Engine.
- Make sure you are connected to a Channel in just:in and select Crash Mode in the desired Channel View.
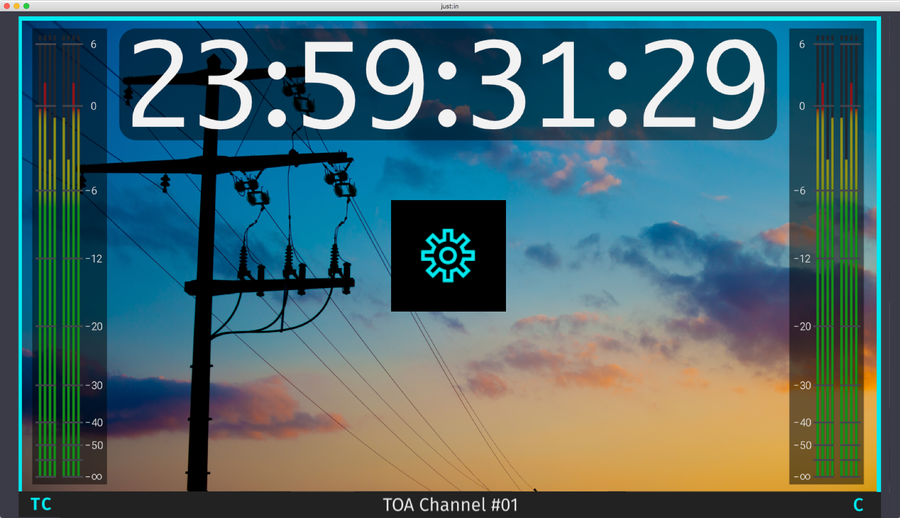
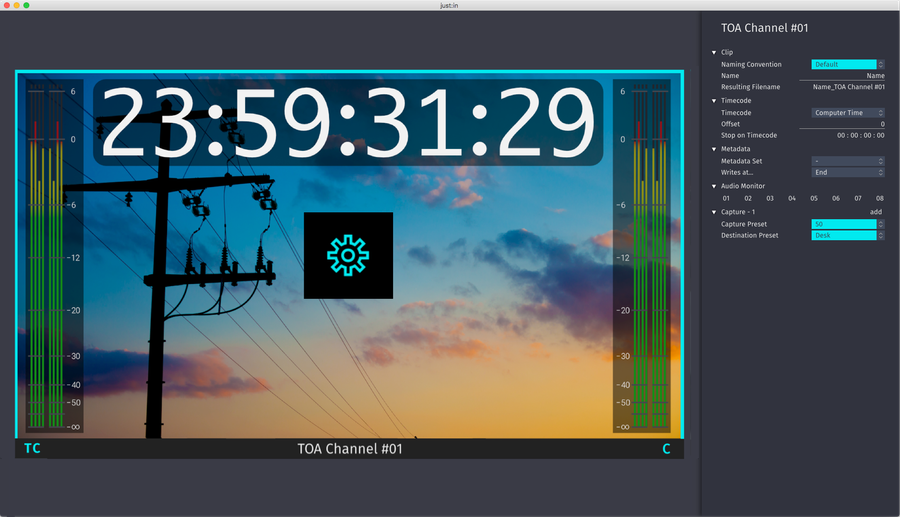
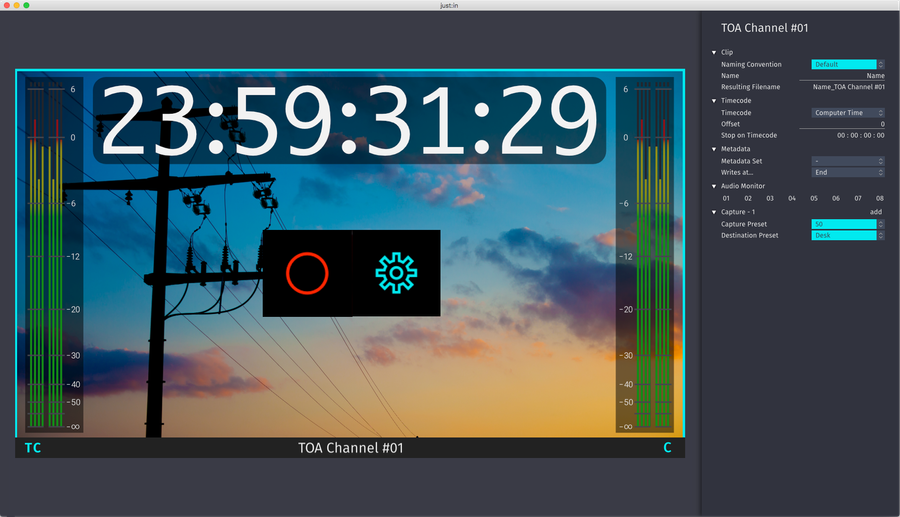
- Click on the sprocket to open the Inspector of the desired Channel.
It is required to select a Naming Preset, a Capture Preset and a Destination Preset. If you wish you may modify the other settings.
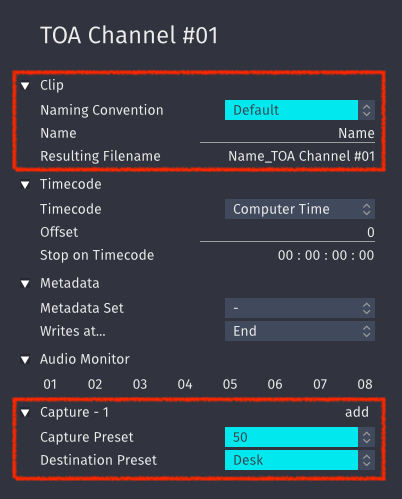
Info - Only Capture Presets which match the incoming video signal will be shown here.
- Select "-" to load a new Naming Convention or a Capture/Destination Preset which has been made recently.
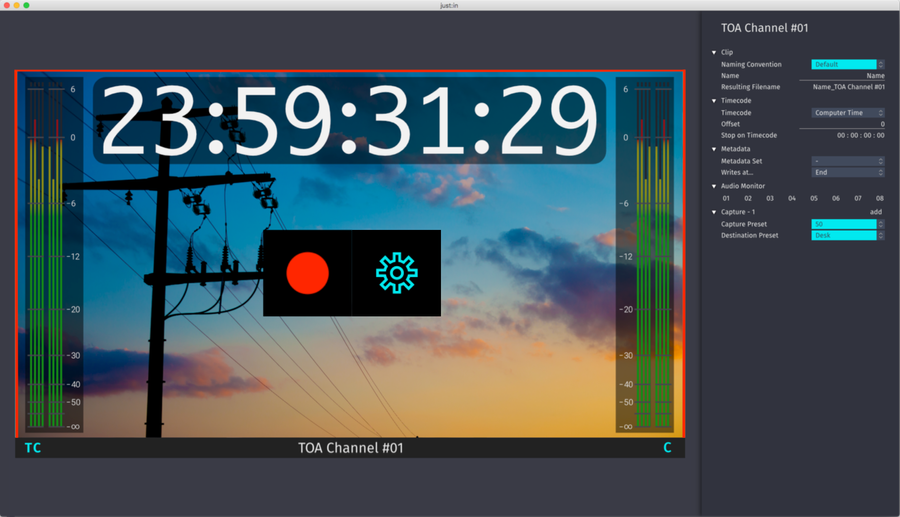
Now hover over the Channel View. Next to the Inspector button there's a Record button. Press the this button to start the Recording (shortcut: command +R).
Info If the Record button does not show up, verify your Capture and Destination Presets in just:in Engine and that you have selected one here in the Inspector.
- The border of the recording Channel will continuously change colors from turquoise to red, indicating that there is a Recording in progress.
Splitting Clips while Recording
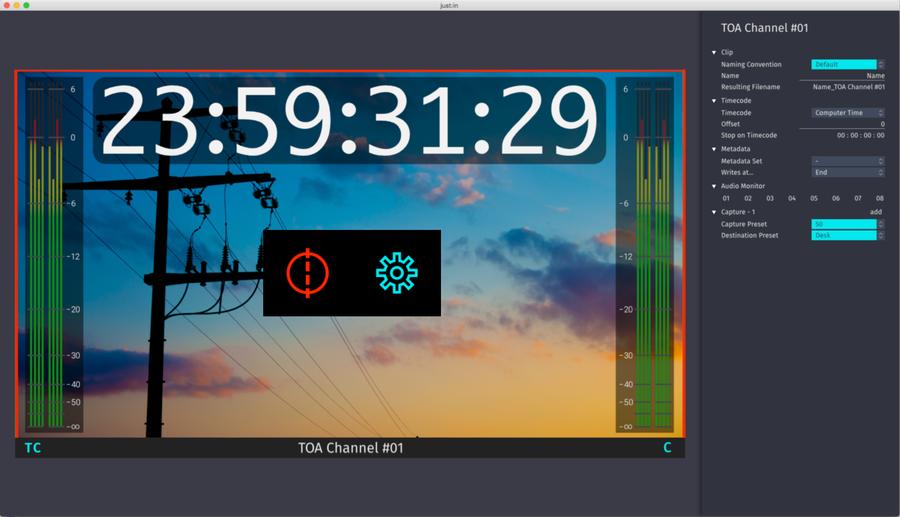
- While recording you can hold the option key and press the Record button to split the recording.
End-of-Recording based on Timecode
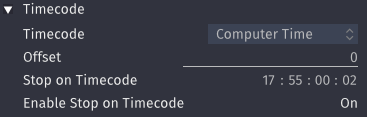
While recording you can enter a Timecode that is in the future to automatically stop a Recording on that given Timecode.
- Start a Recording.
- Open the Inspector.
- In the Timecode area enter a valid Timecode. Press the enter key afterwards.
- Switch Enable Stop on Timecode from Off to On.
- Click the Record button to enable the Stop on Timecode feature.
Stop a Recording
To stop the Recording, click the Record button again. The recorded clip will be available in the filesystem.
| Info |
|---|
Double click on Destination Preset in the Inspector to navigate to the folder where the clip is saved.
|
Concurrent Capturing
You may do multiple Recordings of a single video source at the same time to the same or multiple destinations. This feature is limited by the hardware specs of the machine running just:in Engine.
| Warning |
|---|
We strongly recommend to do thorough testing before using this feature in a live event. |
Adding Captures
- Open the Inspector of the desired Channel.
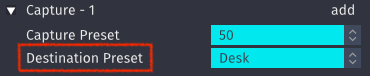
- At the bottom of the Inspector you may add Captures by pressing the Add button.
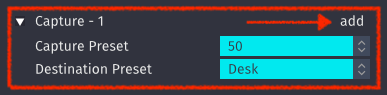
- Select a Capture Preset and Destination Preset for each Capture.
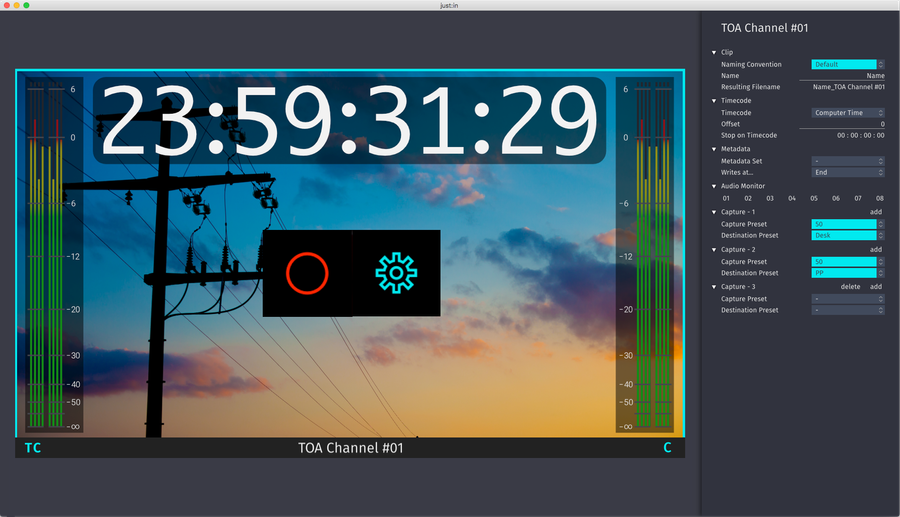
- Now you can press the Record button in the Channel view to start the Recordings
...