Before starting with live:cut, it is recommended to read just:in mac v3.0 Getting Started. As soon as two or more channels are connected to the interface, a simple live:cut setup can be started.
Table of Contents
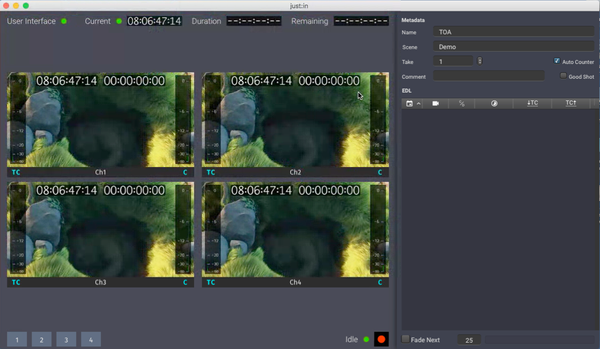
Open Application
With v3.0, live:cut is completely integrated into just:in and there is no separate application required for using live:cut. To start live:cut simply open the just:in UI application.
It is expected that the UI is already connected to running channels, either just:in mac or just:in linux channels. If that is not the case, go back to just:in mac v3.0 Getting Started.
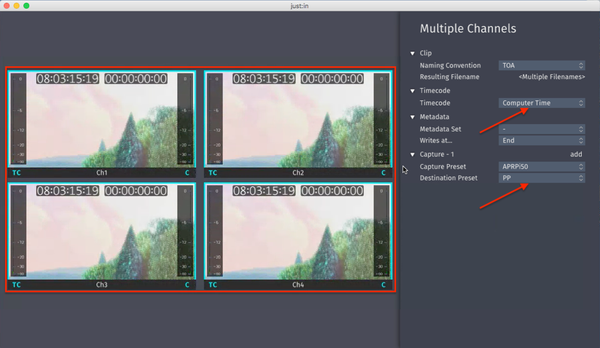
Changing Settings
Then select the channels, which will be used for live:cut, open the Inspector and adjust the settings, like Timecode Source and Capture- and Destination-Presets.
Starting a live:cut Project
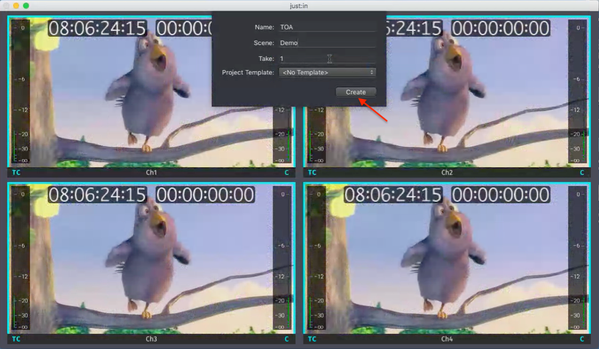
Start a live:cut project via the Channel menu (Start live:cut Project). If all settings are correct, a new window will appear with first naming and project options. When pressing the Create-Button here the live:cut interface appears.
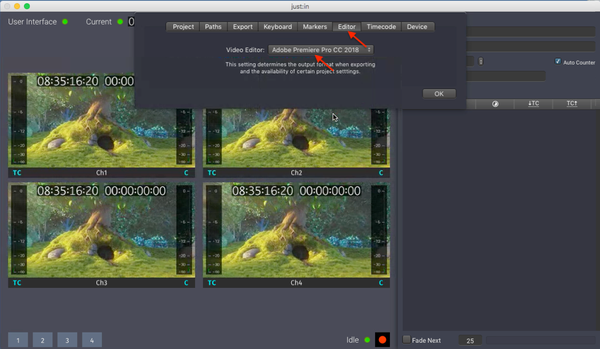
Change Project Settings
Then open the Project Settings (Projects-Menu - Settings) and change the Highres Media Path (Paths-Tab), the Highres Directory for the XML (Paths-Tab) and the Video-Editor (Editor-Tab) to get started.

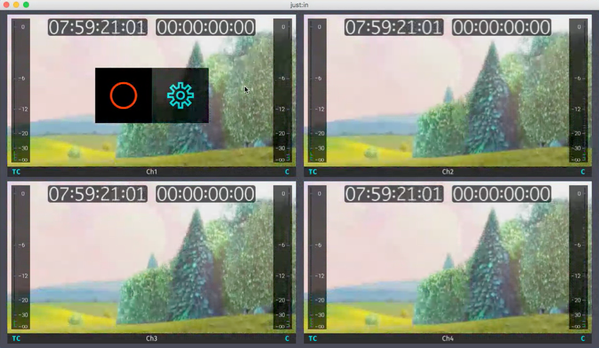
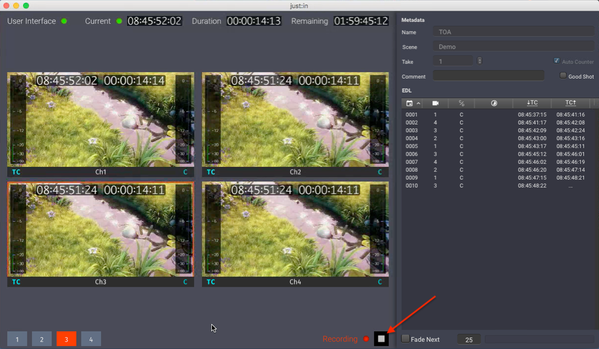
Start Recording
Now everything is prepared for recording. Press the Recoding-Button and the channel will start to record.
Open Multicam-XML
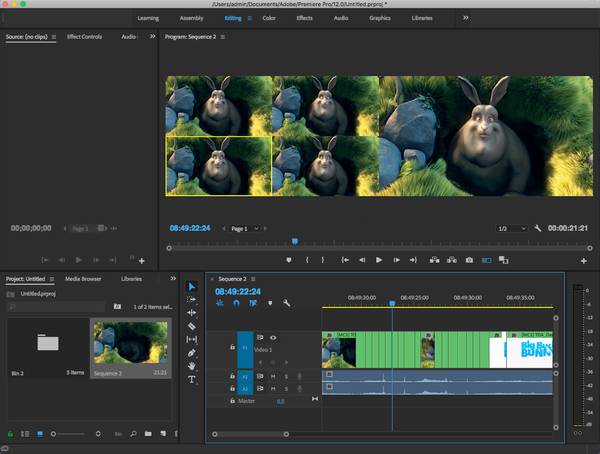
When the recording is finished, live:cut generates a multicam-xml for the selected video editor, which can then be imported and used.