| Warning |
|---|
Starting with version 3.0 live:cut is completely integrated into just:in. There is no separate live:cut application anymore. |
| Note |
|---|
Before starting with live:cut, it is recommended to read just:in mac v3.0 Getting Started. As soon as two or more channels Channels are connected to the interface just:in User Interface, a simple live:cut setup can be started. |
Table of Contents
Table of Contents
Open Application
With v3.0, live:cut is completely integrated into just:in and there is no separate application required for using live:cut. To start live:cut simply open the just:in UI application.
...
1. Preparing live:cut
| Note |
|---|
We assume that the just:in User Interface is already connected to running Channels. If this is not the case please refer to just:in mac v3.0 Getting Started. |
Changing Settings
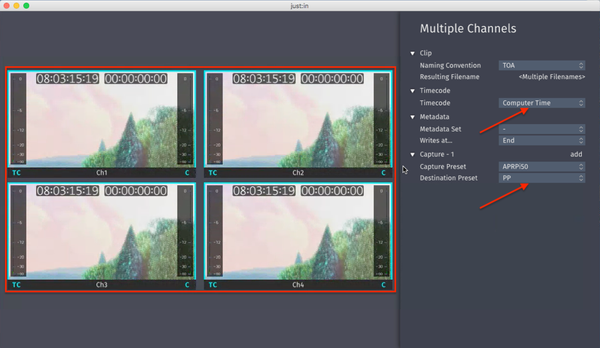
Then select the channels, which will be used for live:cut, open the Inspector and adjust the settings, like Timecode Source and Capture- and Destination-Presets.
. |
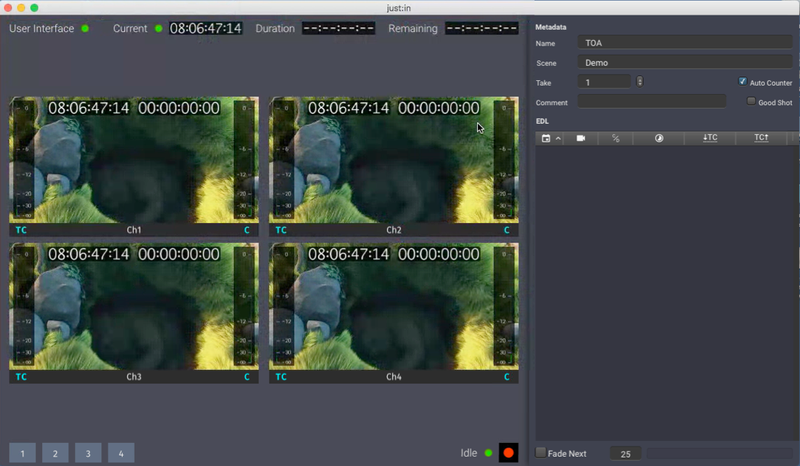
- Go to the Applications folder and start just:in.
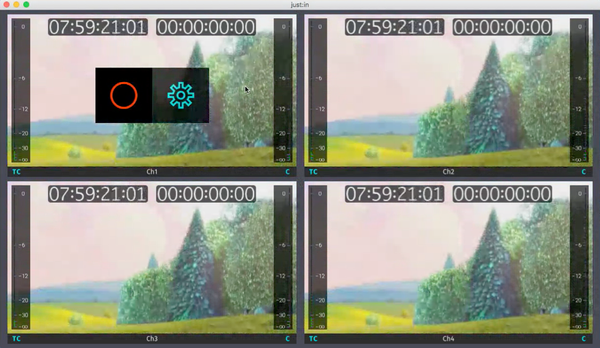
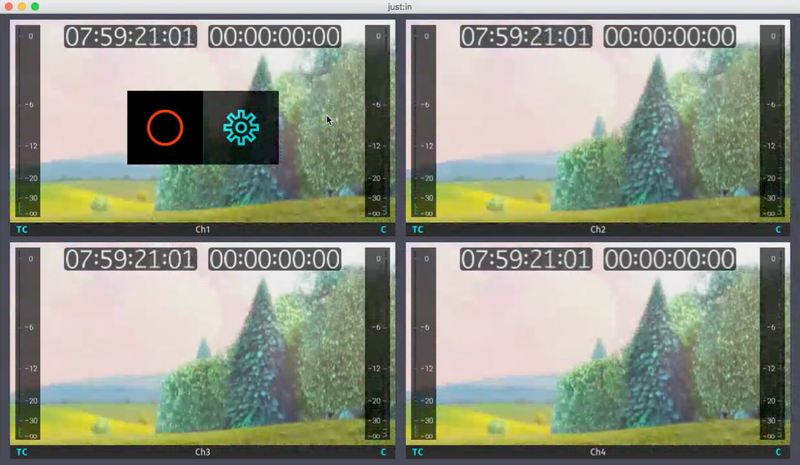
- just:in may look similar to this screenshot. Make sure you have at least two working Channels.
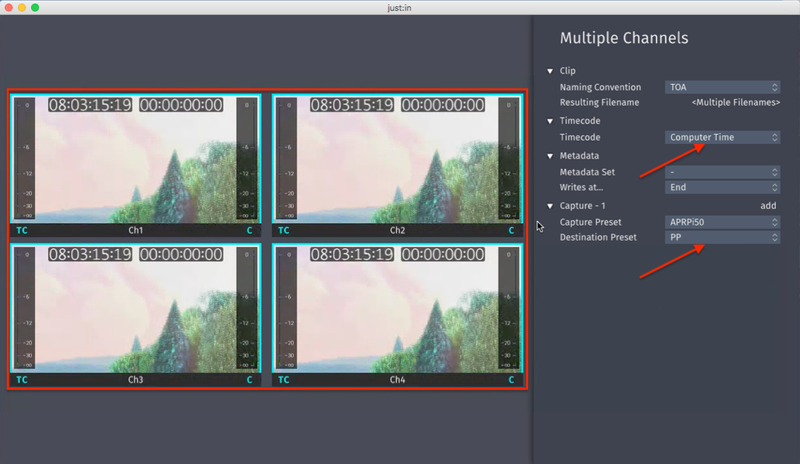
2. Synchronizing the Channel Settings
- Select the Channels you want to use in live:cut.
- Open the Inspector. Make sure it reads Multiple Channels at the top.
- Select a Timecode Source, Capture Preset and Destination Preset.
3. Starting a live:cut Project
...
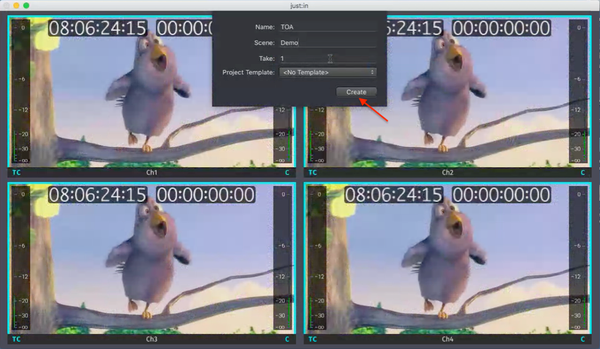
- Go to the menu Channel → New live:cut Project
...
- .
- If all settings are correct
...
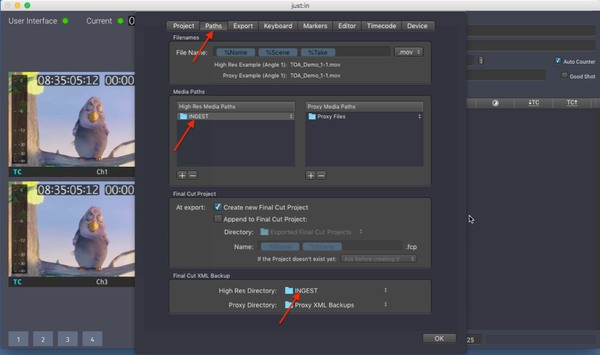
Change Project Settings
Then open the Project Settings (Projects-Menu - Settings) and change the Highres Media Path (Paths-Tab), the Highres Directory for the XML (Paths-Tab) and the Video-Editor (Editor-Tab) to get started.

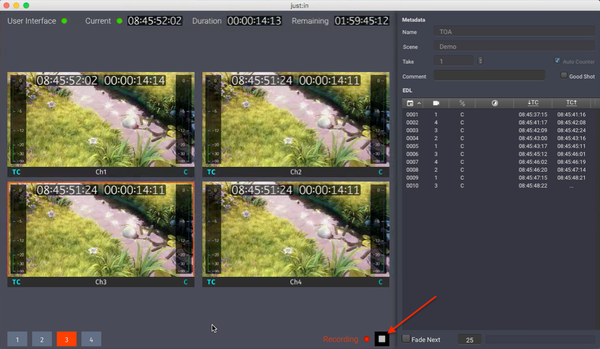
Start Recording
Now everything is prepared for recording. Press the Recoding-Button and the channel will start to record.
Open Multicam-XML
...
- you will be prompted to enter your Project details.
- Press the Create button when you are done.

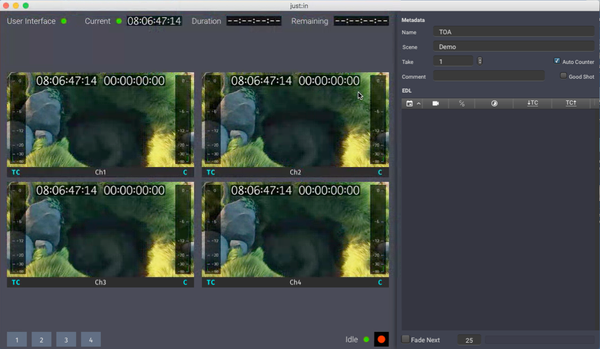
- The live:cut User Interface appears.
4. Further Project Settings Configuration
- Go to the menu Projects → Settings.
- Click on the Paths tab.
- Define a High Res Media Path and a High Res Directory for the Final Cut XML Backup.

- Click on the Editor tab.
- Select a Video Editor of your choice.
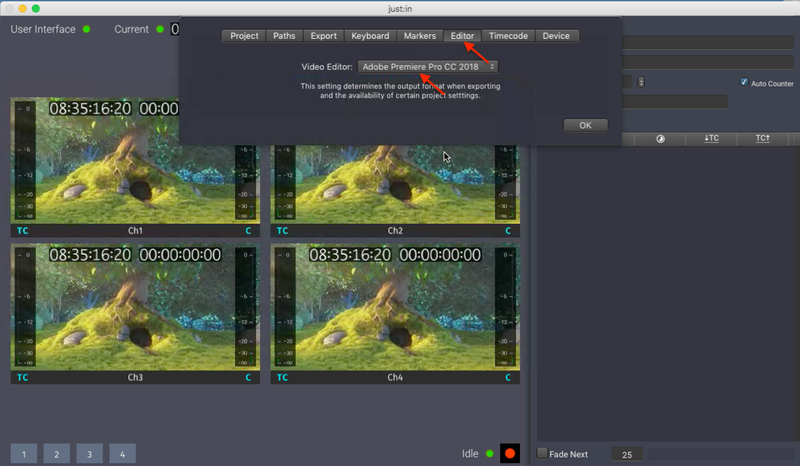
- Press the OK button to close the Project settings.
5. Doing a Multicam Recording
- Press the Record button.
- You may now switch between Channels and enter metadata. As you can see the EDL updates accordingly.
- When you are done press the Stop button.
6. Open the generated Multicam XML
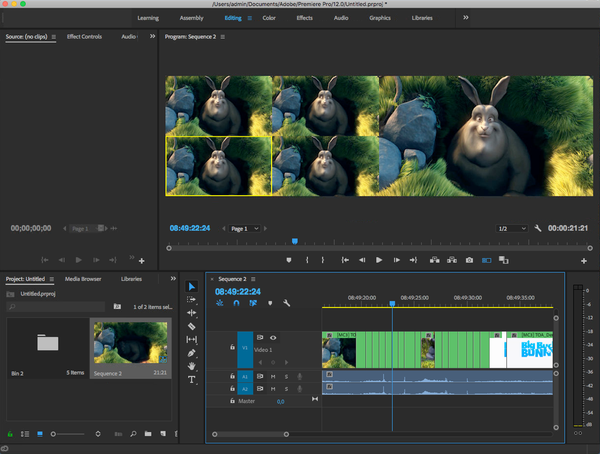
After the recording has finished live:cut generates a multicam XML for the selected Video Editor. You may now use this XML in your NLE.