6.3 Working with the Workbench (v2.5)
Adding Elements to the Workbench
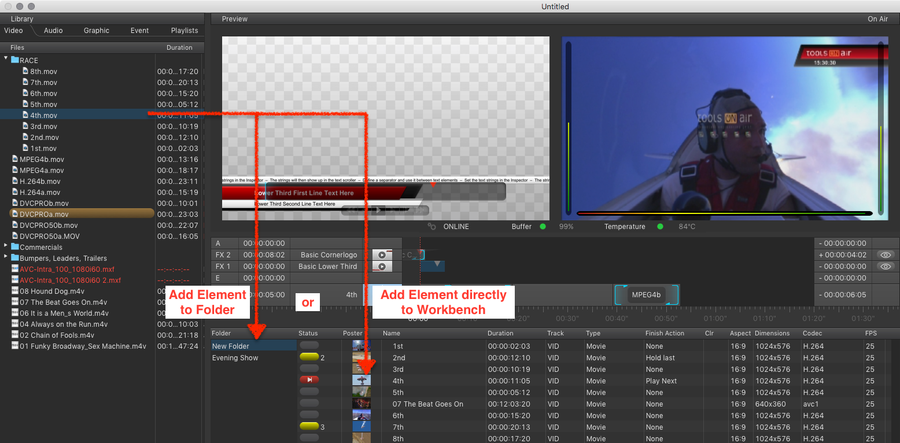
In order to play out Videos, Audio files, Graphics or to send GPI/Router commands you first have to load them from the Library into the Workbench – as demonstrated in this figure.
- Drag and drop or double click an Element in the Library.
- The Element will be added to the currently selected Folder and is available for immediate usage.
- Load the Element(s) into the Timeline (explained later).
In case there is no Element playing out at the selected Layer, the Playout of an Element can also be started directly from the Workbench. Please see chapter Loading, Cueing and Playing Elements for further information.
Duplicating Elements in the Workbench
Sometimes it is useful to duplicate Elements in the Workbench. Example: a lower third should be played out several times but each time with a different name.
- Click on the Element you want to duplicate.
- Press command + c.
- Press command + v.
- Repeat the previous step if required.
- If required, adjust the attributes of the duplicates in the Inspector.
Multiselection of Elements in the Workbench
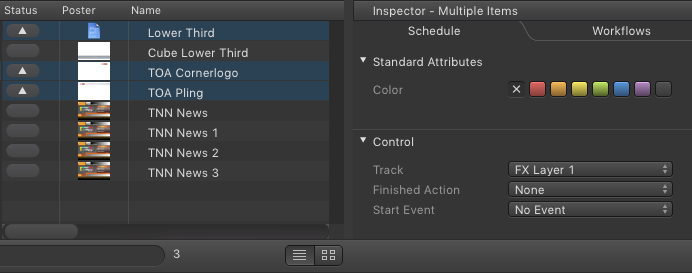
Sometimes it is useful to change the same attribute of several Elements in the Workbench at the same time. This can be a huge time saver.
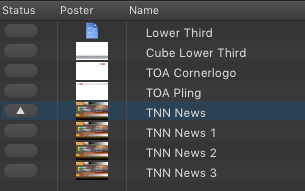
- Select the Elements in the Workbench with your mouse while holding the shift-key (selects a range) or the command-key (adds another Element to the selection).
- The shared attributes will be shown in the Inspector.
- Any change of a shared attribute will be applied to all of the selected Elements.
Removing Elements from the Workbench
- Go to the Workbench.
- Highlight the Element(s) you want to remove.
- Press the backspace-key to remove the selected Element(s).
It is possible to delete Elements which are On Air. Be careful when deleting Elements during a Show.
