13.8 Adding & Removing Layers from a Channel (v2.5)
Adding a Layer
You can add new Video, FX, Event or Audio Layers to an already existing Channel. This is primarily useful during testing to find out how many Layers are needed to do the final playout. Once a Channel is activated using the activation code, the number of Layers will be adjusted automatically.
- Select the Channel in the Channel View to which you would like to add a Layer.
- Click on the Layers & Engines tab in the configuration area.
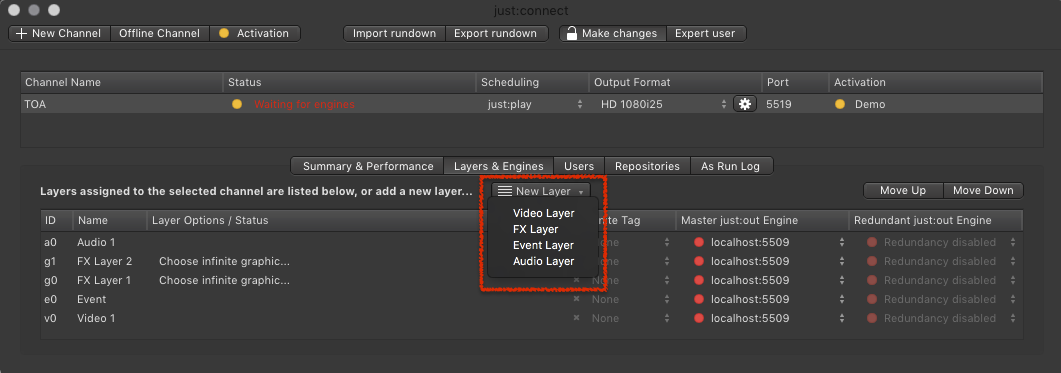
- Click on the New Layer button and select the kind of Layer you would like to add.
- Make sure to assign an engine to the new Layer.
- Restart the just:out engine(s) as well as the connected user interface(s) to see the new Layer there.
Once a just:live/just:play user interface has connected to the Channel, the new Layer is immediately available. Nevertheless all existing Playlists must be remade to take over the new Layer. No new element can be dropped into the new Layer of all existing Playlists.
Removing a Layer
You can remove a Video, FX, Event or Audio Layer from an existing Channel. This is primarily useful during testing to find out how many Layers are needed to do the final playout. Once a Channel is activated using the activation code, the number of Layers will be adjusted automatically.
- Select the Channel from which you would like to remove a Layer.
- Activate the Layers & Engines tab in the configuration area.
- Select the Layer you would like to remove.
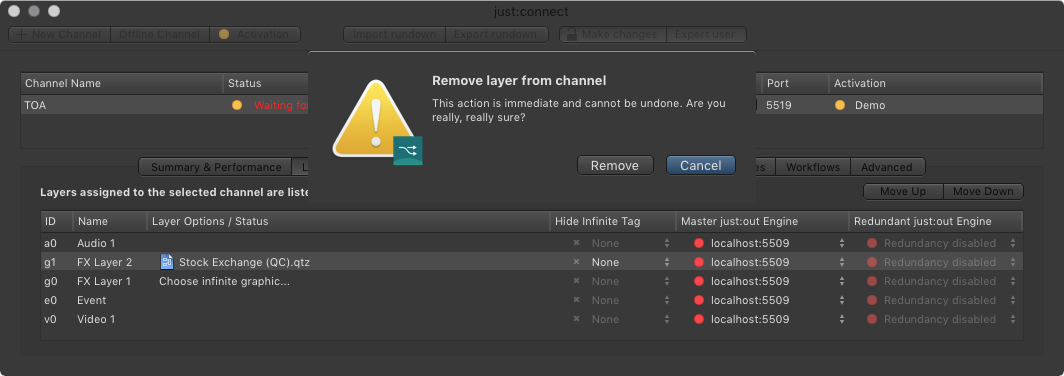
- Press the backspace key.
- A warning window appears. Click on the Remove button to remove the Layer.
- Restart all just:play user interfaces which are connected to this Channel to allow them to reflect the changes.