1. Managing Channels (just:in v3.0)
In this chapter you will learn how to add, connect to, edit and remove Channels in the just:in User Interface.
Table of Contents
What is a Channel?
A Channel is a virtual representation of a single input of your Video Capture Device. Depending on the number of Capture Devices and the number of inputs each device offers, you may configure one or multiple Channels.
Before connecting to a Channel using the just:in User Interface it is mandatory that the Channel is configured and running in just:in Engine. Refer to the just:in Engine Mac or just:in Engine Linux user manual if you have not yet configured the Channel(s).
Adding a Channel
- Open just:in.
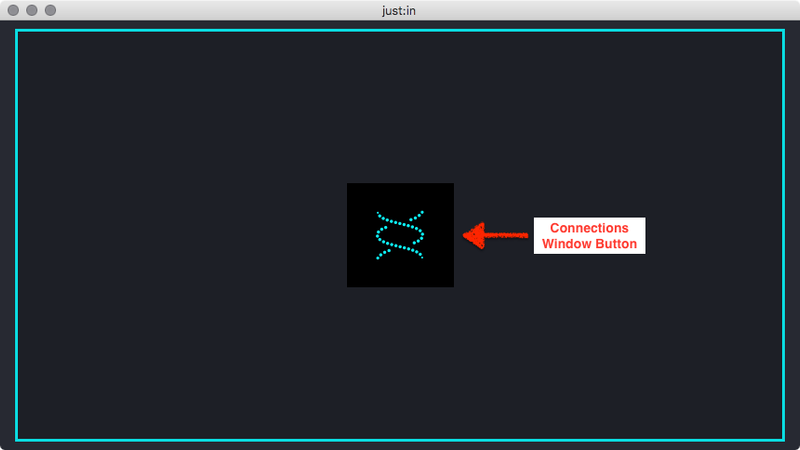
- Open the Connections Window by selecting the menu command Channel → Connections or use the shortcut command + K. You can also click on the Connections Window button while hovering above a Channel View.
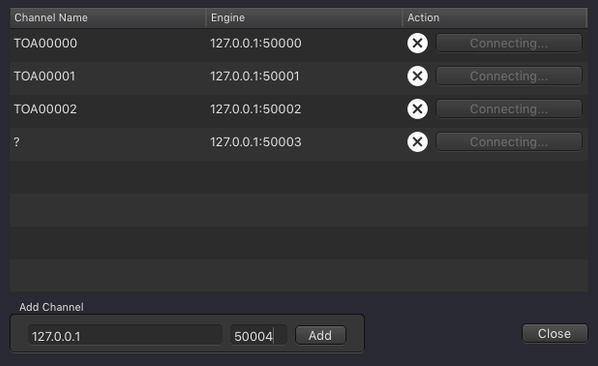
- In the lower area enter the IP Address and the Port of the desired Mac- or Linux-Channel. Press the Add button afterwards.
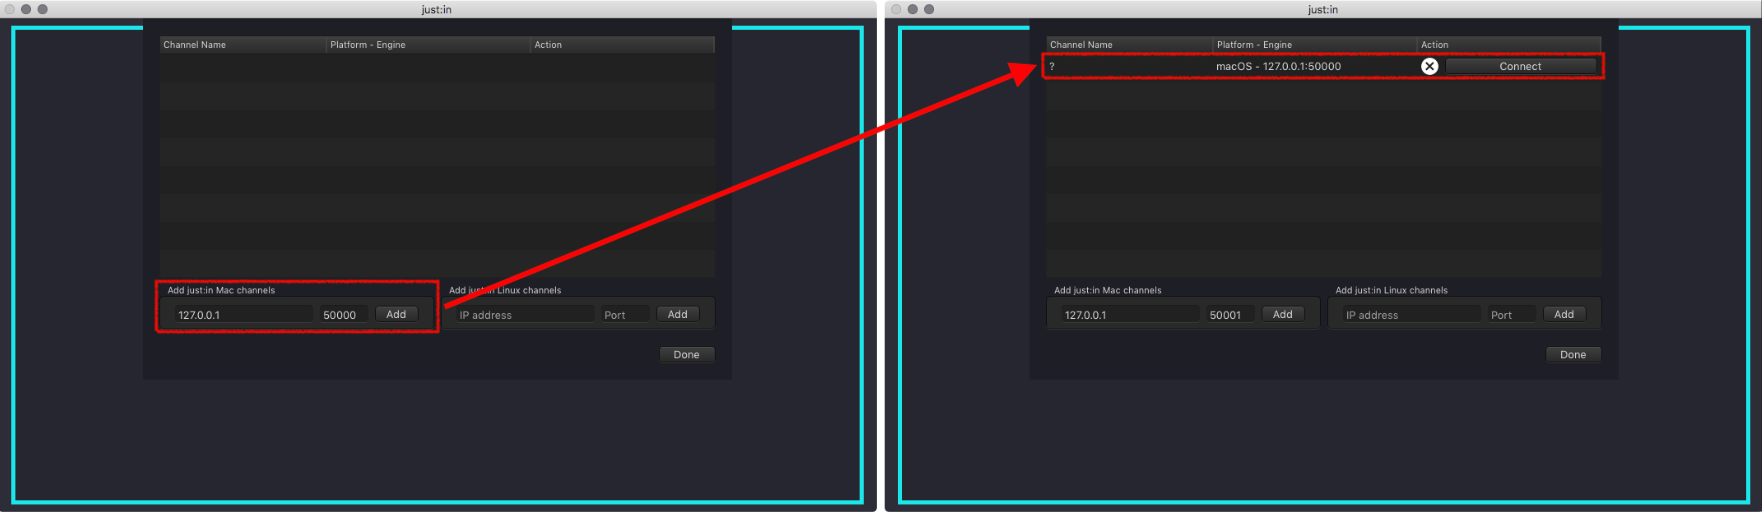
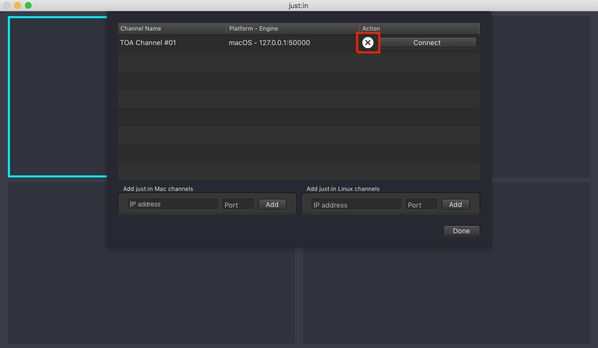
The Channel will be added to the Channel List. The actual Channel Name is only available once the Channel has been connected to. Before connecting to a Channel a question mark will be shown.
When adding multiple Channels they usually have consecutive Port numbers (50000, 50001, 50002 and so on). The just:in Connections Window automatically increases the Port number after adding a Channel to the Channels list.
You may now connect to the Channel by following the steps below.
Connecting to a Channel
- Open just:in.
Open the Connections Window by selecting the menu command Channel → Connections or use the shortcut command + K. You can also click on the Connections Window button while hovering above a Channel View.
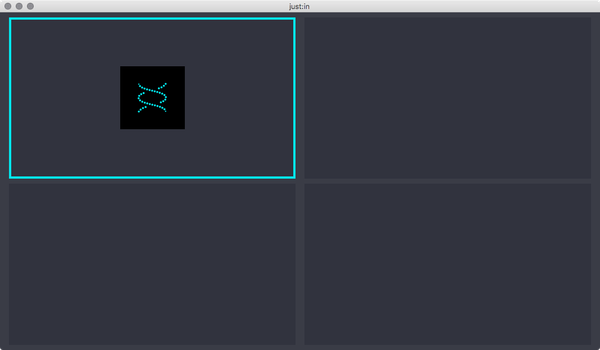
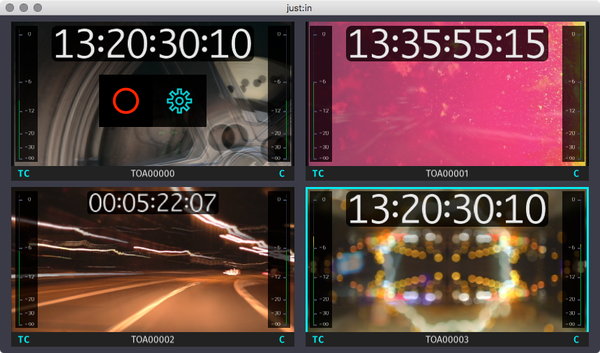
If there are multiple Channel Views click the Channel View first and then the Connections Window button to connect a Channel to this particular Channel View. You can still reorder the Channel Views later by drag & drop, as described in the chapter Managing Channel Views.
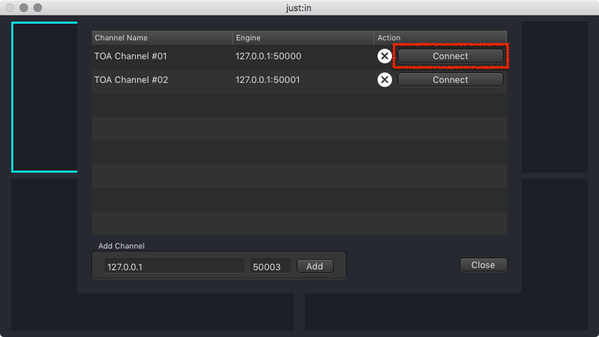
- The Connections Window appears. Press the Connect button of the desired Channel to connect to it.
- Repeat point 2 and 3 for all Channels you would like to control with this User Interface.
- The Channel Preview should now be shown and you are ready to use the Channel.
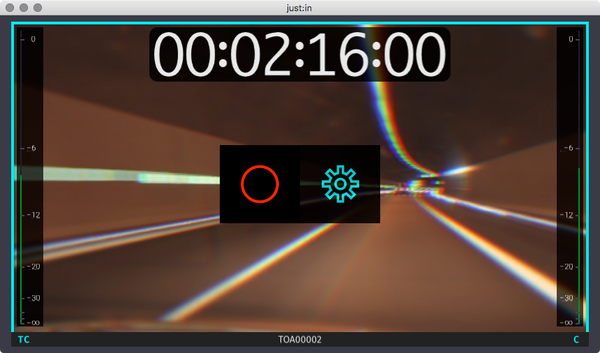
Clicking on the sprocket shown right to the Record button opens the Inspector. Before you can make a recording you must select a Capture and Destination Preset in the Inspector. The Record button will not be visible when there is no valid Capture and Destination Preset selected for the particular Channel.
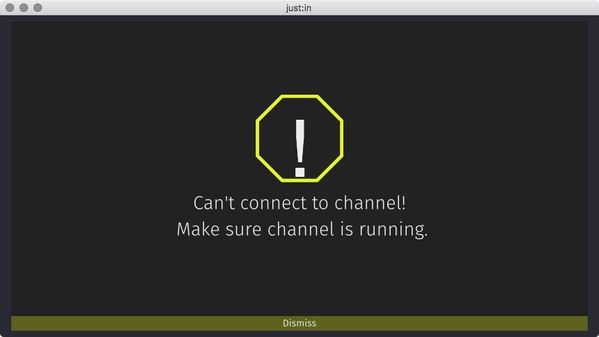
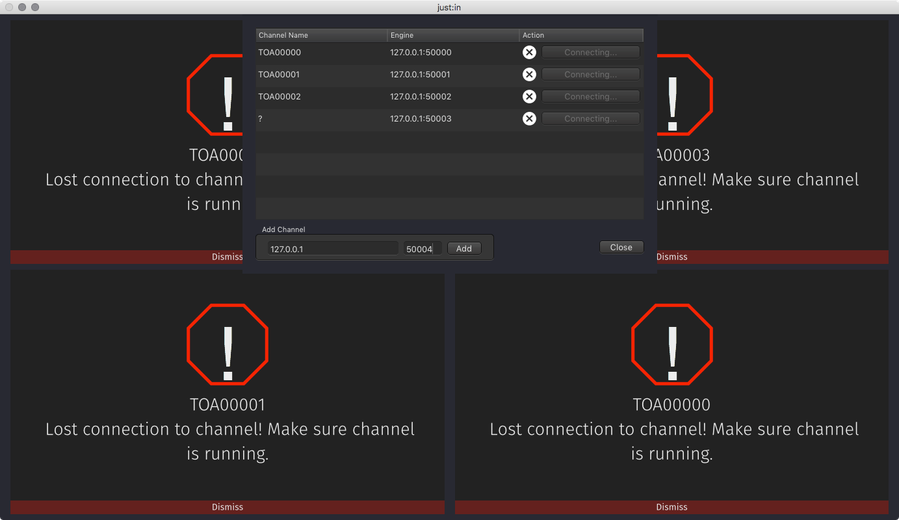
Problems when connecting to a Channel
If you get this warning, double check your IP-Address and Port number as well as the configuration of just:in Engine and the network. Also read the troubleshooting info at the end of this chapter.
Disconnecting from a Channel
- Open just:in.
- Optional: if there are multiple Channel Views, first select the View you want the Channel to be disconnected from.
- Select the menu command Channel → Disconnect or use the shortcut command + shift + D.
- You may now connect another Channel to the View.

Removing a Channel
Before removing a Channel using the just:in User Interface it is strongly recommended to disconnect from the Channel first – as described above. Failing to do so may result in a ghost Channel in the User Interface.
- Open just:in.
- Open the Connections Window by selecting the menu command Channel → Connections or use the shortcut command + K.
- Click on the X button of the appropriate Channel to remove it from the Channel Manager. This cannot be undone.
Pending Channel Connections
Before removing a Channel using the just:in User Interface it is strongly recommended to disconnect from the Channel first – as described above. Failing to do so may result in a ghost Channel in the User Interface.
When a Channel connection cannot yet be established or has been interrupted, the Connections Window will display Connecting… on the particular Channels. Wait for the Channels to be online or read the troubleshooting information below.
Troubleshooting
Connecting to a Channel may not immediately work when just:in Engine is not properly configured or reachable. There may be other reasons, the most common ones are listed here.
Wrong IP Address and/or Port
Consult your administrator for further information. If you have configured the network by yourself, verify that everything is set up correctly.
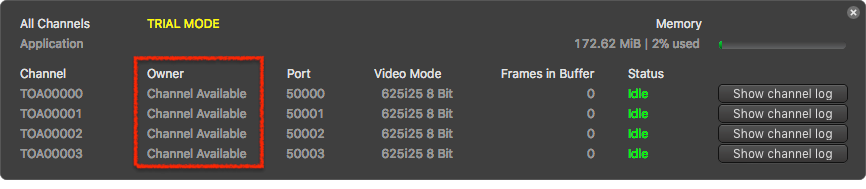
just:in Engine not running and/or Channels not activated in just:in Engine
Verify that just:in Engine has been started and that the desired Channels are activated. Also verify that the particular Channels you want to connect to are not occupied by another just:in client.
just:in Engine not reachable
Verify that the network connection has been set up properly.
Unstable Video Preview and/or Connection Losses
There may be network connection issues. Use a stable and fast network connection between the just:in User Interface and just:in Engine. Do not use a WiFi connection.