Channel Ordering (live:cut 4.0)
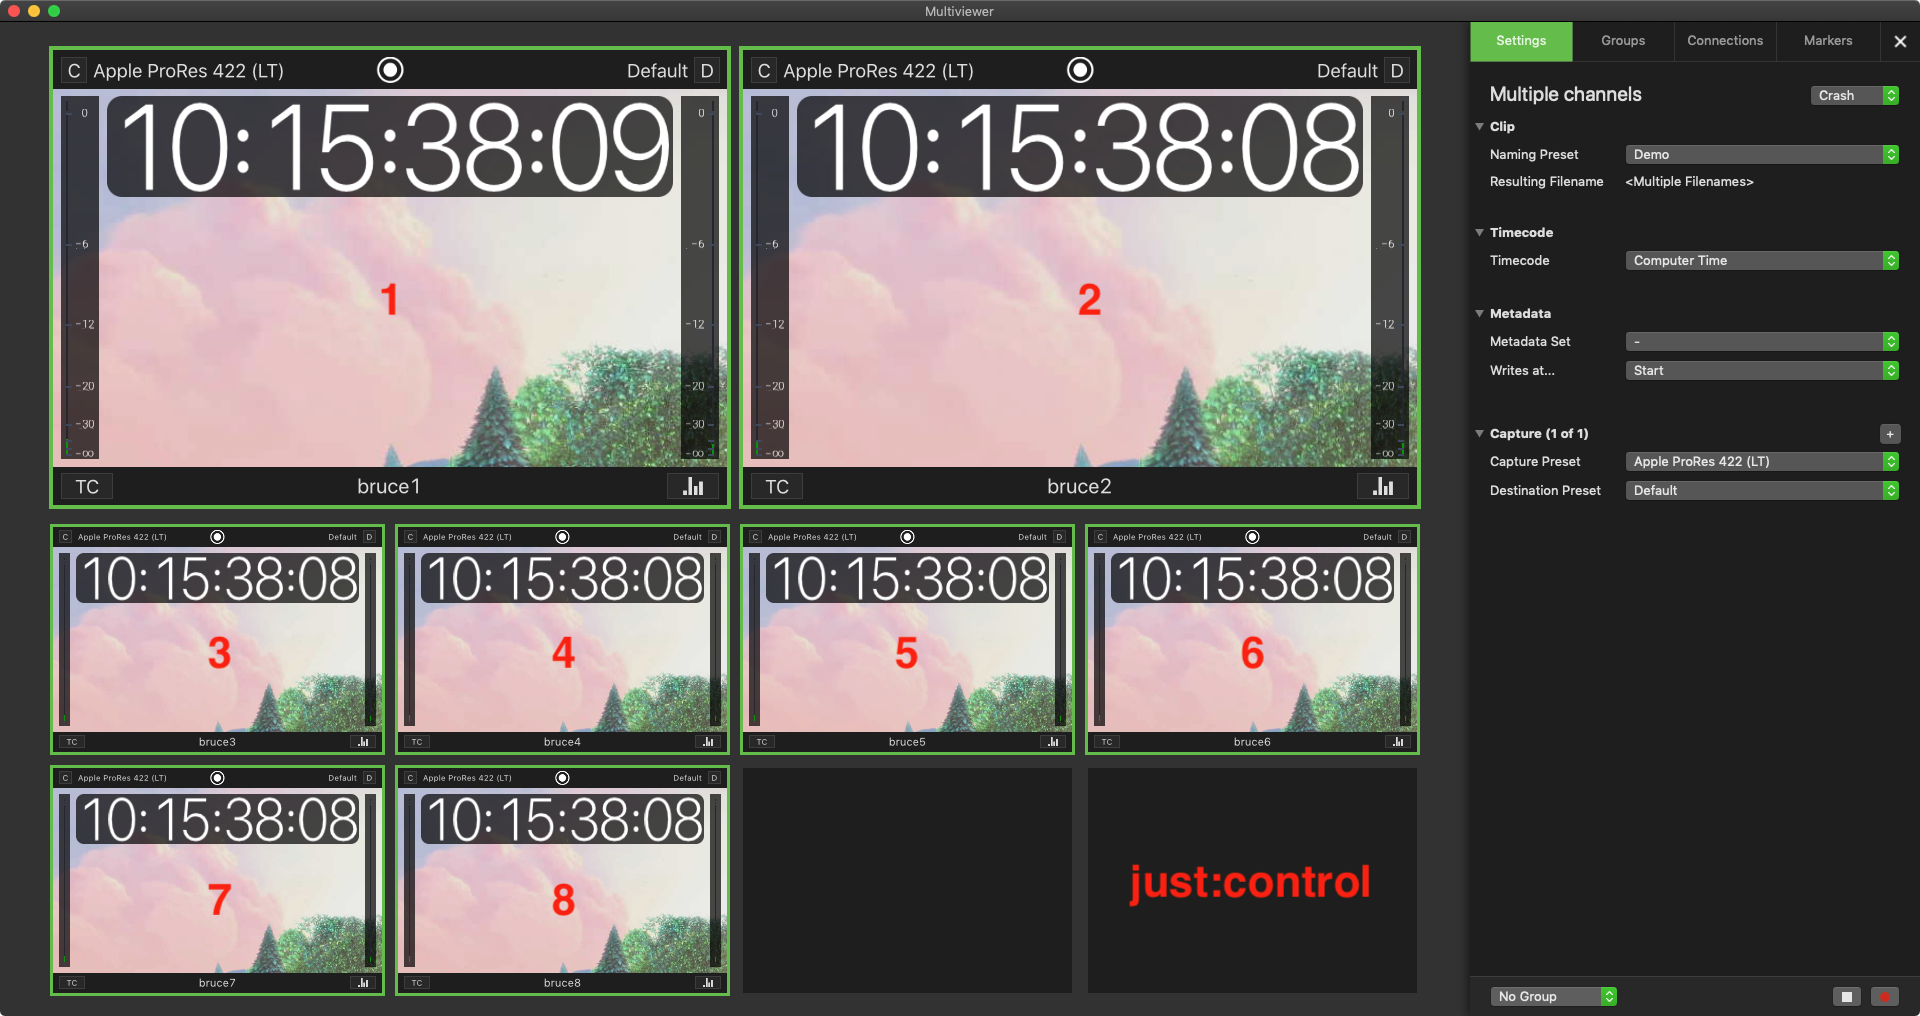
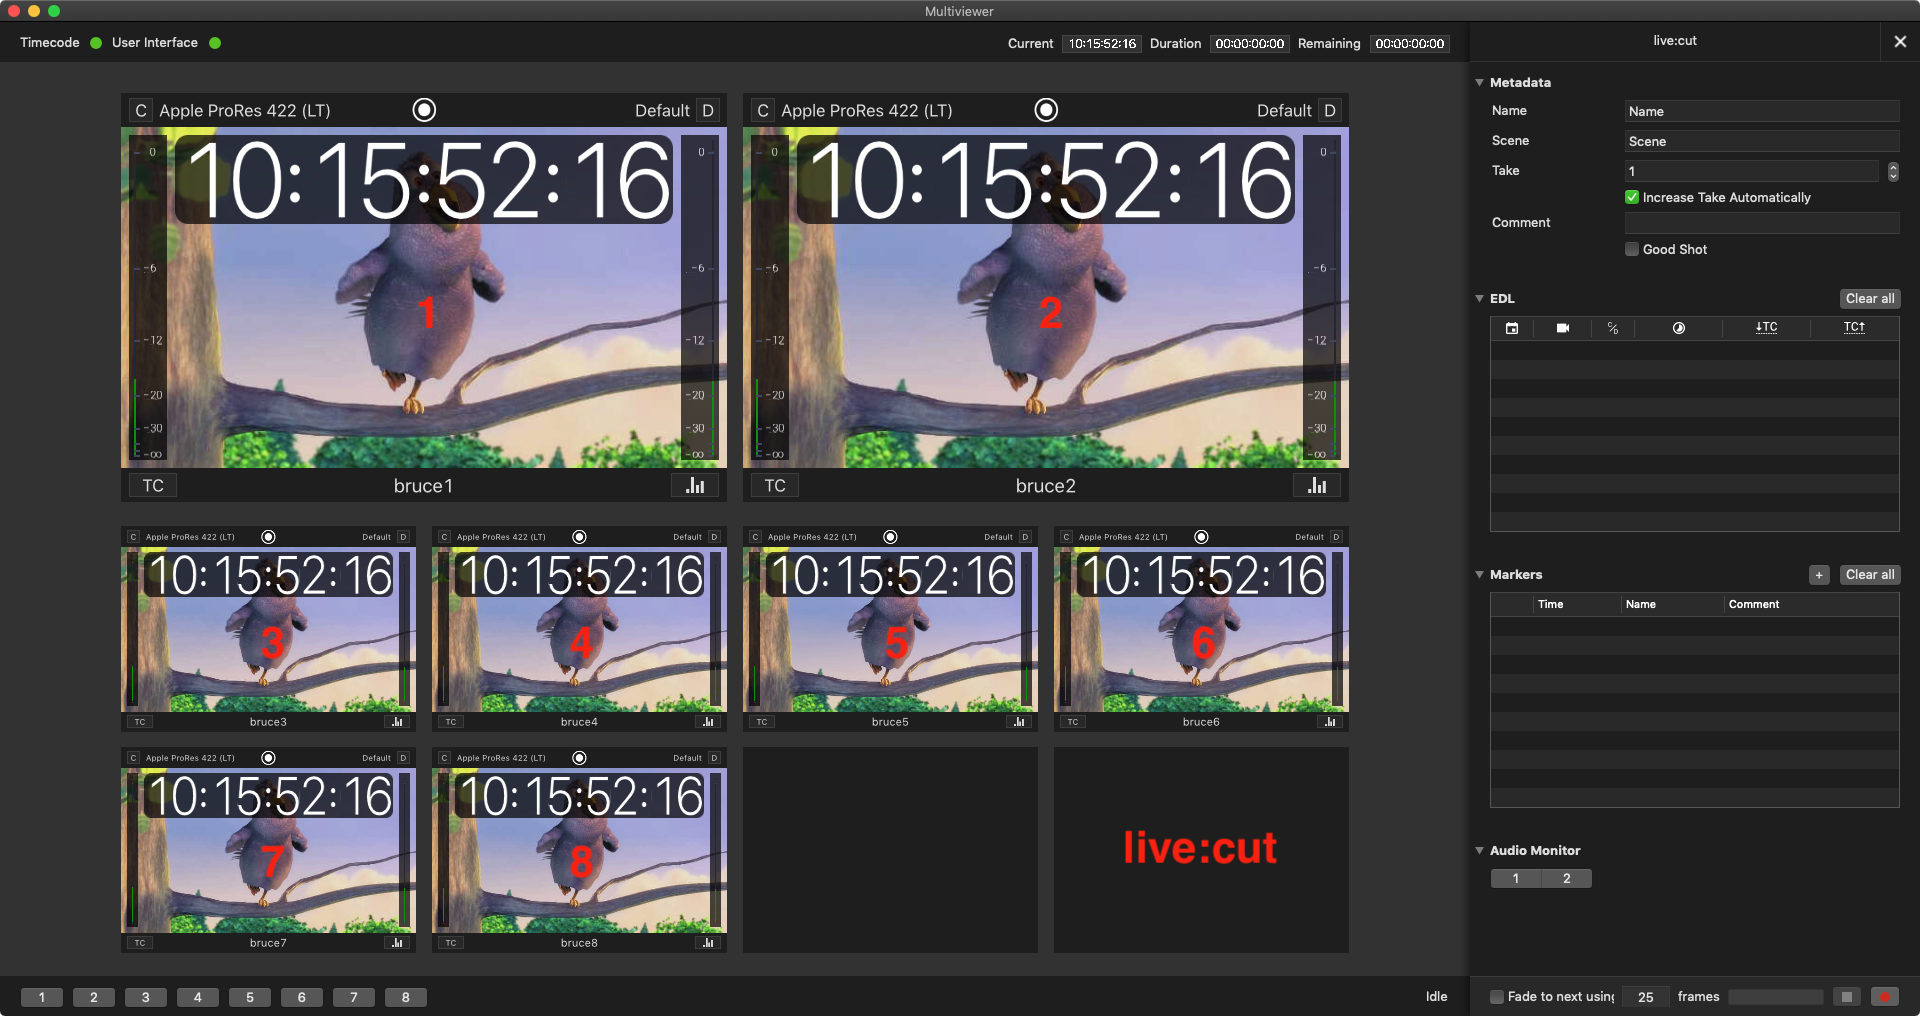
The channel ordering in live:cut depends on which channels were selected for the live:cut project in the first place. For instance, when you have eight channels selected in the just:control user interface, then you will have eight channels in your live:cut project. Channel ordering goes from top left to bottom right, as can be seen in following screenshot.
In case you have eight channels connected in just:control and you are only using four channels (in this case, Ch1, 2, 5 and 6) for live:cut, then the channel ordering changes accordingly. Please see screenshots below.
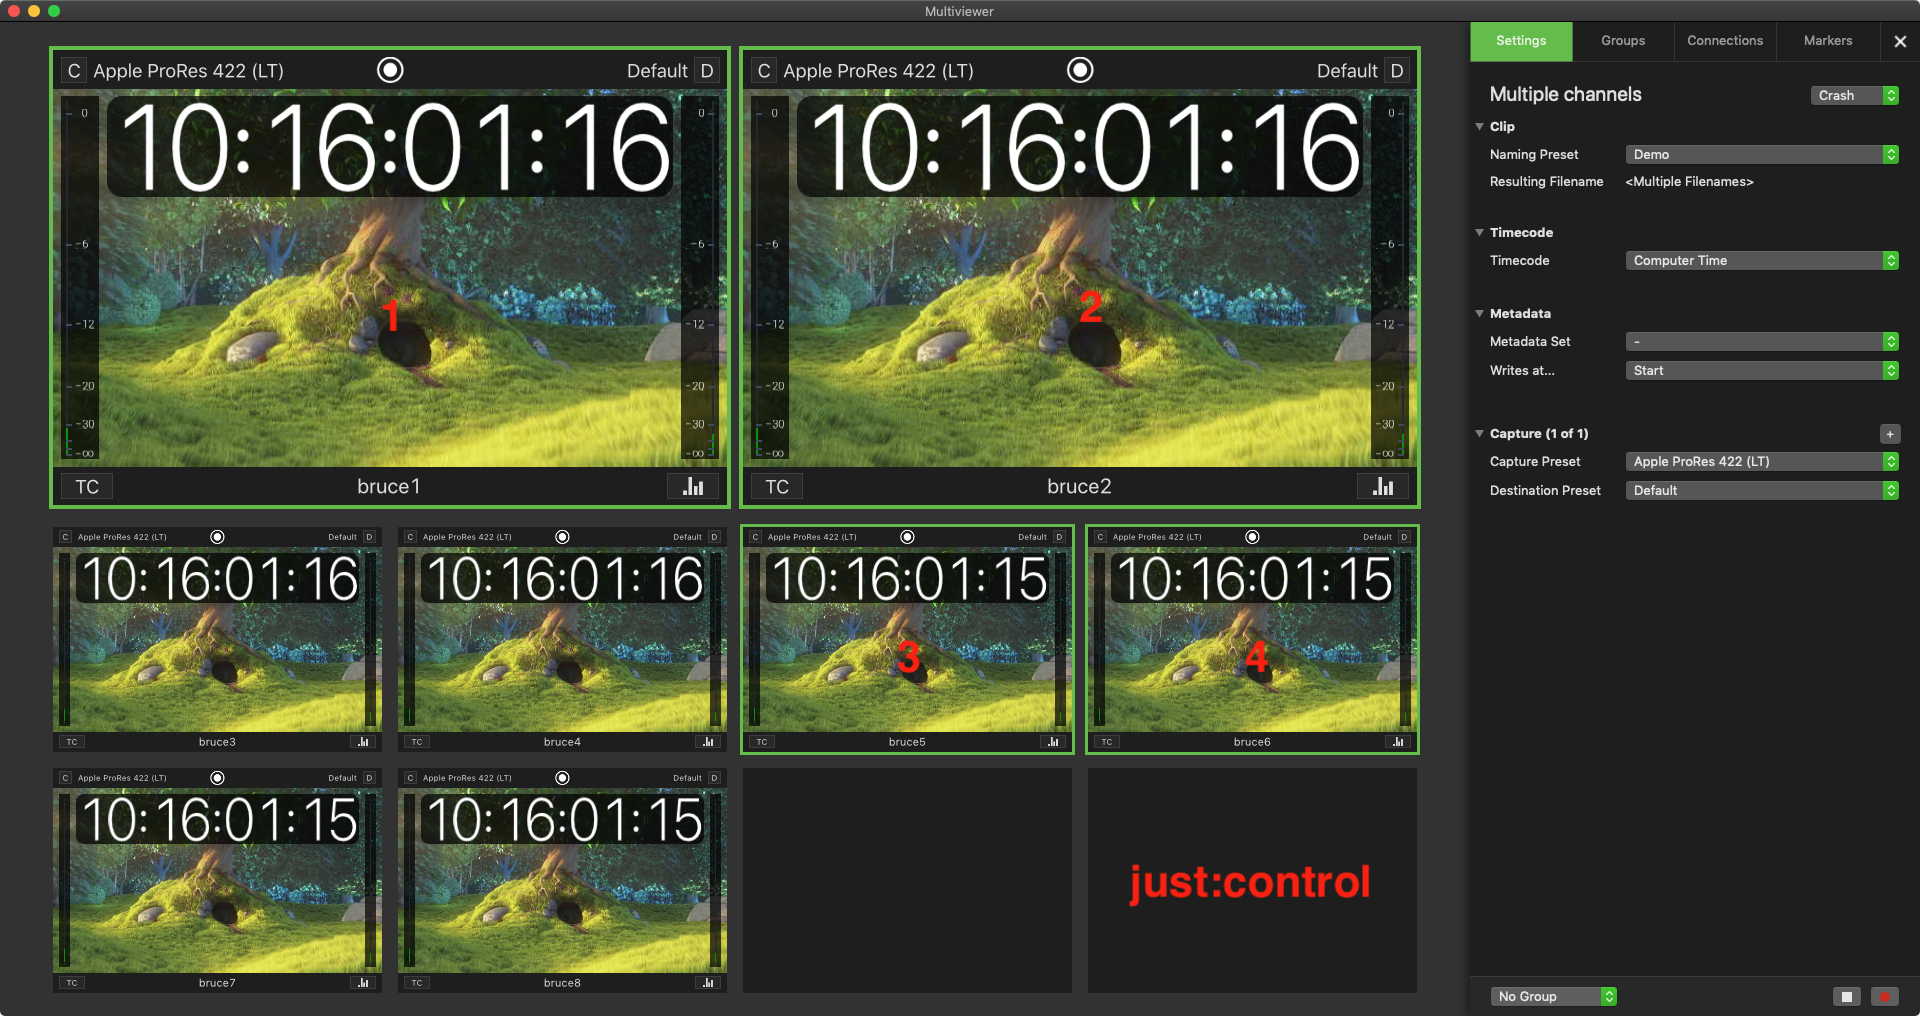
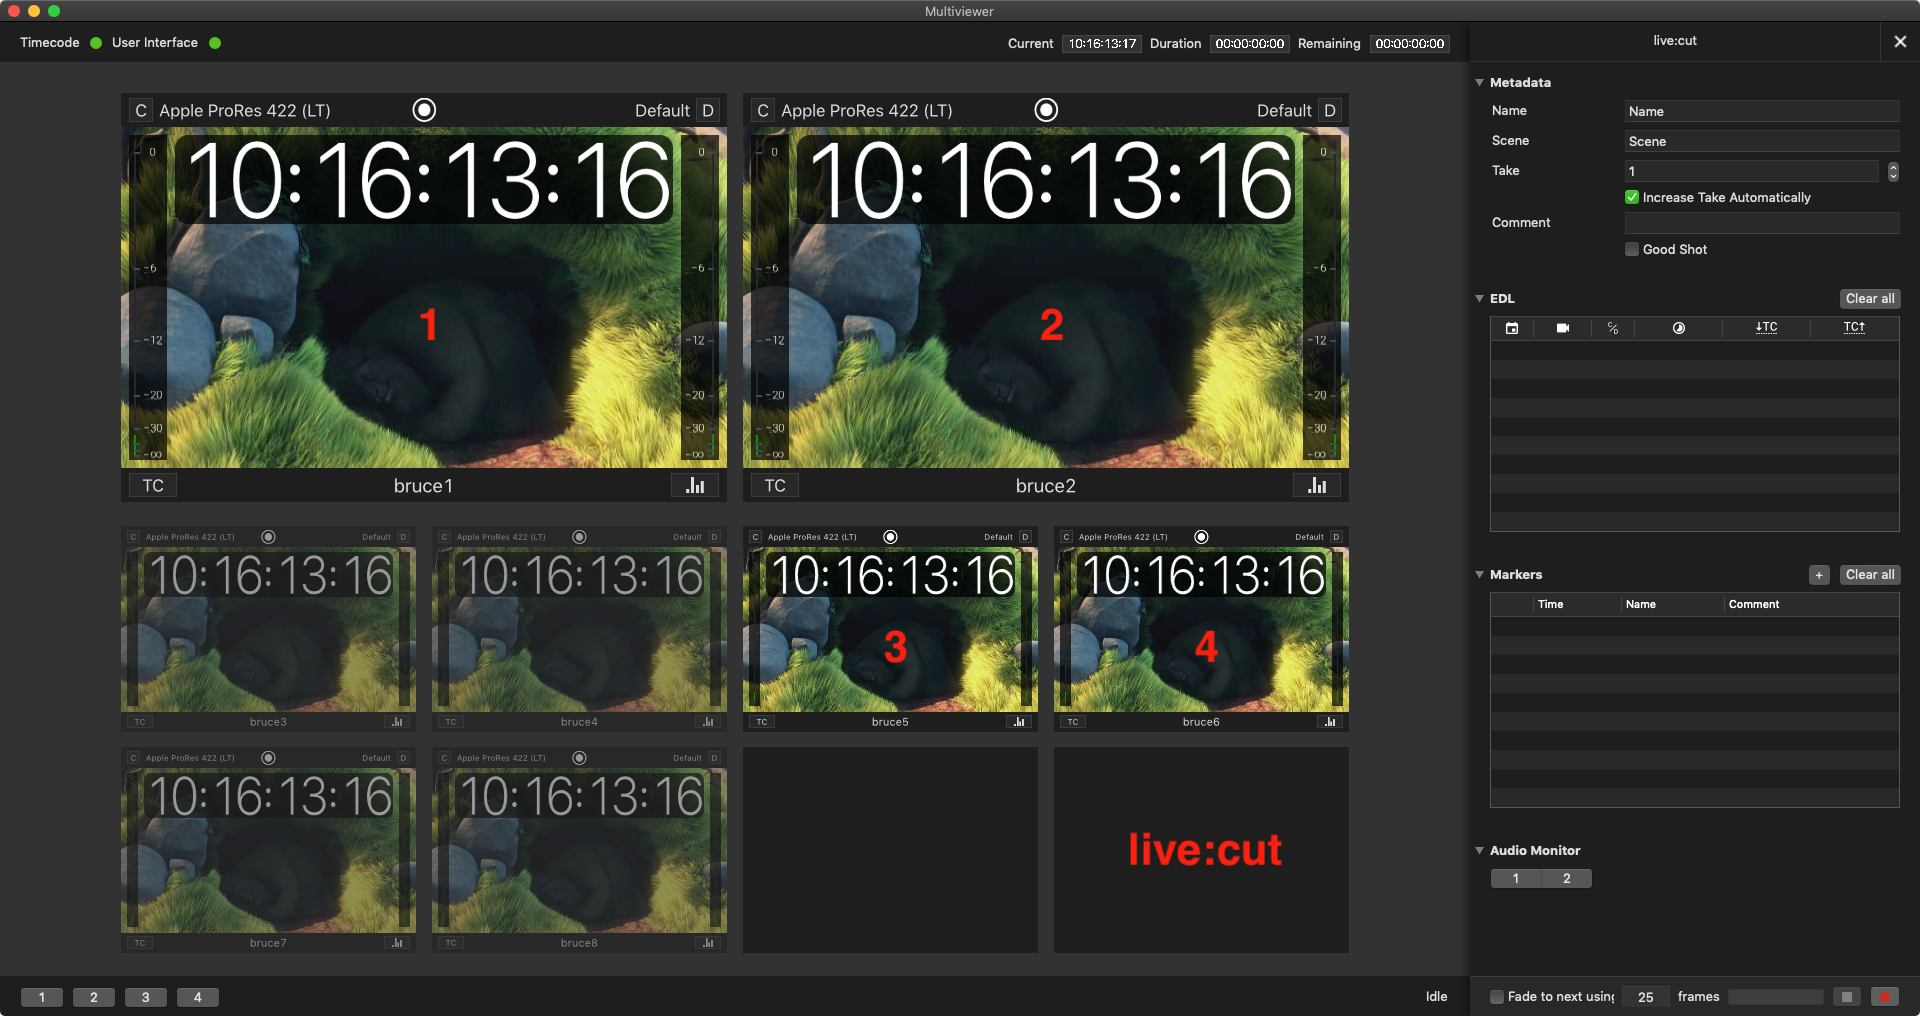
You can still see all connected channels, but only the selected channels can be used for live:cut. The other four channels (Ch3, 4, 7, 8) are greyed out and can not be used for live:cut. If you are working with a different set of channels for different scenes and you do want to your CAM4 always stays as CH4 in live:cut, then you can do that with different live:cut templates and channel mappings. That means that you will have to create a live:cut template for each scene. So you will have a live:cut project for a three camera scene, a five camera scene and so on.