Schedule Mode (4.0)
Table of Contents
Starting with version 4.0 the just:in User Interface (which is part of just:control) communicates with the macOS Calendar application and therefore just:control needs to have access to the Calendar application. Upon first launch just:control requests access to the Calendar application.
If Calendar acces hasn't been granted, follow these steps to enable Calendar access:
- Open the System Preferences.
- Go to the Security & Privacy preference pane
- Switch to the Privacy tab.
- Look for just:control and make sure it can access Calendars.
Preface
- In Schedule Mode a Channel records clips based on Calendar Events from the macOS Calendar application of the machine running the just:in User Interface (which is part of just:control).
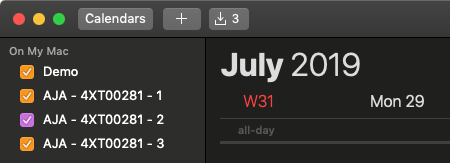
- After configuring a Channel in the just:in Configuration Panel, a Calendar with the Channel's name will beadded to the Calendar app.
- You may also use any other Calendar which can be added to the Calendar app – like a Calendar from iCloud or Gmail Accounts or from Mail/Calendar servers.
- Events scheduled in the corresponding Calendar will automatically switch the Channel to Schedule Mode and start a Recording (if the Channel is idle).
When working in Schedule Mode make sure that the User Interface application is running at all time. New Events or changes to existing Events can only be received when the User Interface is open and connected to the appropriate channel.
Selecting a Calendar for a Channel
- Open the just:in Configuration Panel.
- Go to the Channel Settings.
- Select the appropriate Calendar for each Channel.
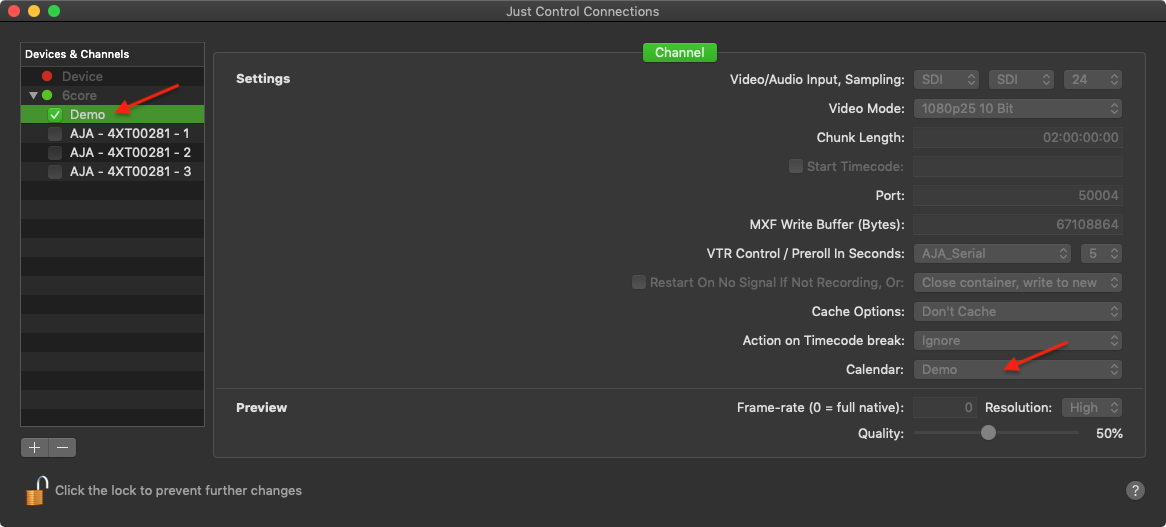
You can either use the Channel Calendar (automatically created) or any other available Calendar.
Adding Calendar Events for Schedule Mode
- Open the Apple Calendar application.
- Select the desired Calendar for this Channel.
- Add Events to the Calendar. An Event may not exceed 12 hours.
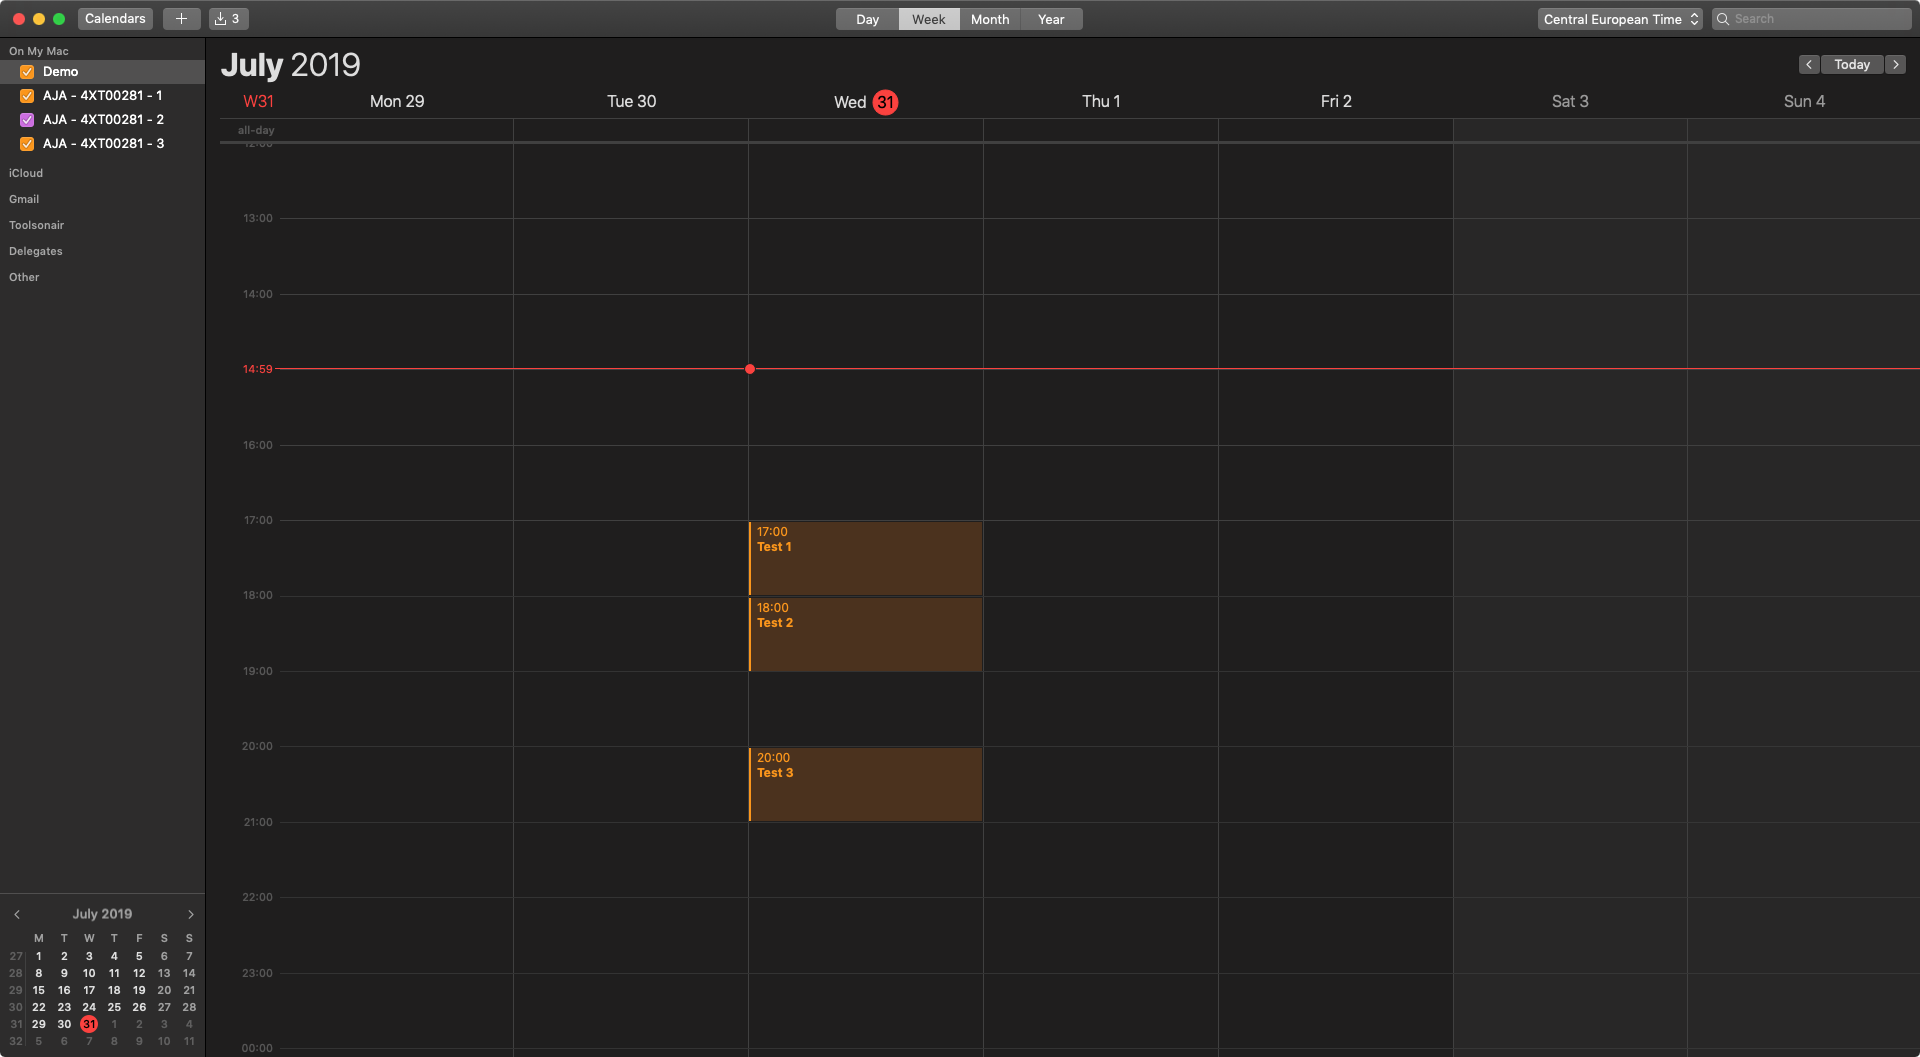
- The Events will show up in the Inspector of the just:in User interface. Each Event will result in one Recording.
It is also possible to add Events back to back without loosing any frames.
Additional Functionality
Custom Calendar Events Variables
There are three custom Calendar Event Variables which can be used to make the naming of the scheduled events easier:
- <Channel> will be replaced with the actual Channel Name of the Channel.
- <Date> will be replaced with the actual date of the current recording (Format: "yyyy-mm-dd").
- <Time> will be replaced with the actual start recording time of the current recording.

Date & Time Format
Changing the format of these Calendar Event Variables is also very easy and straightforward. In order to make this as flexible as possible, we are using the default system settings for that. To change that, open the custom format settings for “Dates” and “Times”, which can be found here:
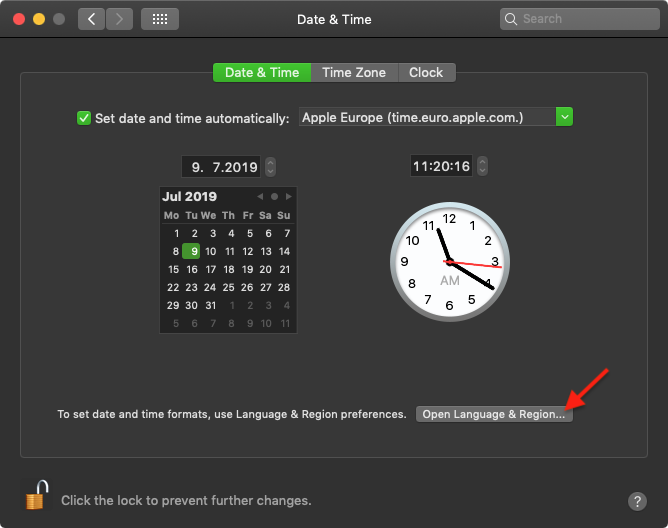
- Open the macOS System Preferences and open the Date & Time Preferences Panel

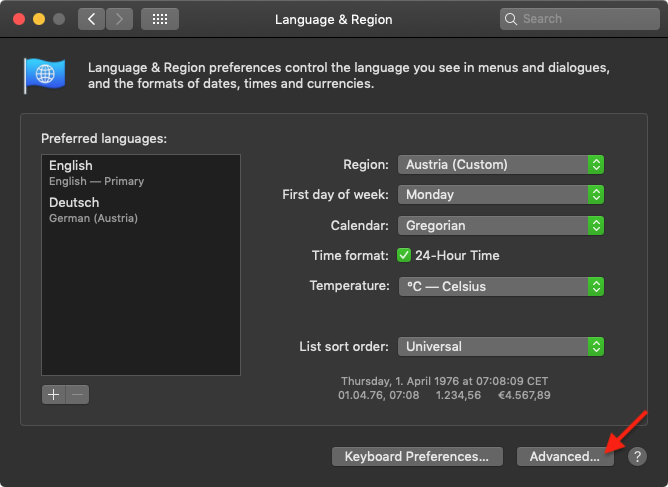
- Open Language & Region Settings
- Switch to the Advanced Settings
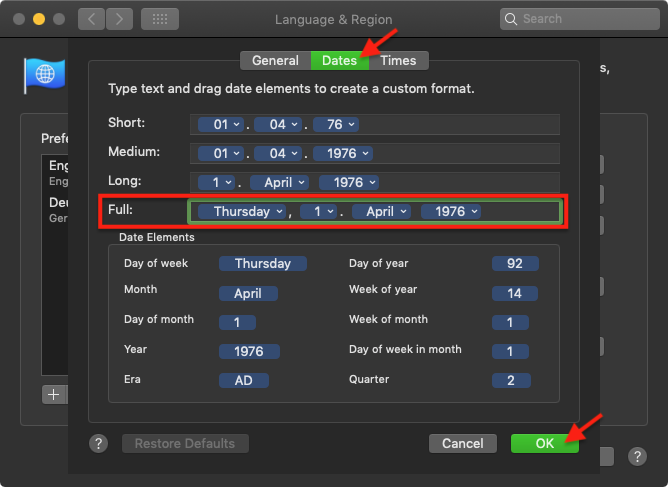
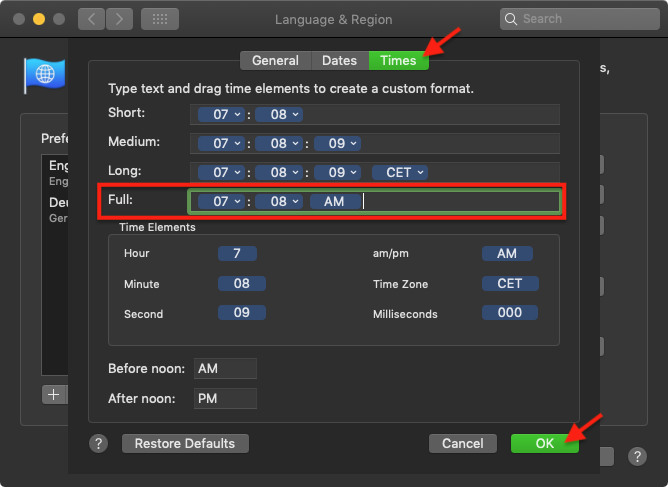
- Change Dates and/or Times Format Settings here ("Full:")
Repeating Calendar Events
Repeating a Calendar Event would result in a file which gets overwritten every time the same event is executed again. To avoid this you can add the Variables <Channel>, <Date> and <Time> to the Calendar Event. This appends the channel name, date and time (= beginning of the corresponding Calendar Event) to the Clip Name.
Using Naming Presets in Schedule Mode
This will be available in an upcoming version. If you need more information about that please contact us.
Maximum Record Length
It is not possible to use Calendar Events which exceed a length of 12 hours. just:in will truncate the Recording length automatically, if required.
Adjustable Event End Time while Recording
The Recording Event End Time can be changed during recording. This is especially useful if you have to make changes during an ongoing recording. Simply adapt the Event End Time in the Calendar application and just:in will recognise the change.
Manually stopping a Scheduled Recording
You can manually stop a Scheduled Recording by simply pressing the Record button within the Channel Preview. Doing so will also delete the Calendar Event in the macOS Calendar application.
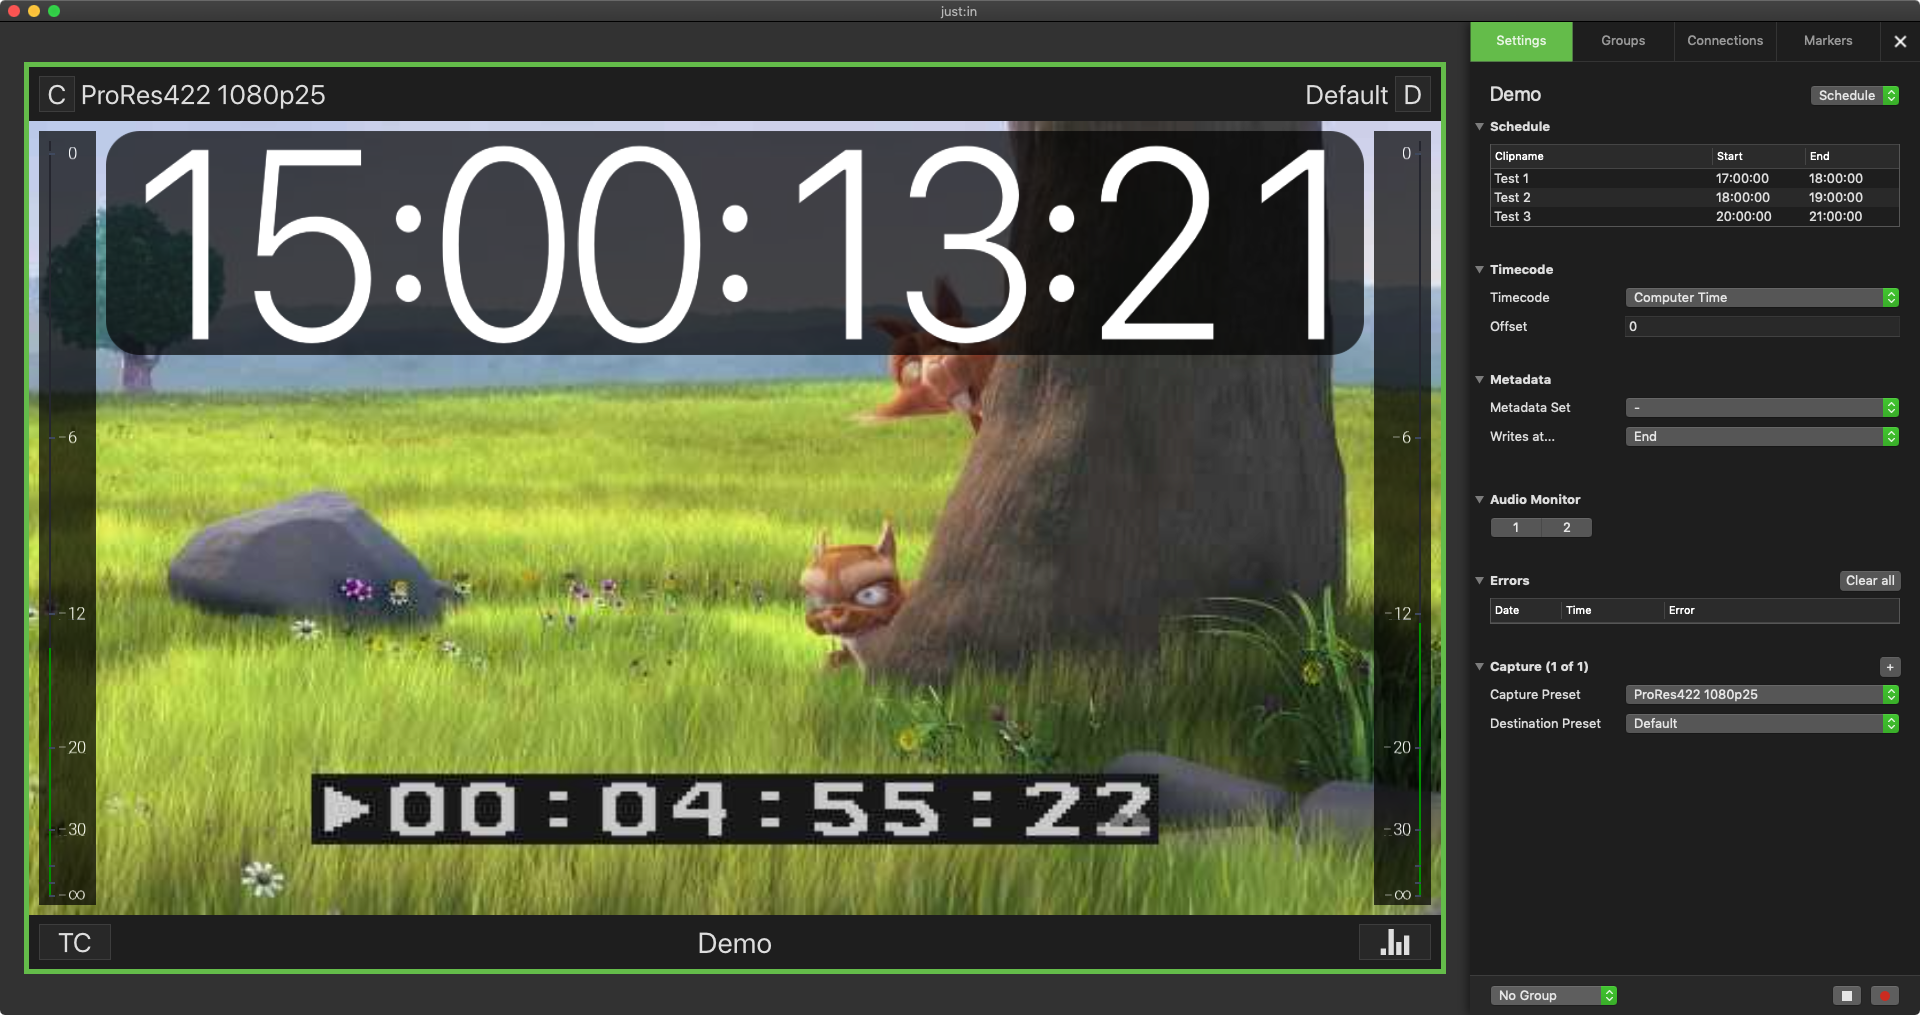
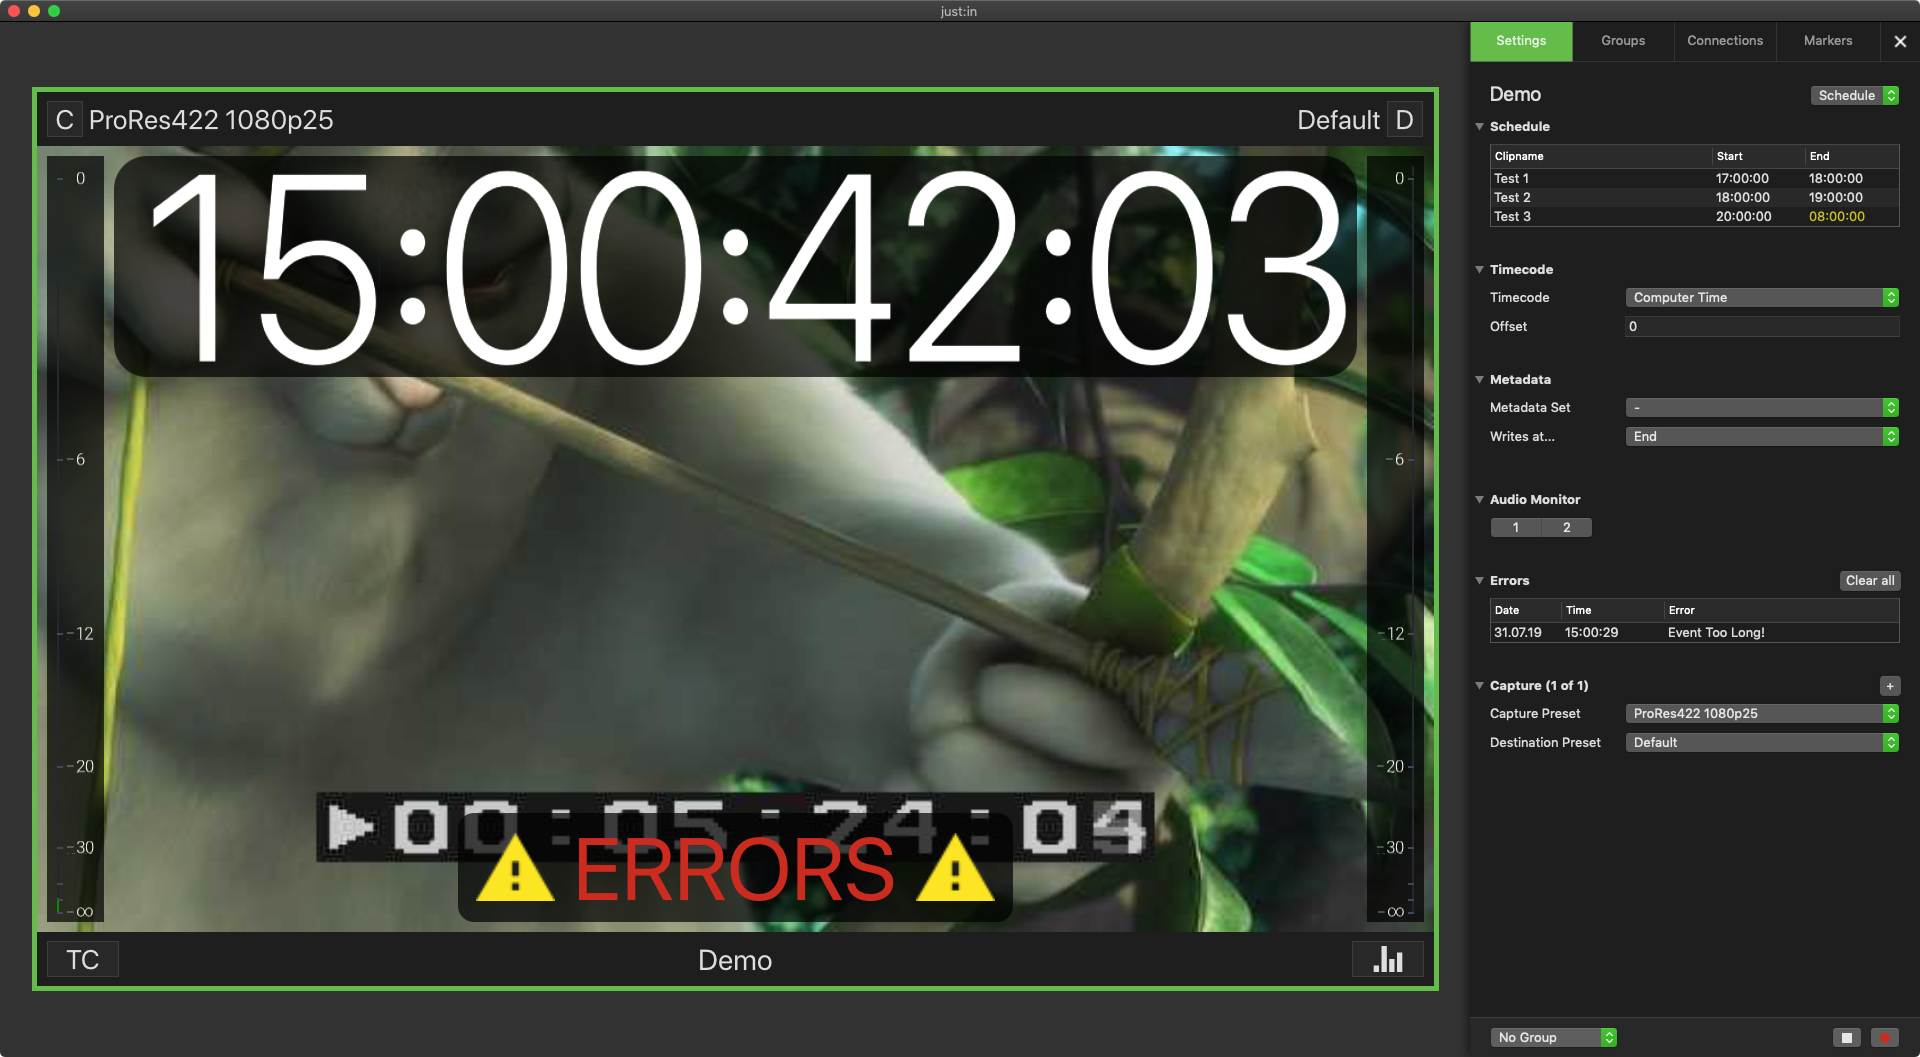
List of Scheduled Events in the Inspector
The Scheduled Event List only shows the upcoming ten events scheduled in the chosen Schedule Calendar and only if these events are within the next 24 hours. All further events are only visible in the Calendar itself and they get displayed within the just:in user interface as soon as one of the previous recording events are finished.
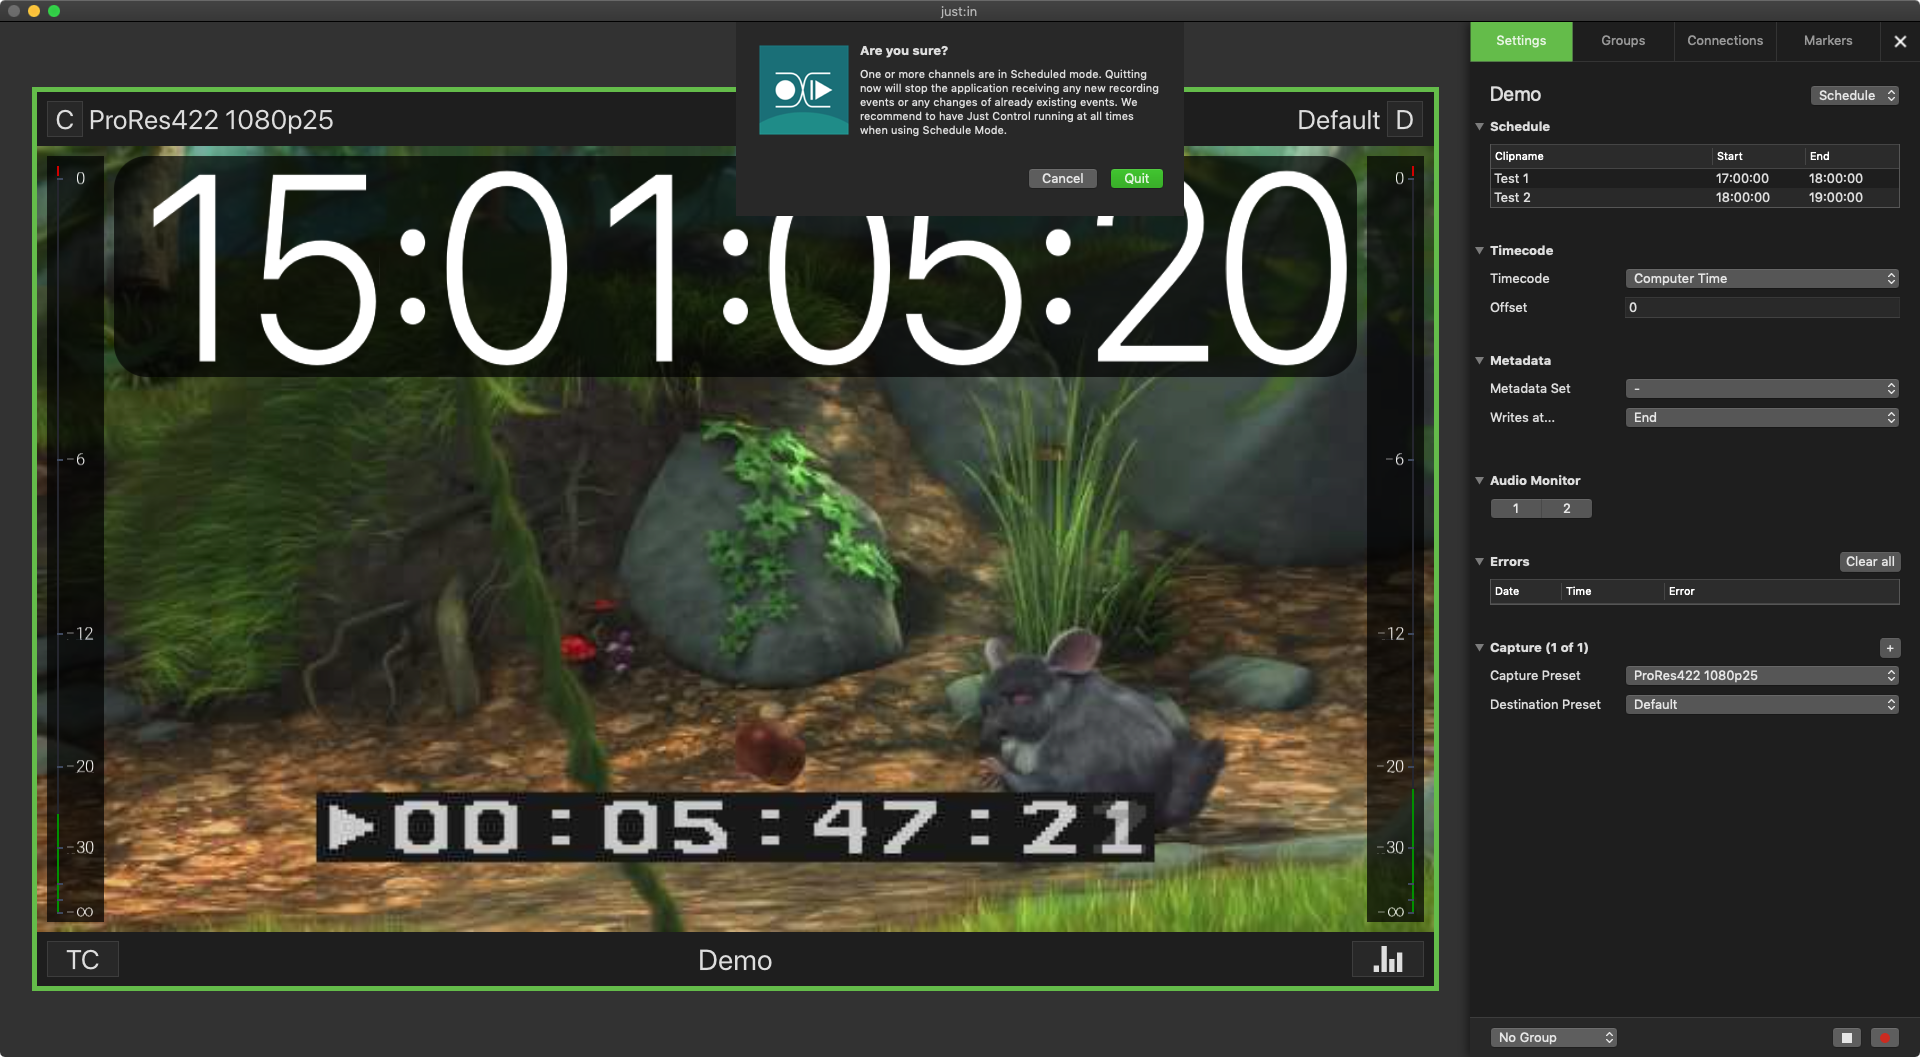
Quitting the User Interface
Quitting the just:in User Interface results in the application no longer receiving updates or new Events. It is necessary to have the just:in User Interface (which is part of just:control) open all the time when using Schedule Mode for a Channel.
Further Notes
Working with shared Calendars in Schedule Mode
As mentioned above you can also work with shared Calendars (like Gmail, iCloud or any other Mail/Calendar server which can be added to the macOS Calendar application) in Schedule Mode. This enables you to use two ore more machines for adding recording events to the appropriate Calendar. Just make sure that the User Interface machine has access to the Calendar and the User Interface application is running. Then you can use all machines/devices for adding recording events and you are not limited to the User Interface machine anymore.
Please also make sure that you are running one User Interface only, when using Schedule Mode and shared Calendars. Working with multiple User Interface connected to the same channels and using Schedule Mode can lead to unexpected behaviour and is strictly not recommended.
Multiple just:control client systems
Please beware that it is not recommended to use multiple just:control client systems when working in Schedule Mode, as this will introduce unexpected behaviour.
Importance of Timecode Source in Schedule Mode
When using the Schedule Mode in just:in (mac and linux), the Timecode Source is an important setting and therefore it should be chosen correctly to ensure a smooth operation.
In general all available Timecode Sources can be used for Schedule Mode. System administrators only have to take care that the just:in engine (mac and linux) gets fed with the same Timecode Source as the macOS machine, where the Scheduling (just:in User Interface and macOS Calendar application) is running. For instance, when using a NTP Server as Source (=Computer Time), then the macOS machine for the just:in engine and the machine for the just:in User Interface have to have the same NTP server configured (same for just:in linux).
It is also possible to use a LTC source (AJA Capture Card LTC) for Scheduling, then the LTC generator only need a NTP option as well and then it will also work correctly, as the engine can get fed via the Timecode In of the video card and the machine for the User Interface can be configured with NTP.
It is also possible to use just:store as NTP server, so just:store customers can provide all just:in related machines with an accurate time sync.