Destination Presets (4.0)
Destination Presets contain settings about the desired write locations of the Recordings, Metadata files or SCC sidecar-files. Before you can do Recordings with the just:in User Interface you need to create one or multiple Destination Presets. After defining Presets you can quickly access them in the just:in User Interface. This speeds up the Recording process and helps to keep things organized.
To make any changes you need unlock the configuration panel.
Table of Contents
Overview
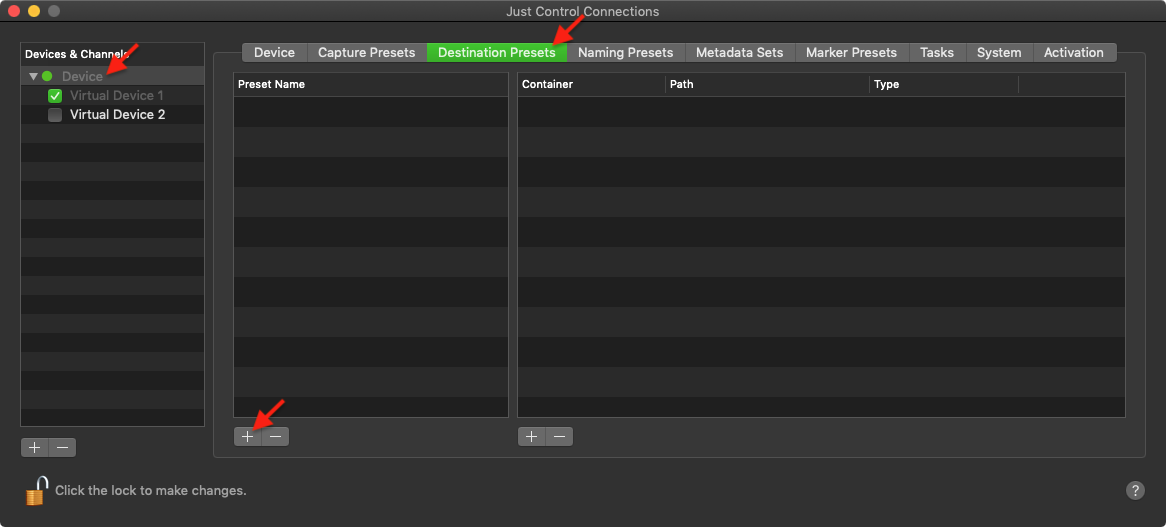
Open the Configuration Panel, select the desired Device for which you want to create Destination Presets and switch to the Destination Presets Tab.
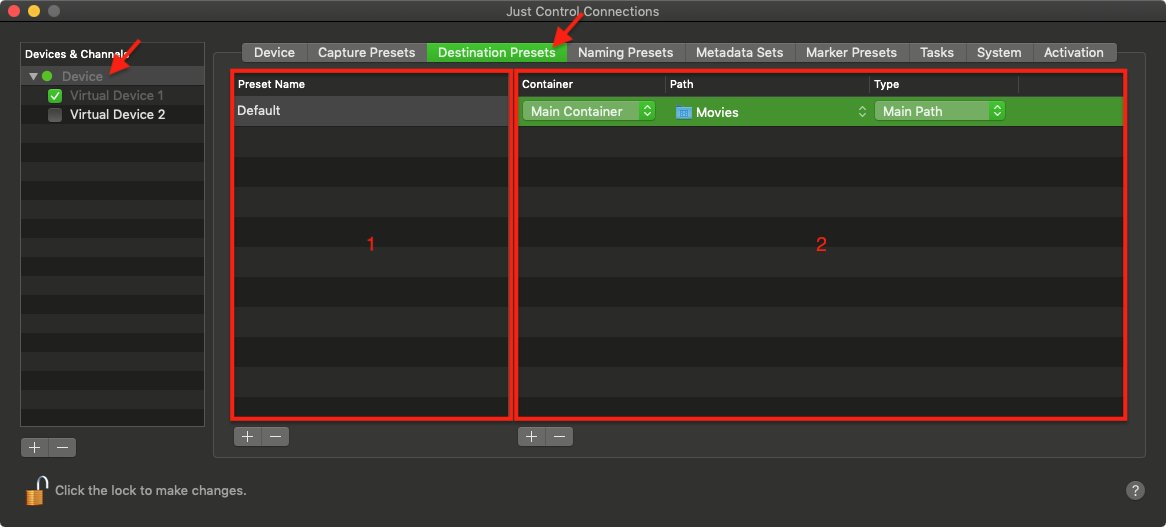
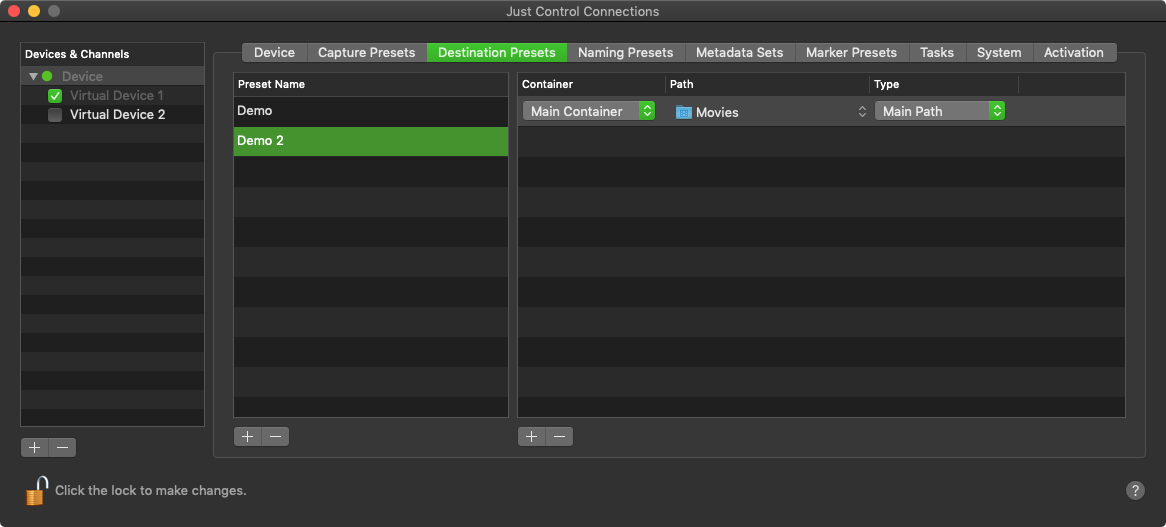
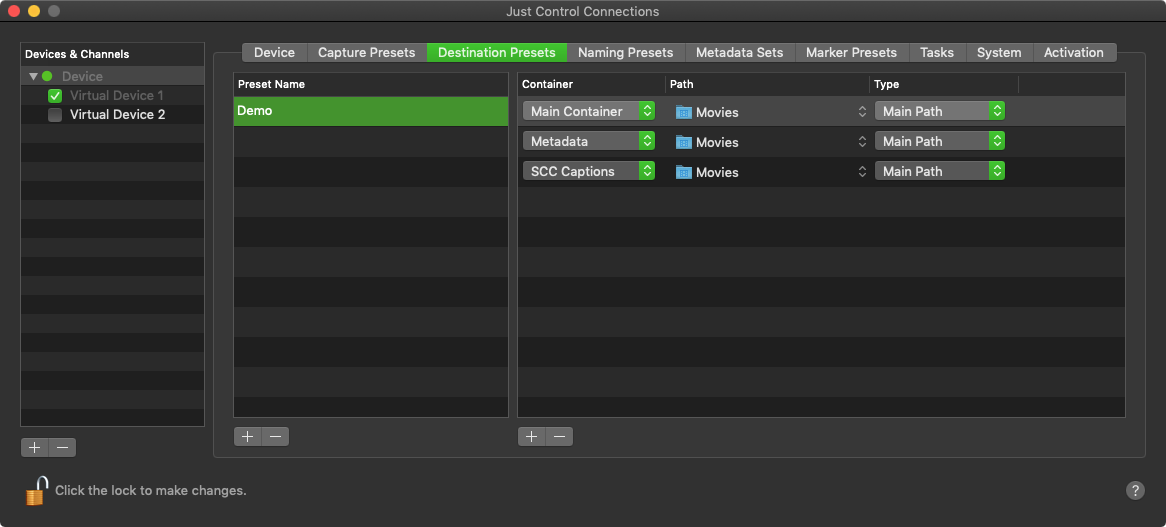
- Destination Preset List: shows all available Destination Presets. Use the buttons below to add and remove Destination Presets.
- Destination Preset Configuration Options: allows you to define a Destination Preset.
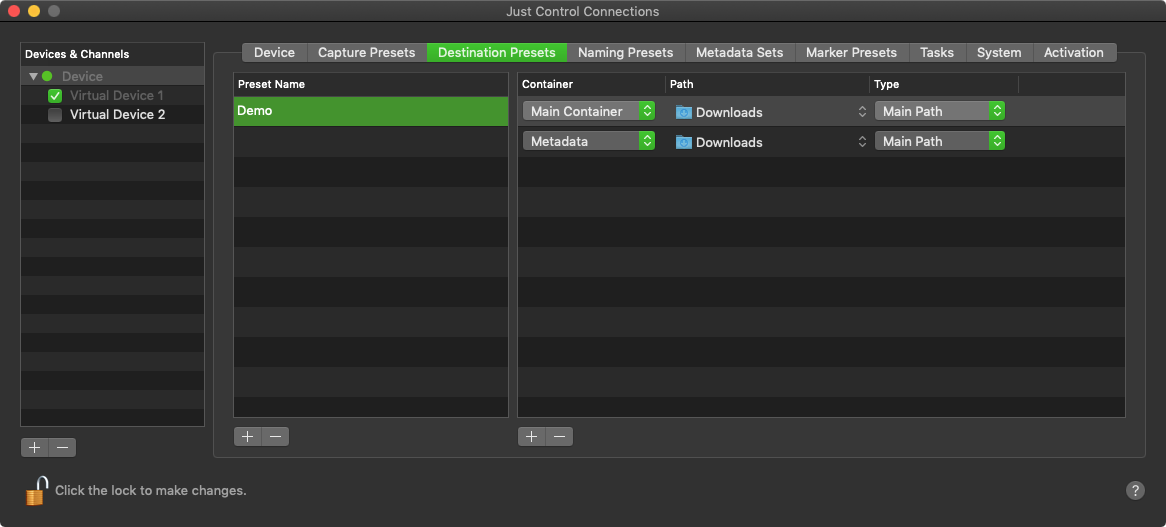
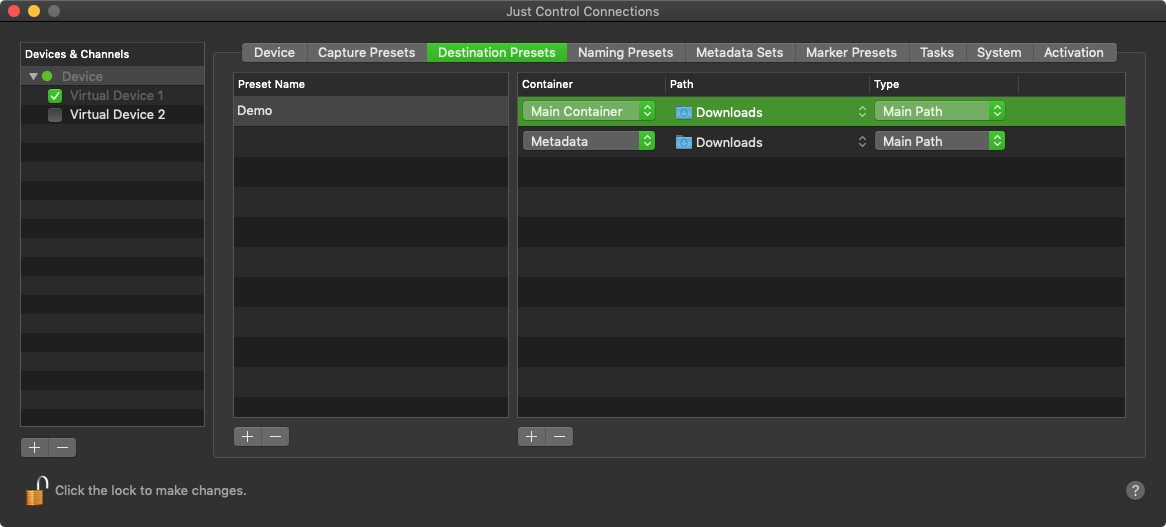
- Container:
Main Container: Sets the main recording path for a recording.
Please beware that you can also use multiple Main Container paths to write to multiple storage locations at the same time without multiple encoding.
- Metadata: Sets the path for writing the metadata sidecar file.
- SCC Captions: Set the path for writing the SCC sidecar file.
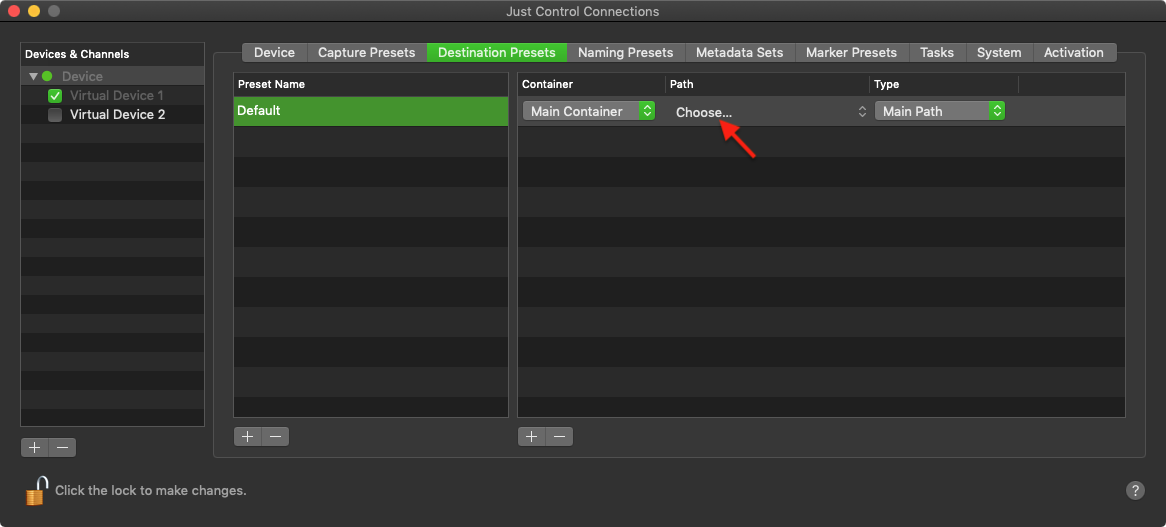
- Path:
- JIM: When cresting a just:in mac destination preset, you can use the "Choose..."-menu.
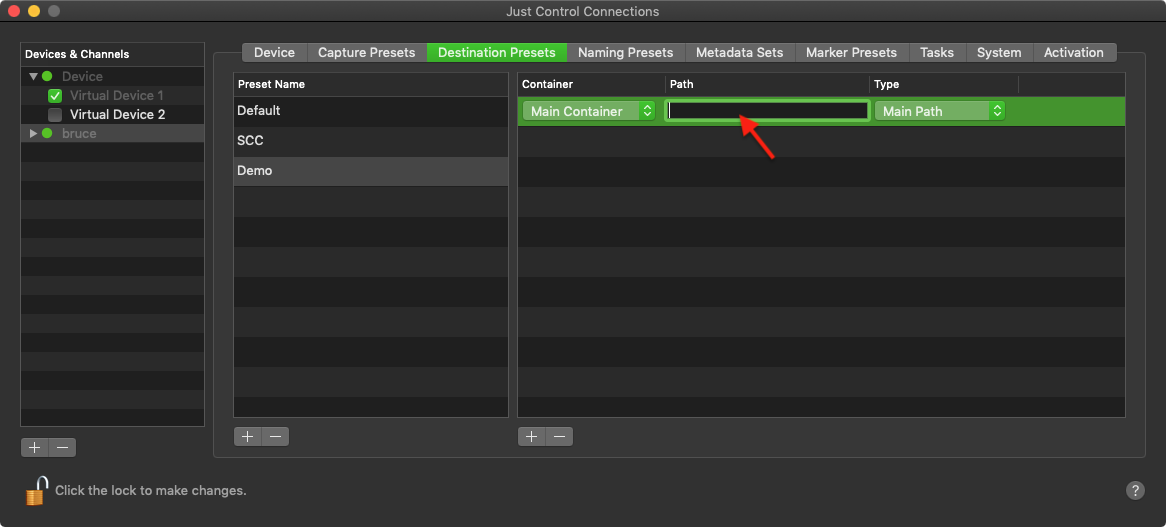
JIL: When creating a just:in linux destination preset, you have to write or past the actual path for the just:in linux appliance into the path field.
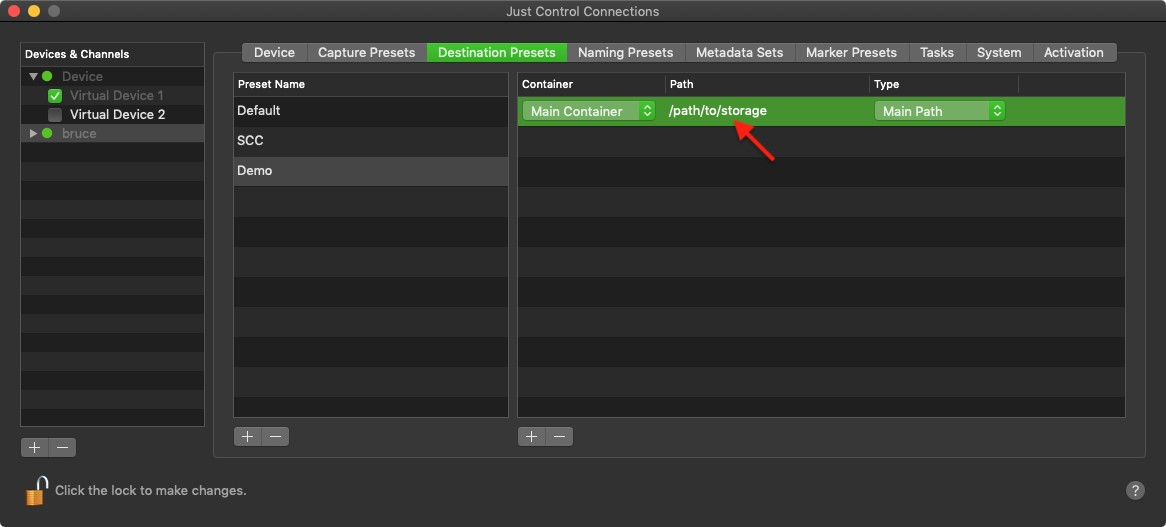
Please make sure that the just:in linux appliance has appropriate permissions to record to the storage path. Otherwise you will get an Write Error when trying to start a Recording.
- JIM: When cresting a just:in mac destination preset, you can use the "Choose..."-menu.
- Type:
- Main Path: Main recording path.
- Fallback: Fallback recording path. The recording will fallback to this path, in case the main recording path is not available anymore. Please beware that this feature is for just:in mac only.
- Container:
Adding a Destination Preset
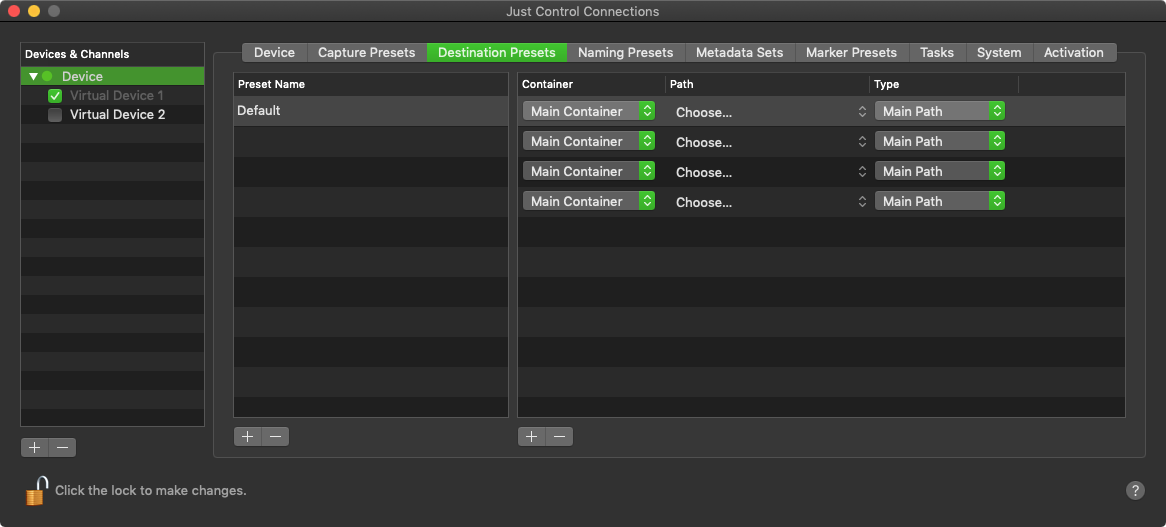
- In the Device & Channel List select the appropriate Device. Click on the Destination Presets tab. Below the Destination Preset List press the "Plus" button to add a Destination Preset.
A dialog appears asking you for the Destination Preset Name. Enter the Destination Preset Name and press the Create button.
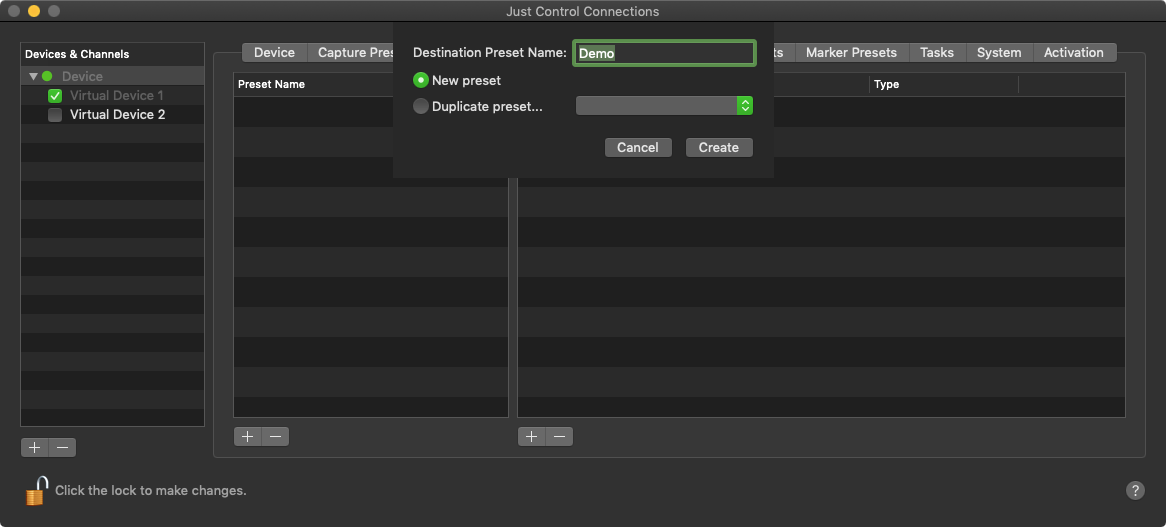
The Duplicate preset...-Option let's you duplicate an already existing Destination Preset, where you can adjust the Preset Settings afterwards.
- Configure the Destination Preset. It will be saved automatically after all attributes are defined. You may change the settings of a Destination Preset at any time.
Editing an existing Destination Preset
- Select an existing Destination Preset and simply change the options on the right side. The changes will be saved automatically.
Removing a Destination Preset
- Select an existing Destination Preset and use the "Minus"-Button below the Destination Preset list to remove the selected Destination Preset.