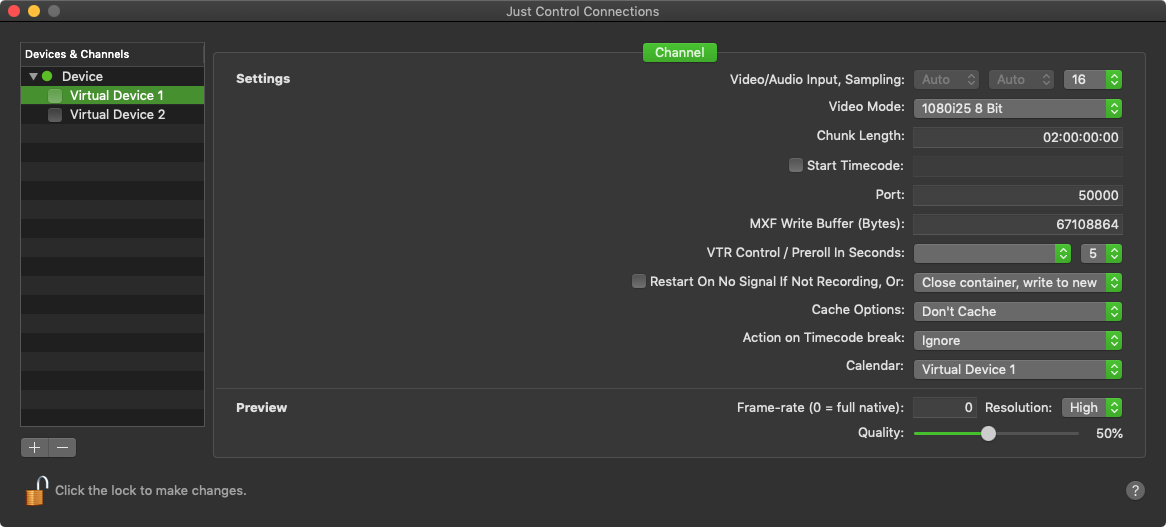
This chapter explains the Channel Settings for a just:in mac channel how to enable a Channel for Capture, once it has been configured.
To make any changes you have to unlock the Configuration Panel at the bottom left. |
Table of Contents

What is a Channel?
A Channel is a virtual representation of your Video Capture Device. Depending on the number of Capture Devices you have, you may configure one or multiple Channels.
Channel Settings
Depending on your Video device(s) the Channel Settings may look slightly different. |

- Settings
- Video/Audio Input, Sampling: select the Video/Audio input if your Video device supports different inputs and select the audio sampling option.
- Video Mode: select the Video mode. The mode has to match the Video Signal which is attached to the selected Channel. If it does not match, a warning will be shown (No Signal). Also beware that here are only video modes available, which are matching the Device Framerate.
- Chunk Length: defines the maximum length of the recorded Video. The maximun Chunk Length is 12 hours, the default is 2 hours.
- Recording does not reach the entered Chunk Length: clips will be automatically truncated to the expected recorded length.
- Recording exceeds the entered Chunk Length: a new Recording (generating a new clip) will automatically be started.
- Start Timecode: enabling this option overrides the local time or incoming timecode and makes every new clip start with the defined timecode value.
- Port: port to access the Channel from just:in over an IP connection. Default port for the first Channel is 50000, 50001 for the second Channel and so on. You can leave this setting if the chosen ports are not in use on this machine.
- MXF Write Buffer (Bytes in binary): This setting can be used to tune MXF writing for specific storage requirements, but should only be changed with care as it may lead to unexpected results including write errors. Recommended value: Block size of storage.
- VTR Control: select the serial RS-422 connection you want to use to control your VTR.
- VTR Preroll in Seconds: set the desired VTR preroll value in seconds (1-10). Default value is 5.
- Restart On No Signal if Not Recording: If this option is enabled, the channel will automatically restart after a signal loss (only in Idle Mode).
- Close container, write to new: Recording to the current file will be stopped and as soon as there is a valid signal again the recording will start into a new file.
- Close container and stop: Recording will be stopped when channel detects a signal loss.
- Cache Options:
- Don't Cache (default): files are directly written to disk, no caching is done.
- Cache: tells the storage controller to cache data in order to flush it to disk later to improve write performance. If you experience low write performance, enable caching.
- Action on Timecode break:
- Ignore: Channel ignores timecode breaks.
- Create new file: Channel creates a new file upon a timecode break.
- Calendar: select the Calendar which you would like to use with this Channel for Scheduled recordings. You may use any Calendar which can be imported to Apple Calendar app. This can be a local Calendar like the one which was created by the just:in Channel or an iCloud or Gmail Calendar. Contact us for more information.
- Preview: You can manually override the resolution, framerate and the quality of the Video Previews of the just:in user interface. This may be helpful to increase performance when displaying many Channels in the just:in user interface. Please see Channel Preview Options below for more informations.
- Resolution: two resolution options are available:
- High: 640x360px
- Low: 480x270px
- Frame rate: the preview frame rate can be changed between 0 (=native framerate) and 30 (if the channel framerate is higher then 30, then the preview will be limited to 30fps).
- Quality: can be changed between 10 and 100%.
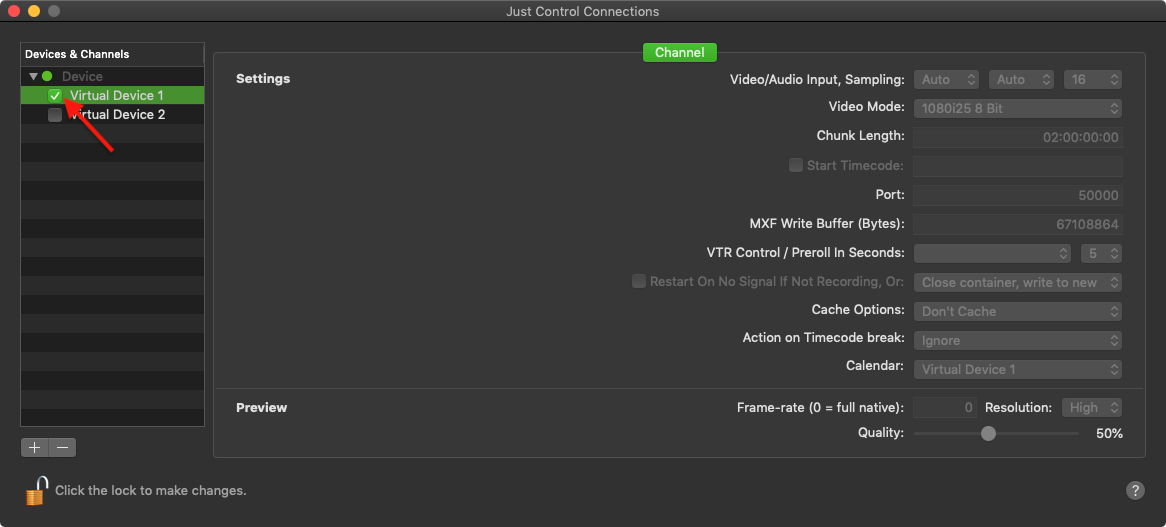
Activating/Deactivating Channels: clicking on a checkbox activates the Channel for Capturing. At least the Video Mode and the Audio Bitrate must be defined before the Channel can be activated. To change the settings of a Channel it must be unchecked. |
Enabling a Channel for Capture
By default Channels are not activated. After configuring a Channel you need to enable it by clicking on the checkbox next to the Channel name. The Channel can now be used by the just:in user interface. When quitting and relaunching just:in Engine, previously activated Channels will still be active, so there is no need to open the just:in Preferences and activate them again.

To change the Settings of a Channel you have to uncheck the corresponding checkbox first. Please be aware that the Channel goes offline then and will not be reachable by the just:in user interface. Once you enable the Channel again, just:in will reconnect to the Channel. Please beware that you can not uncheck a Channel, if this Channel is currently in recording mode. |
Once a channel is enabled, it will be available in the Connection Tab within the Inspector. |
Change Channel Name
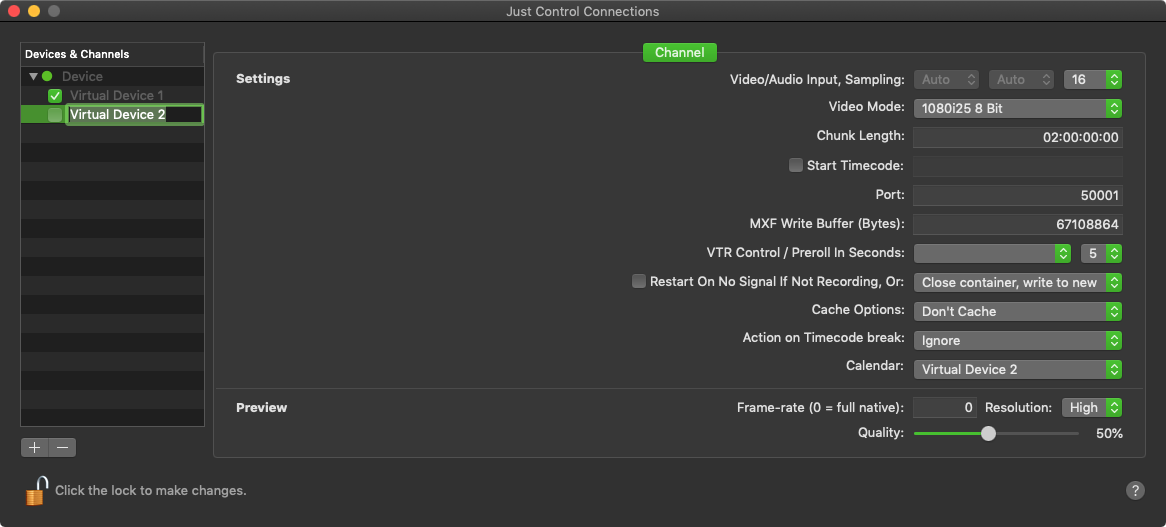
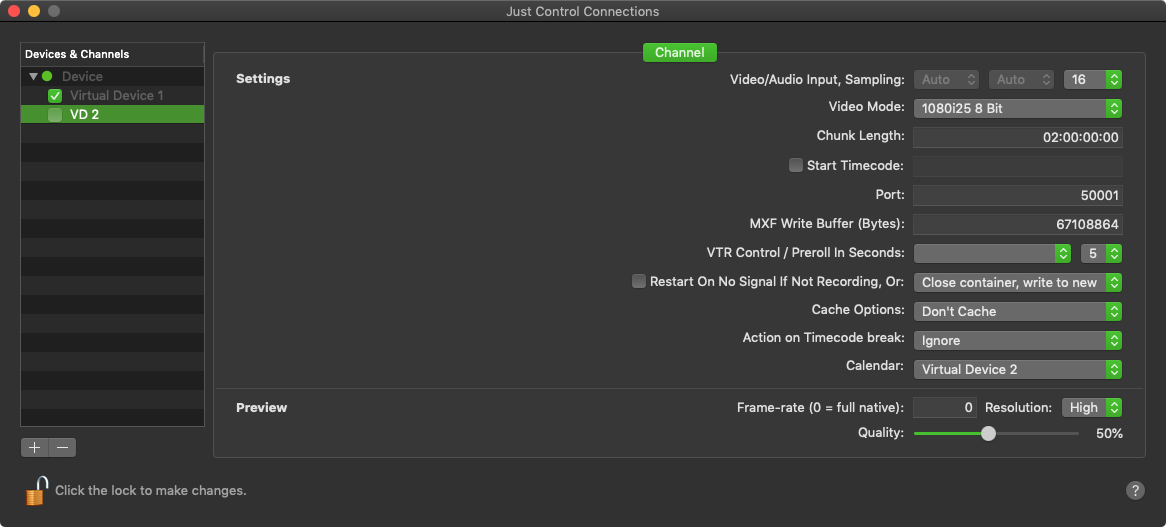
The Name of a Channel can only be changed, when the Channel is not enabled. First make sure that the Channel is not enabled and then double-click on the Channel Name (next to the channel checkbox), adjust the name and press enter.


