Important: Before you Install
The just:in installer comes as a disk image (DMG). To open the disk image the Security settings of the system must be changed.
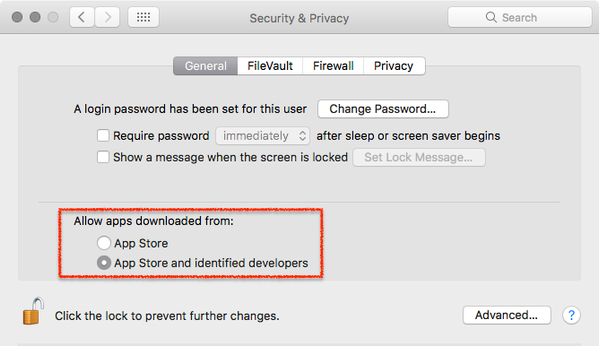
- Open the System Preferences.
- Go to Security & Privacy.
- Click on the General tab.

- Unlock the Preference Pane.
- Change the setting to Allow apps downloaded from App Store and identified developers.
- You can now head to the point Download & Installation below.
Further reading (external link): → macOS Mojave: Open an app from an unidentified developer
Download and Installation
- Download JustIn 4.x from our Support Helpdesk (registration required) or copy it from the internal raid of just:in linux (/media/internal_raid/tools).
- Extract the downloaded ZIP archive.
- The just:in disk image will show up.
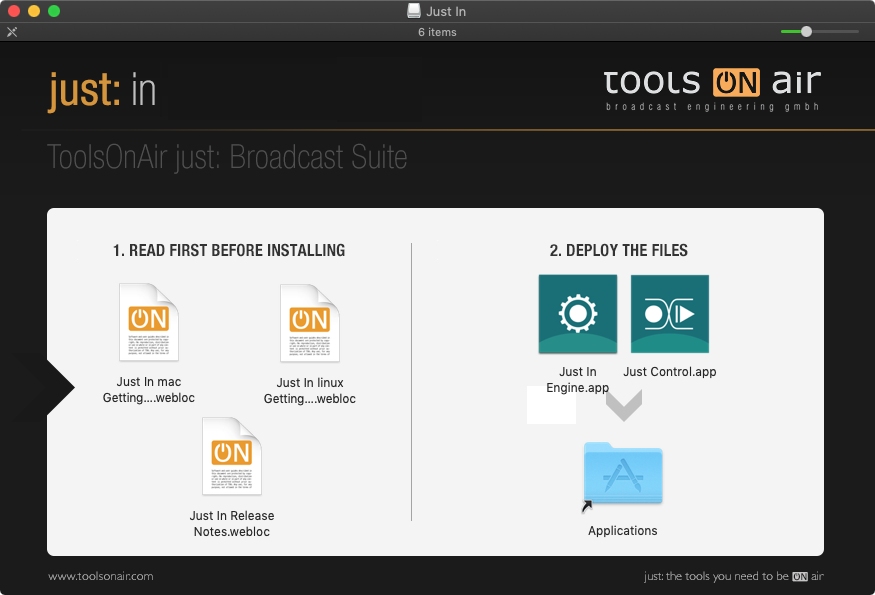
Copy Just Control and Just In Engine to the Applications folder.
- If desired, add both applications to your Dock.
2. Applications and Devices/Channels
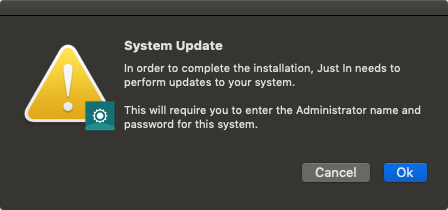
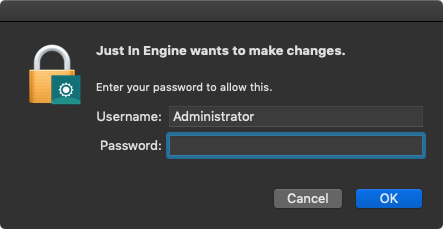
- Go to the Applications folder and open the Just In Engine Application. Press Ok and enter the Administrator Password.
- The diagnostic window of Just In Engine will open showing the message "No active channels, please start Just Control to configure channels".

- Now go to the Applications folder and open the Just Control Application. You may want to allow the application access to the macOS Calendar application (Schedule Mode). This can also be done/changed later. The Just Control main window appears.
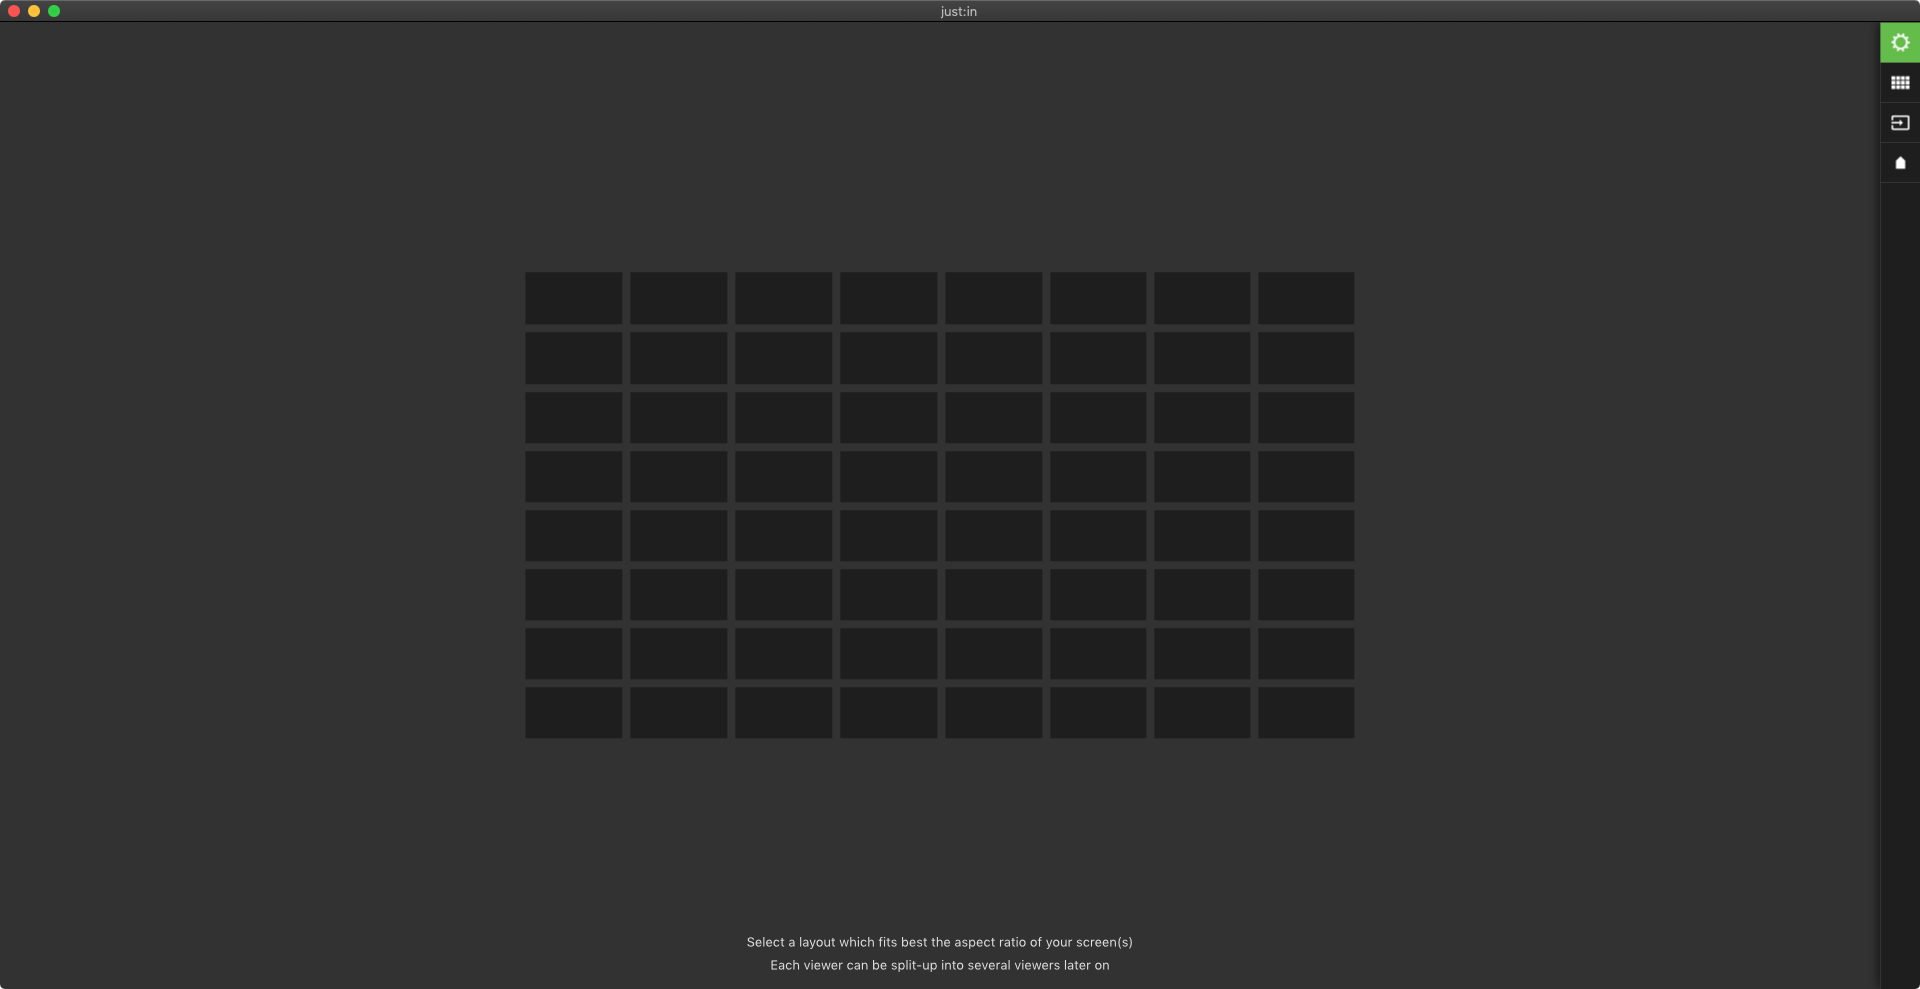
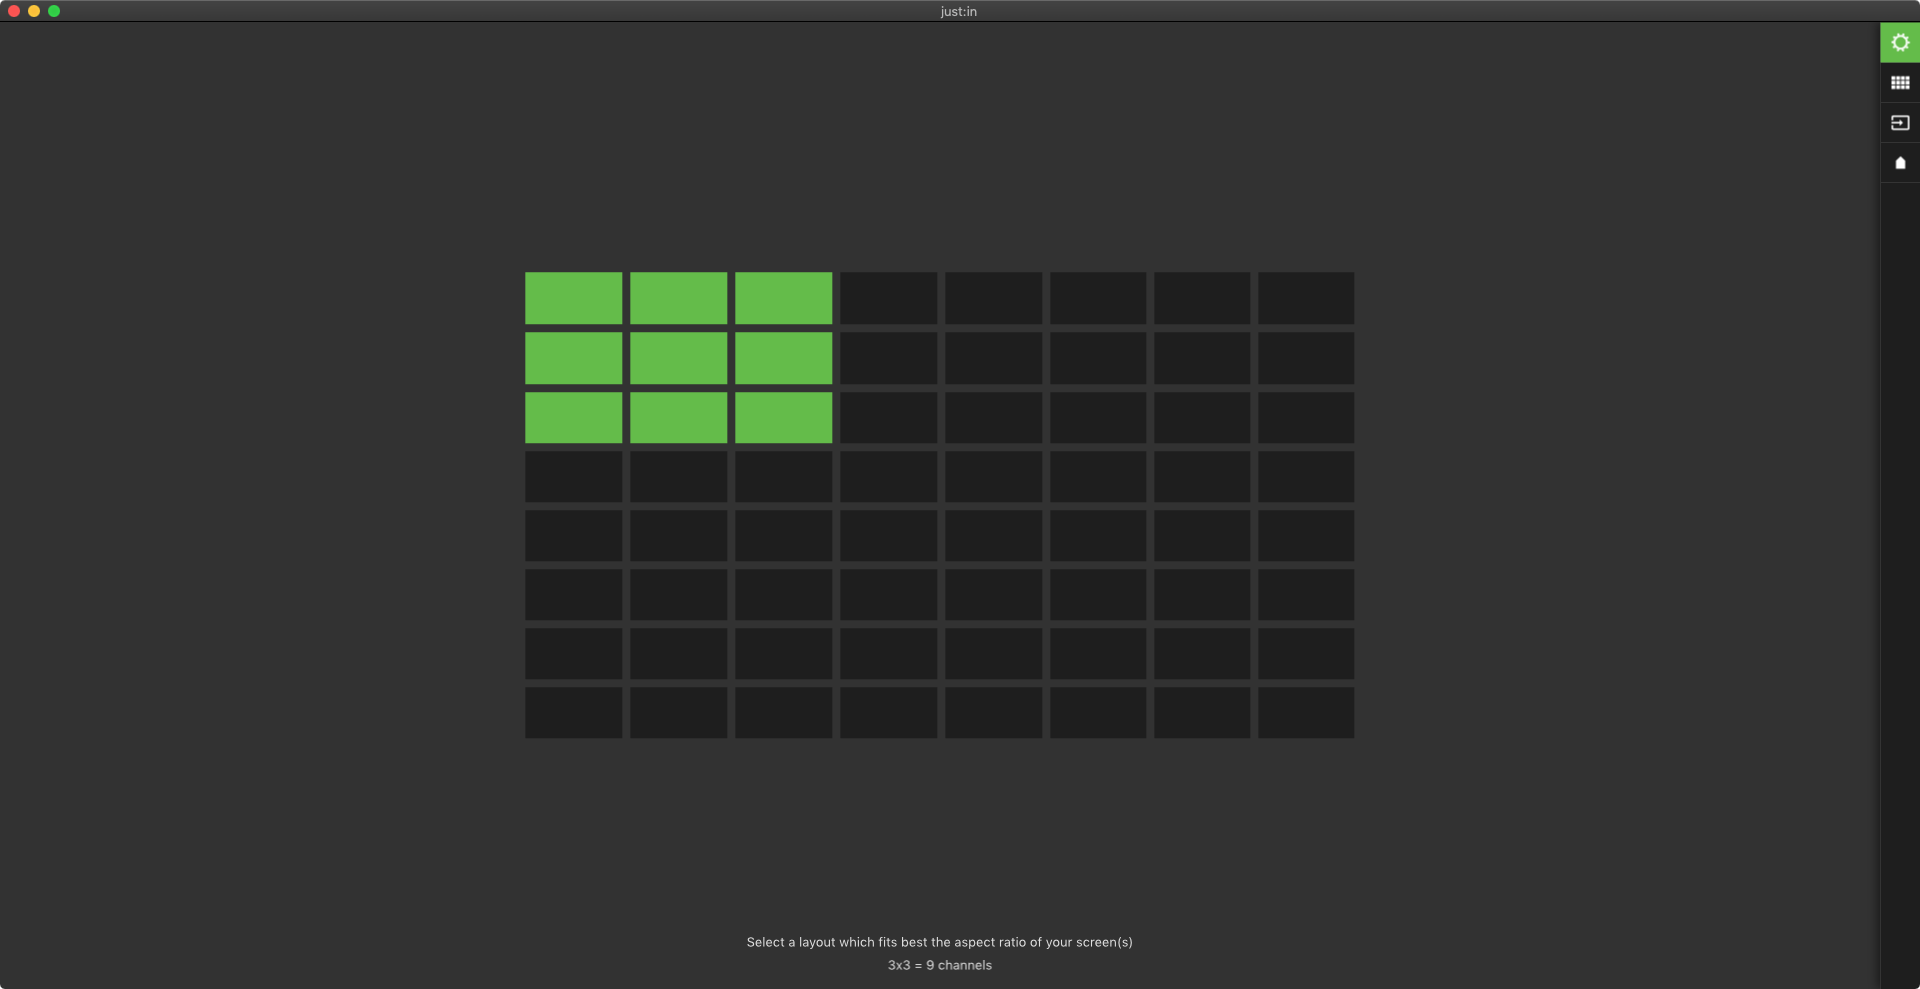
- Select a grid layout for the channel viewer. This can be changed at any time later.
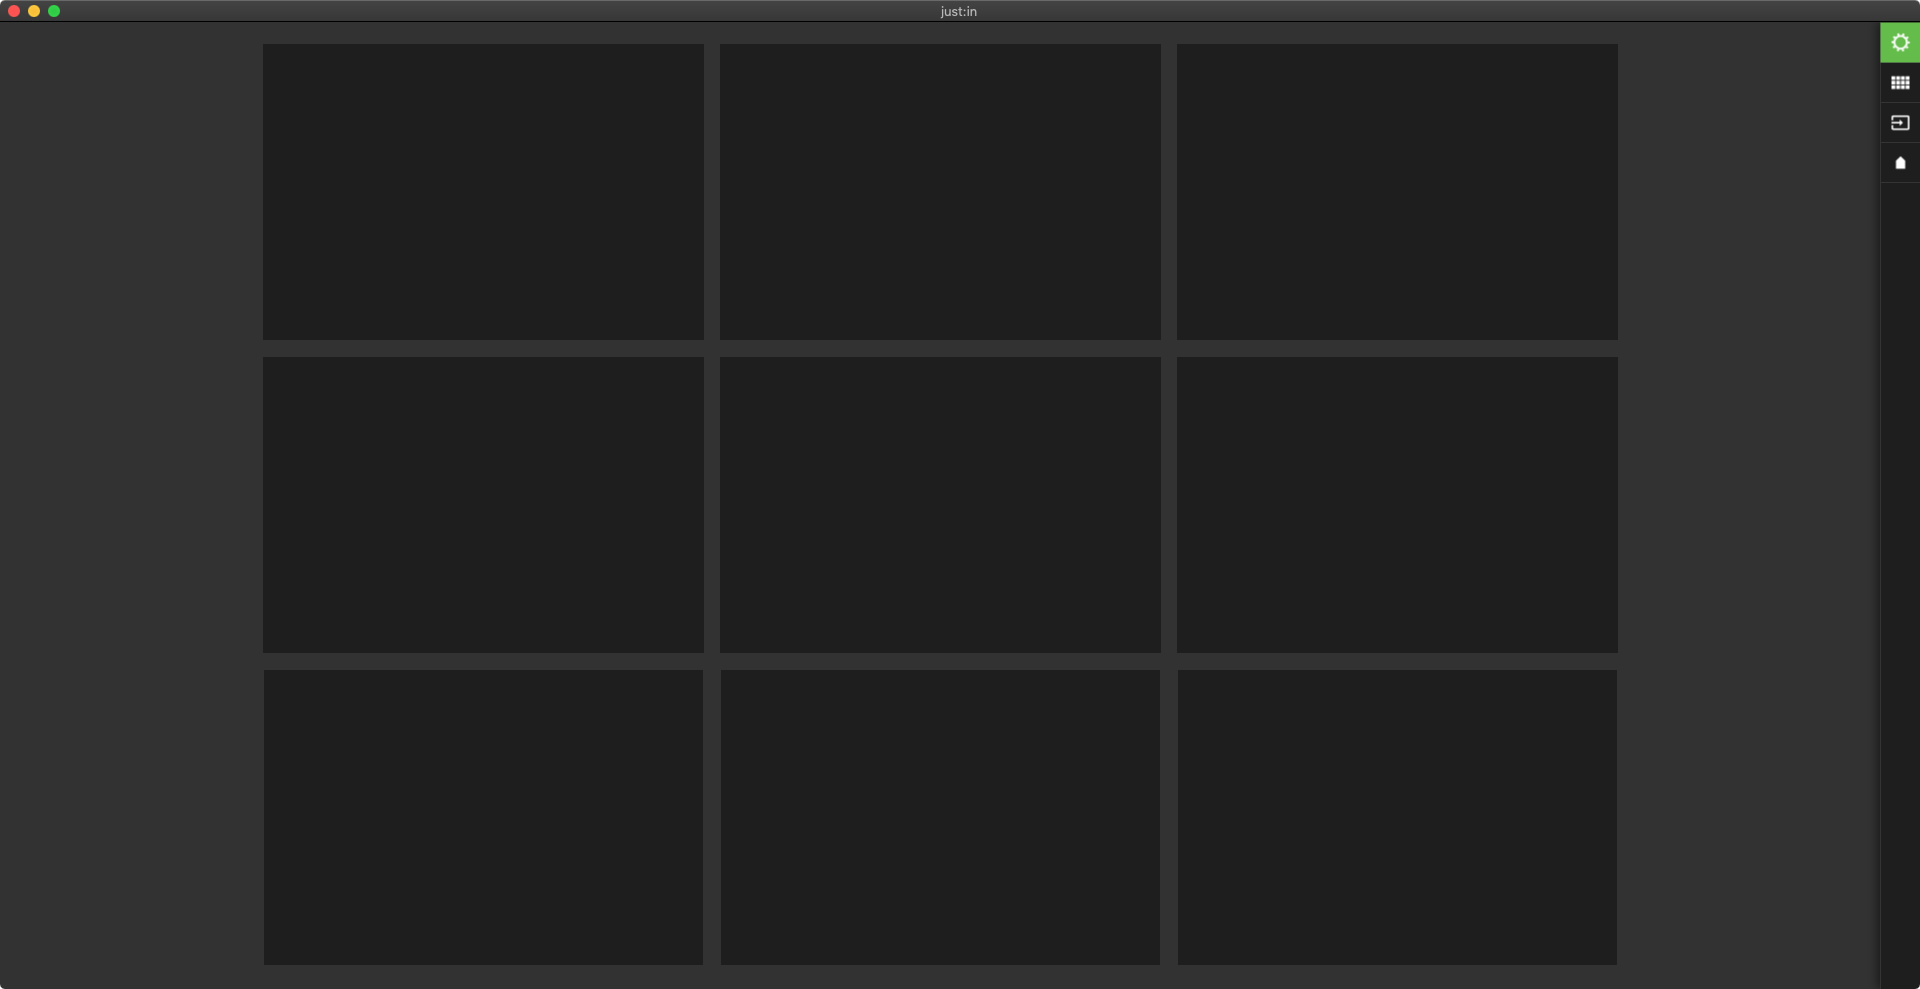
- Then the actual Just Control user interface opens with the selected grid layout.
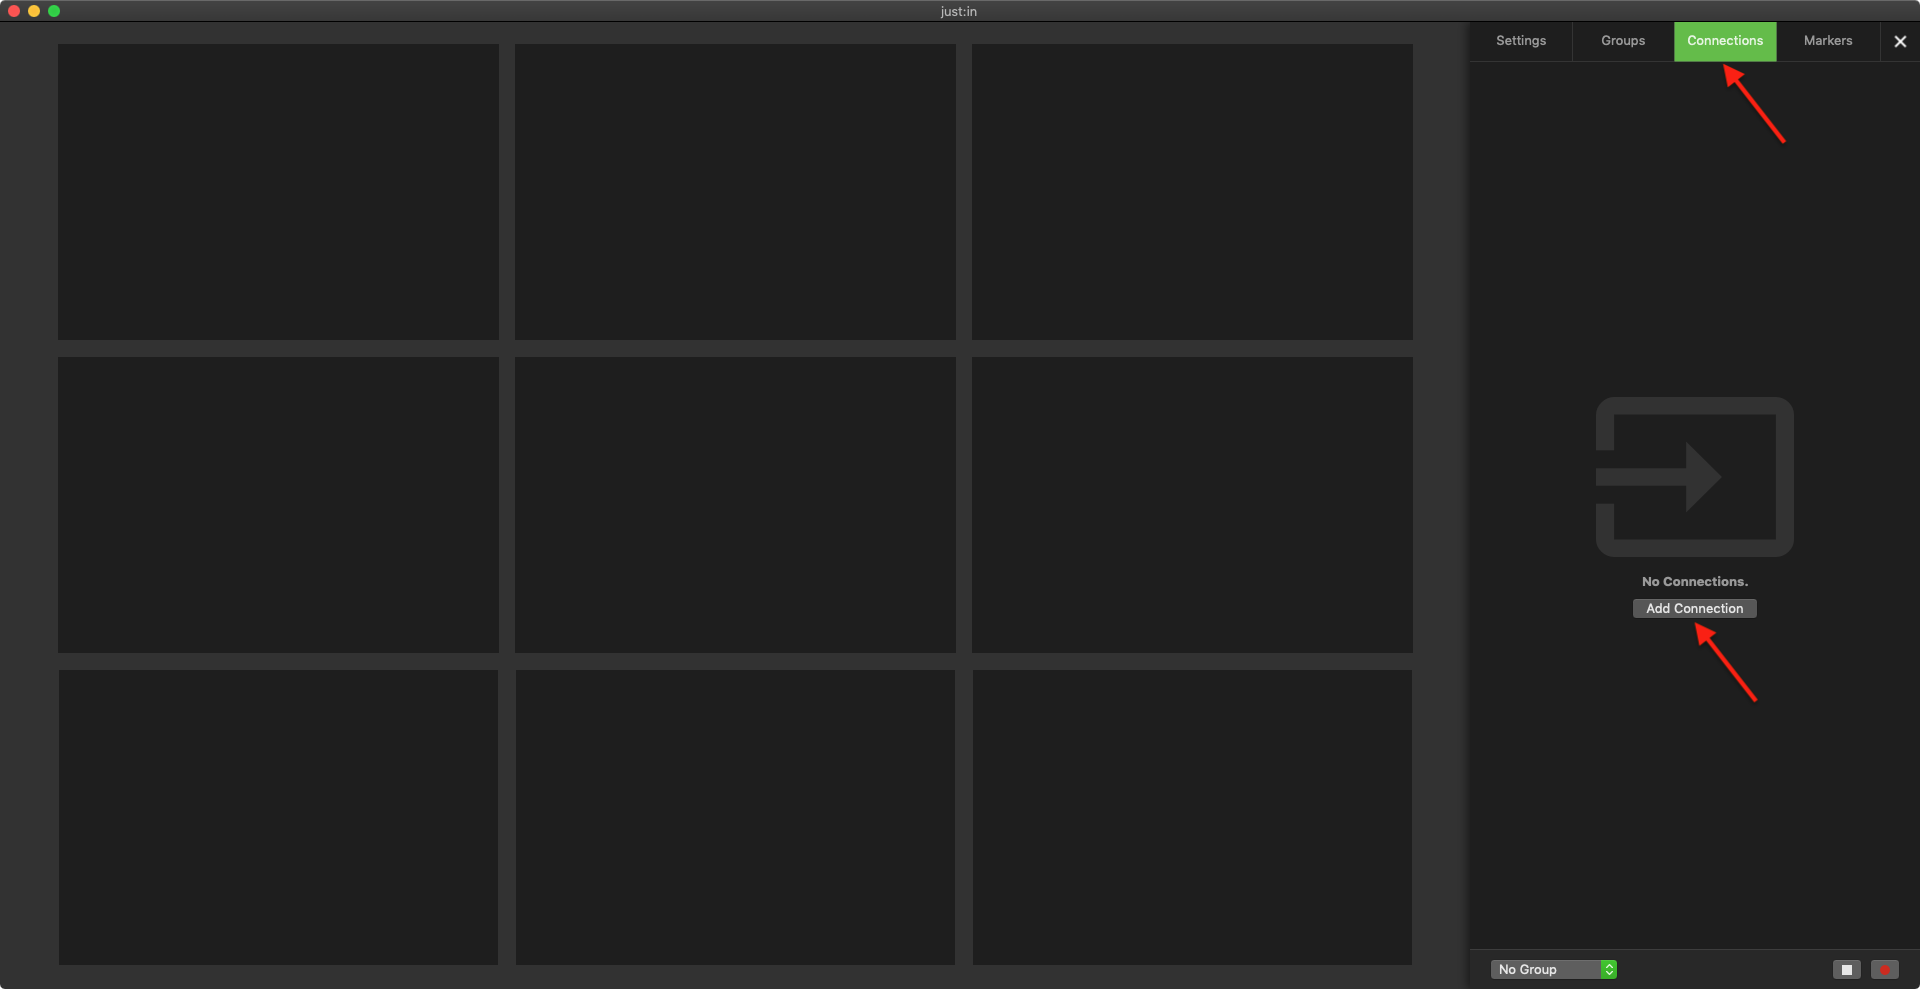
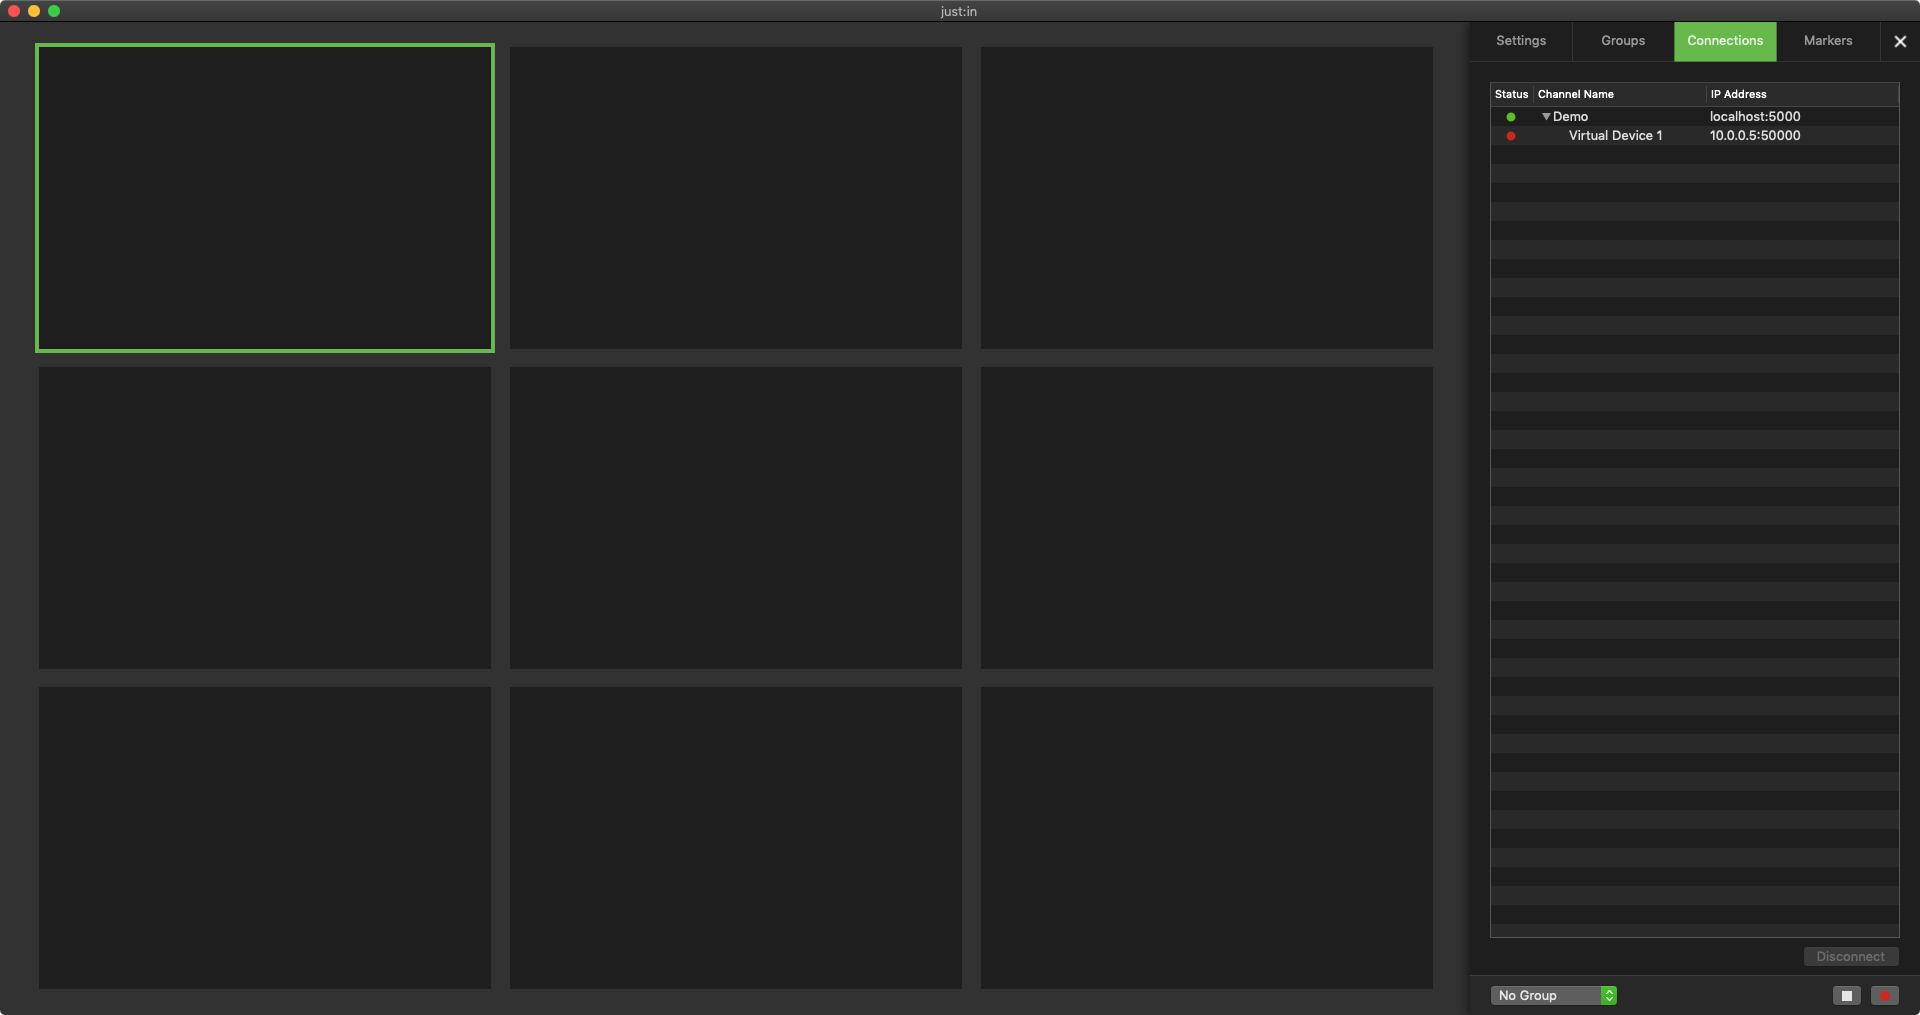
- Open the Inspector on the right side and switch to the Connections tab. There press the Add Connection-Button to open the Configuration Window.
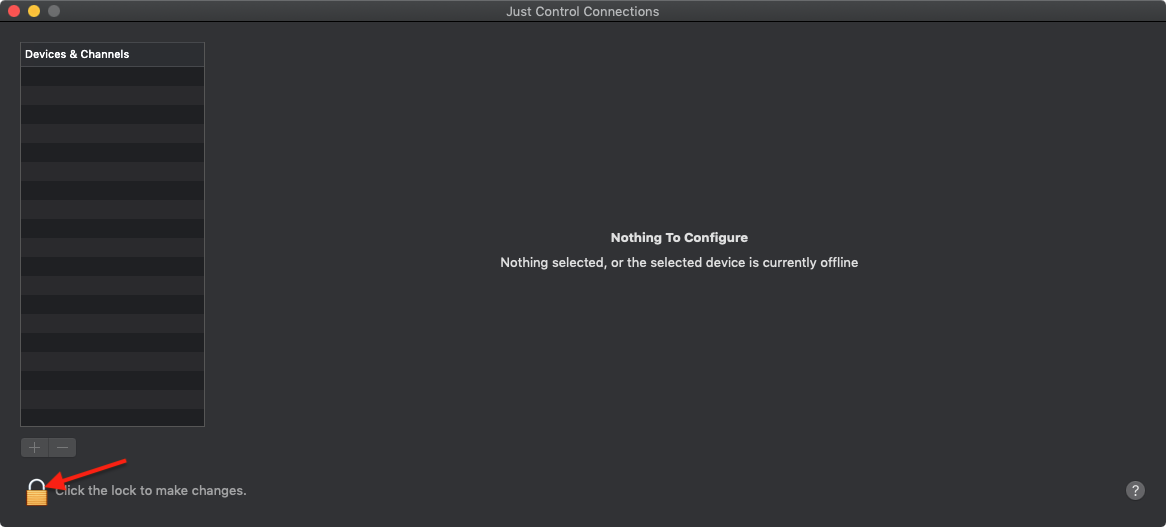
- Unlock the Panel by clicking on the cock symbol on the bottom left side.
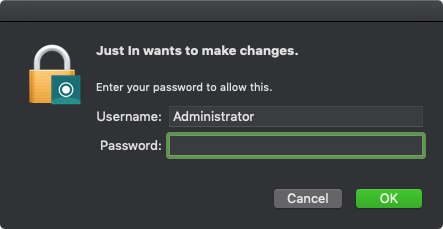
- Authenticate yourself to unlock the Configuration Panel.
- Press on the Plus
 Button at the bottom of the Devices & Channels list.
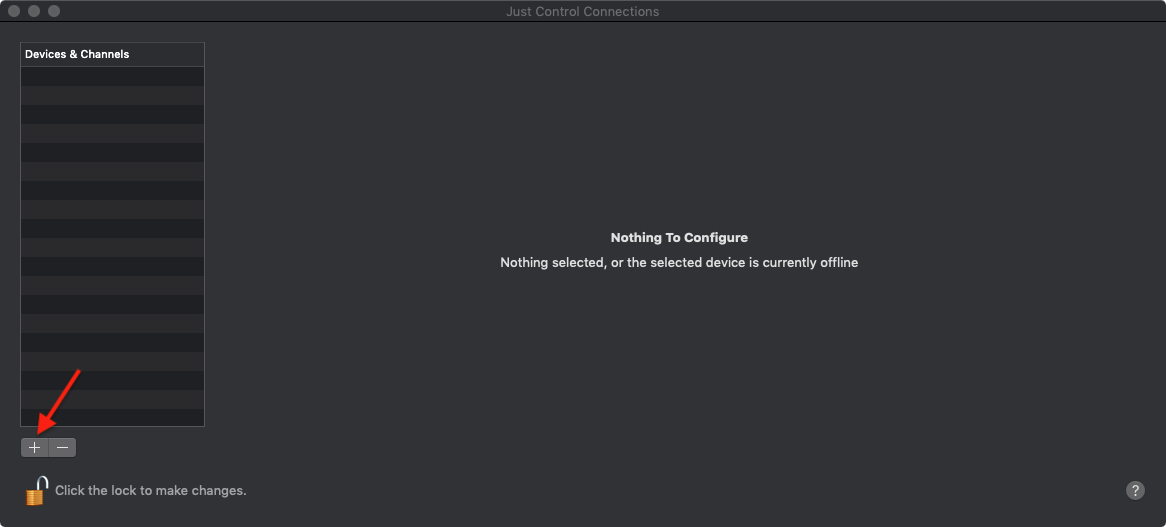
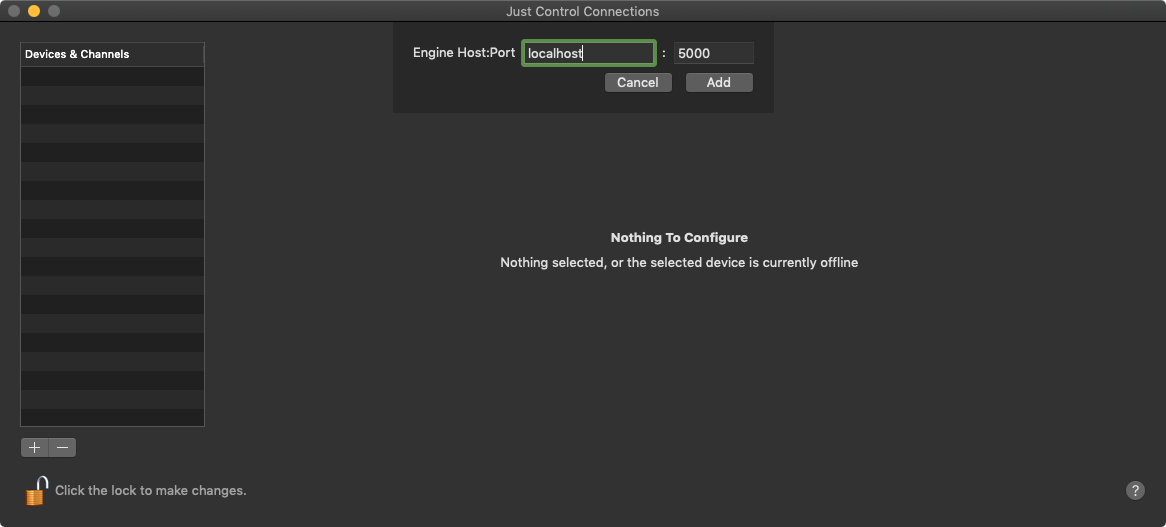
- Add the IP address of your machine (localhost or IP Address of the machine) and press the Add Button to establish a connection to the engine (the default Port value is 5000).
- The Configuration Wizard appears, which is helping with the basic configuration steps.
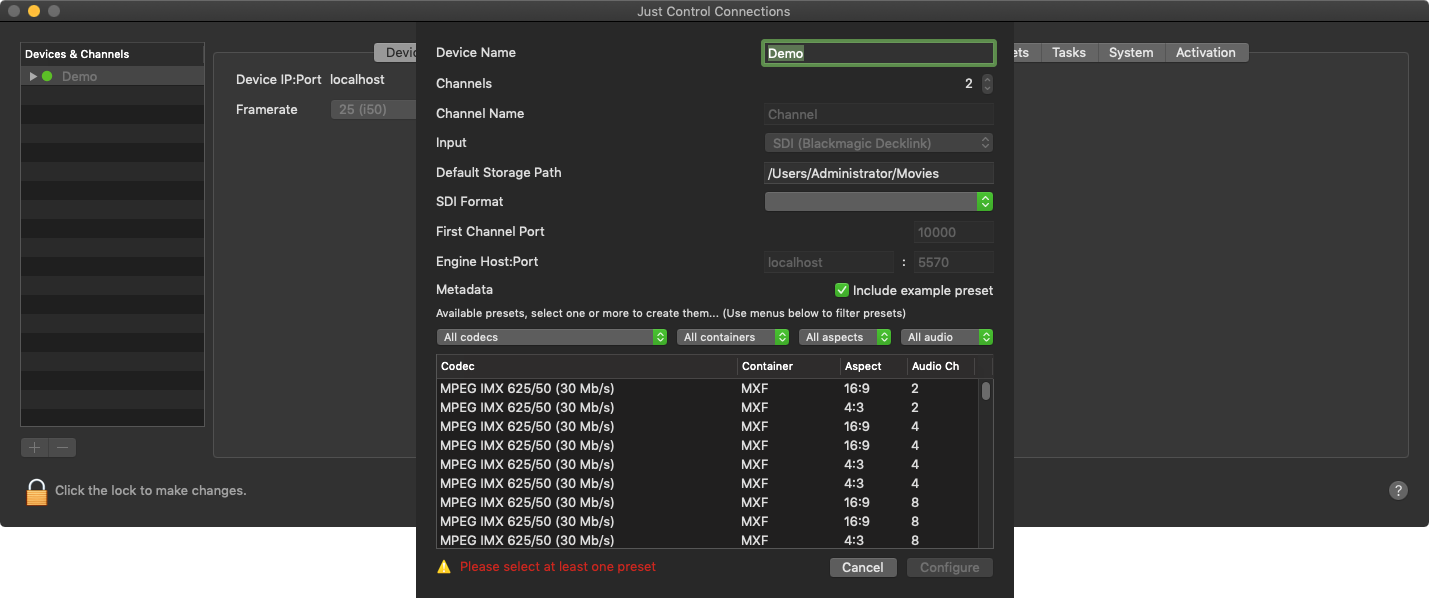
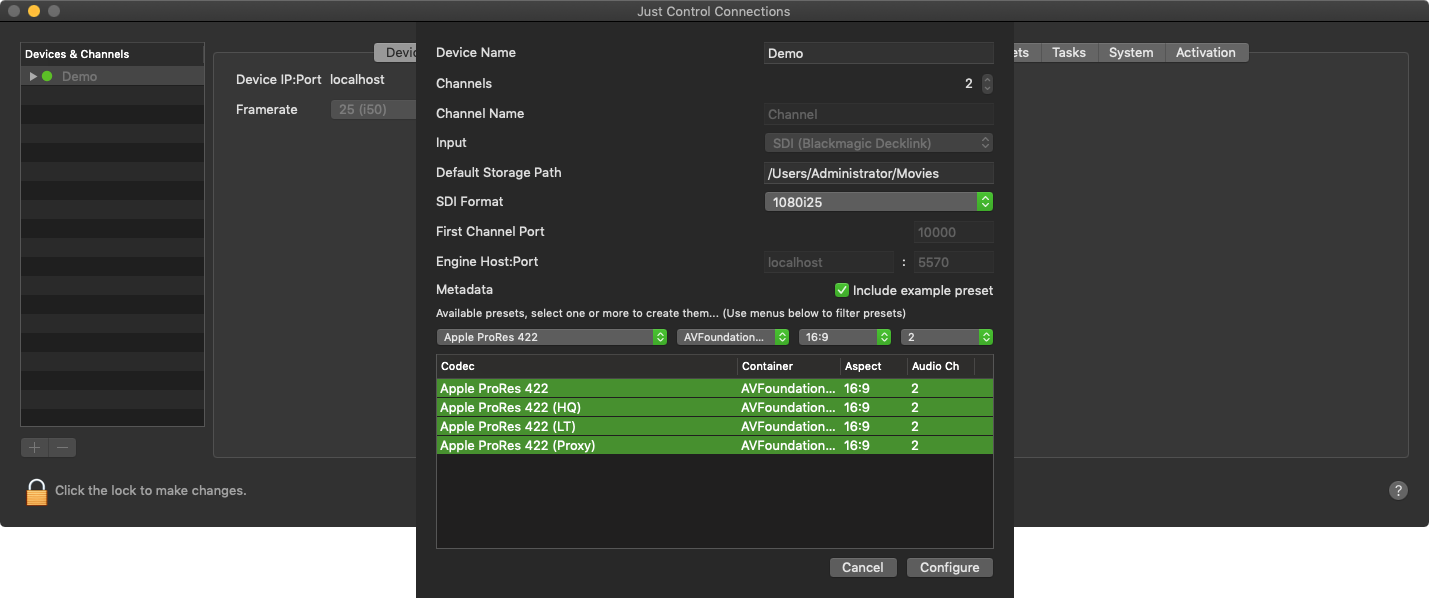
- Change your settings accordingly. The Channels, Channel Name and Input settings will be selected automatically. Next, choose the SDI Format and select at least one preconfigured Capture Preset from the list and complete the configuration by pressing the Configure button.
- You can now see the engine/device settings and the channel settings.
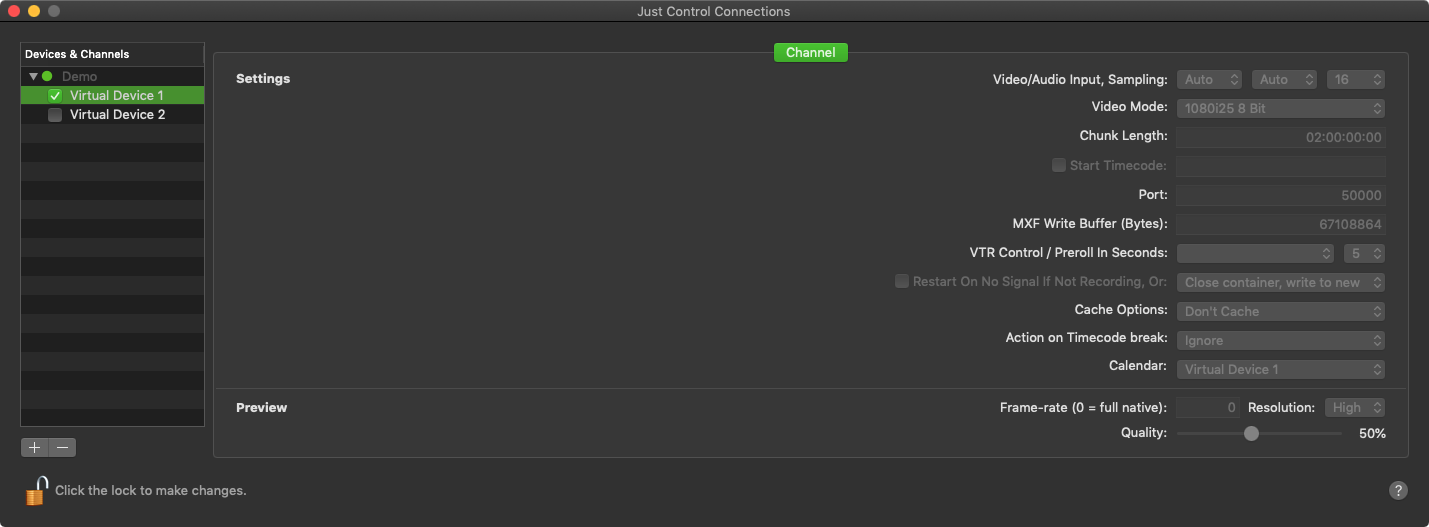
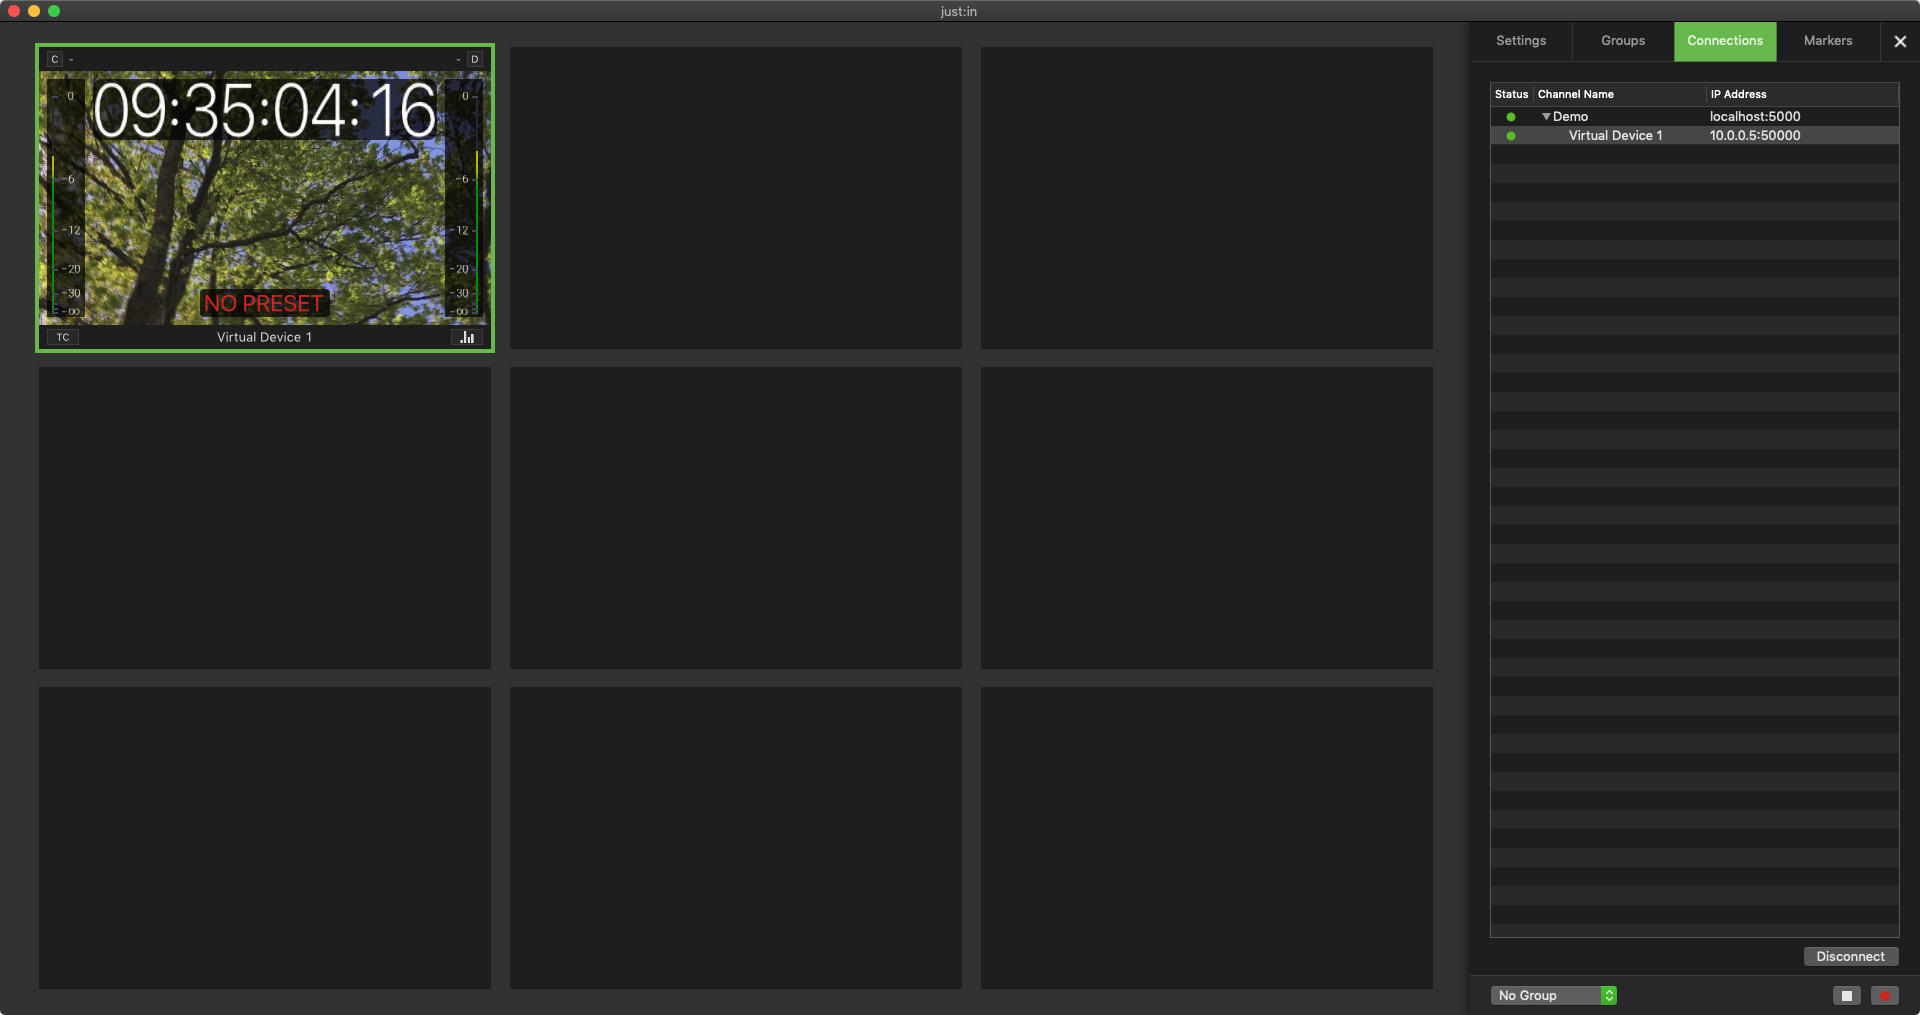
- Enable at least one channel within the Devices & Channels list. The engine windows will now also display the enabled channel.

- Switch back to the Just Control interface and close the configuration panel. Drag & Drop the enabled channel from the Connections tab to the viewer area and the channel will be connected to the user interface.
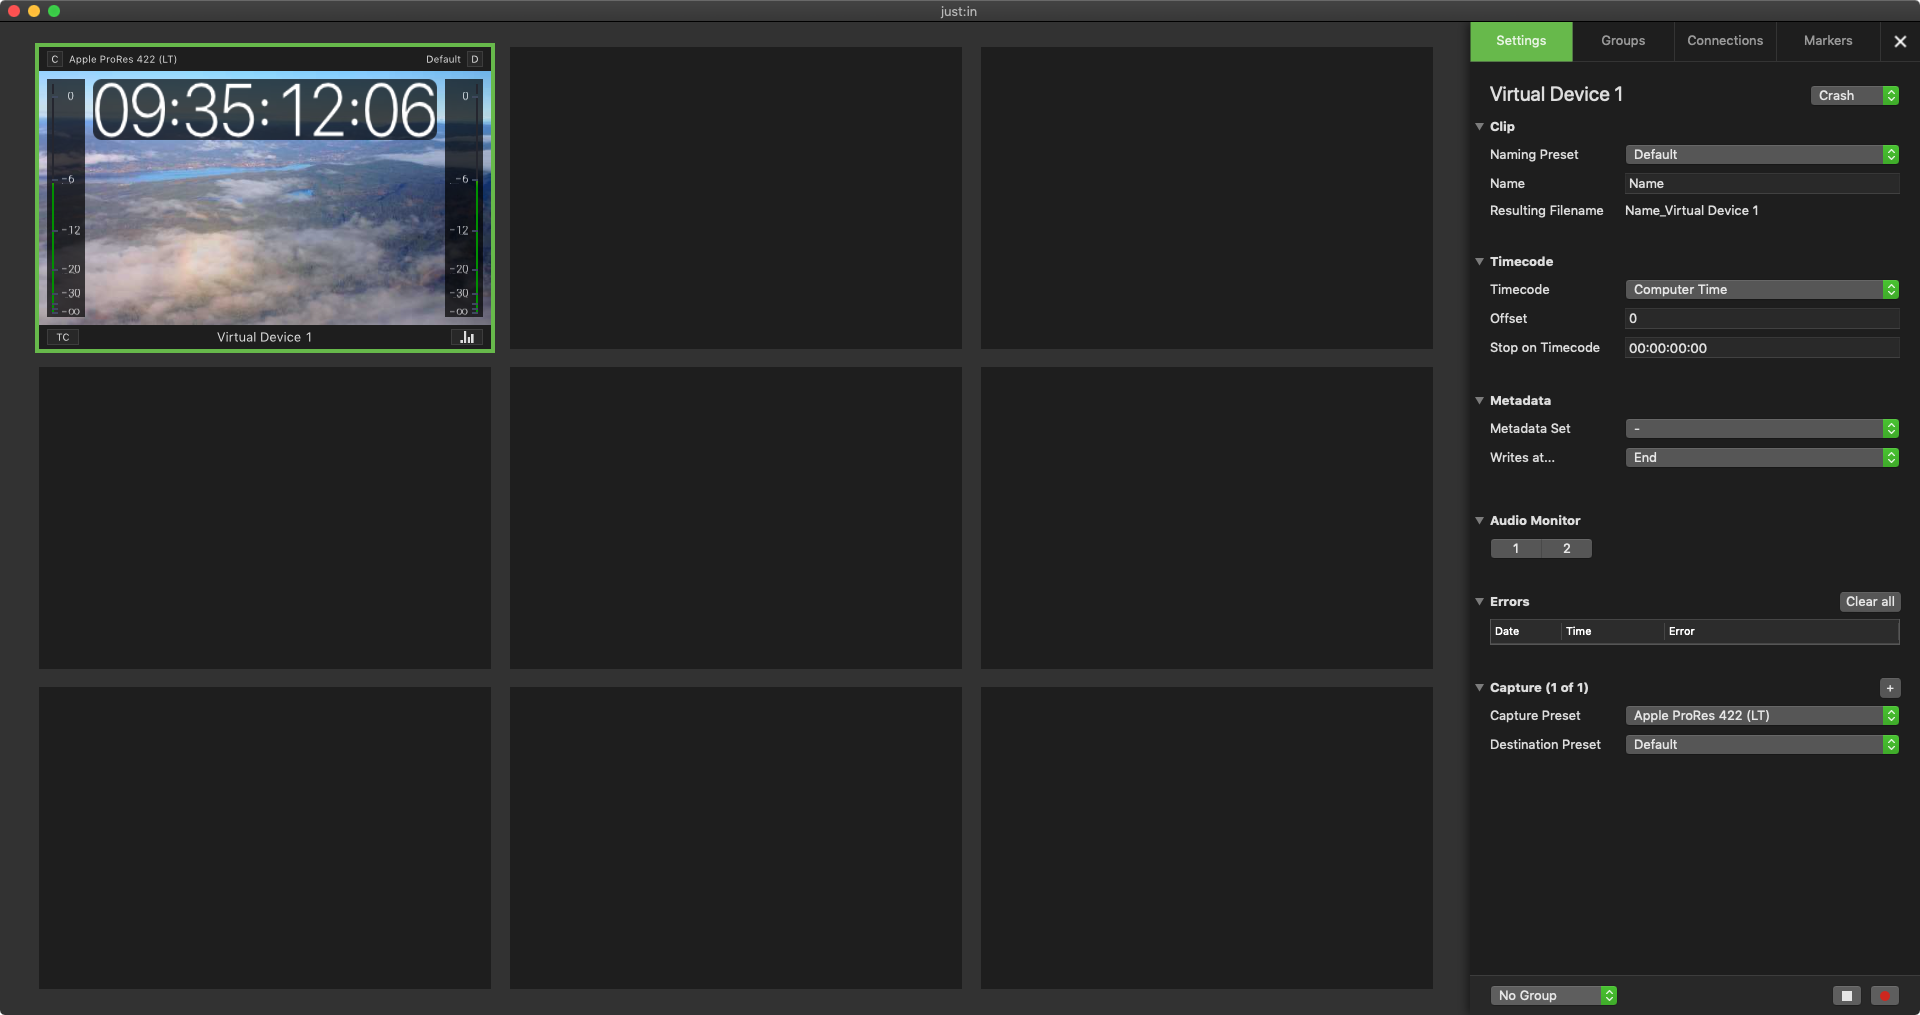
- Once the channels are connected you can check the appropriate channel settings in the Settings tab within the Inspector.
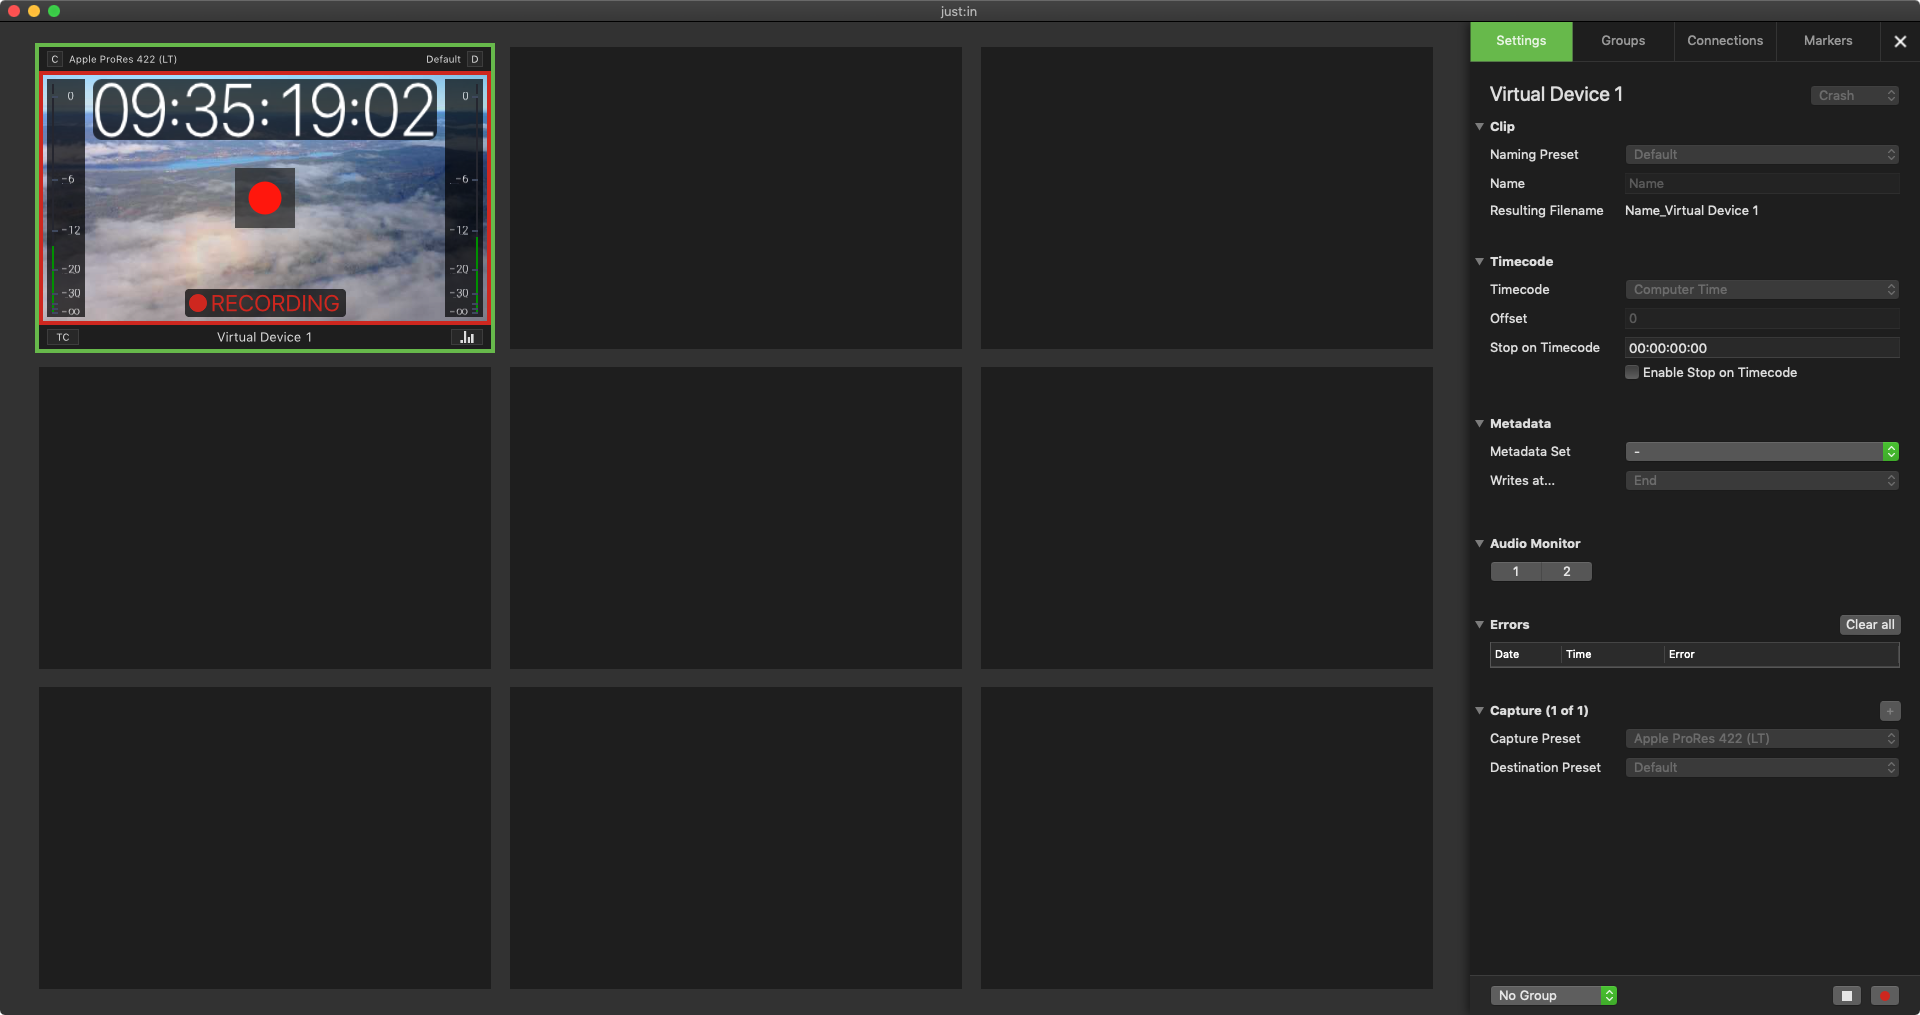
- You are now ready to start your first recording.
The Getting Started ends here. For further information please refer to the related pages in the user manuals.