Capture Presets define how a Recording will be done (codec, container, resolution…). Before you can do Recordings with the just:in user interface you need to create one or multiple Capture Presets. After defining Presets you can quickly access them in the just:in User Interface. This speeds up the Recording process and helps keeping things organized.
| Info |
|---|
To make any changes you need to click on the Make Changes button in the upper left and enter the admin password. |
Table of Contents
...
| Table of Contents |
|---|
...
Overview
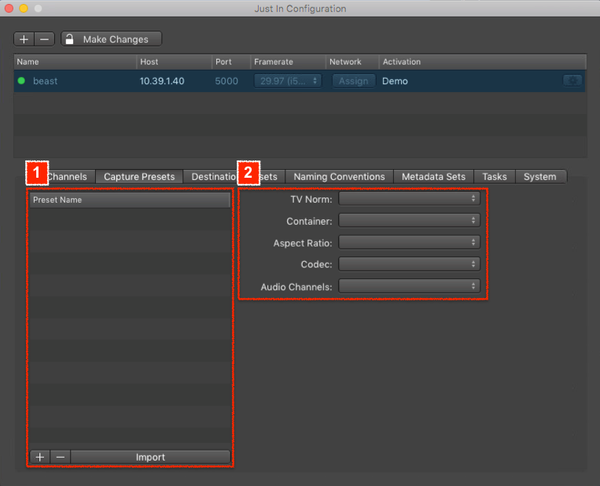
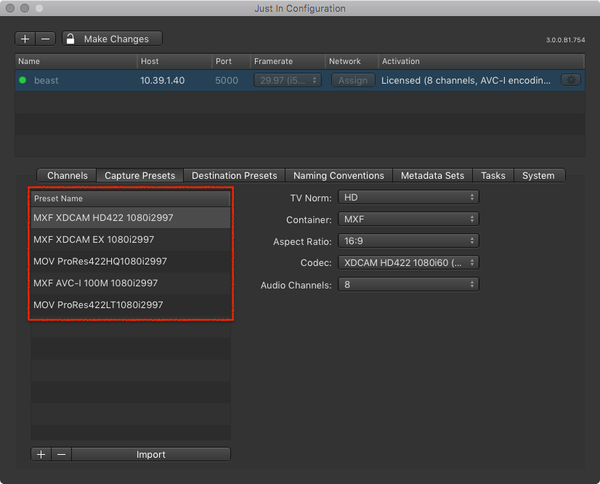
- Capture Preset List: shows all available Capture Presets. Use the buttons below to add, remove and import Presets.
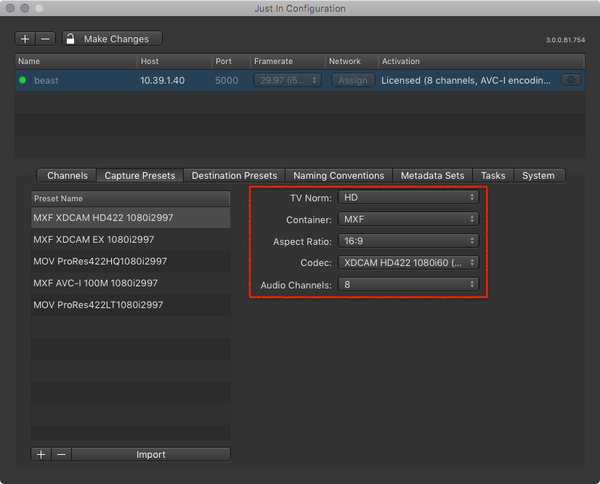
- Capture Preset Configuration: allows you to define your Capture Preset.
- TV Norm: select the desired TV Norm.
- Container: select the desired Container.
- Aspect Ratio: select the desired aspect ratio.
- Codec: select the desired Codec. After selecting the Codec you may also be asked for the Framerate and Resolution.
- Audio Channels: select the number of Audio Channels. After selecting the number of Audio Channels you may also be asked for the Audio Track Alignment (Mono or Stereo).
Adding a Capture Preset
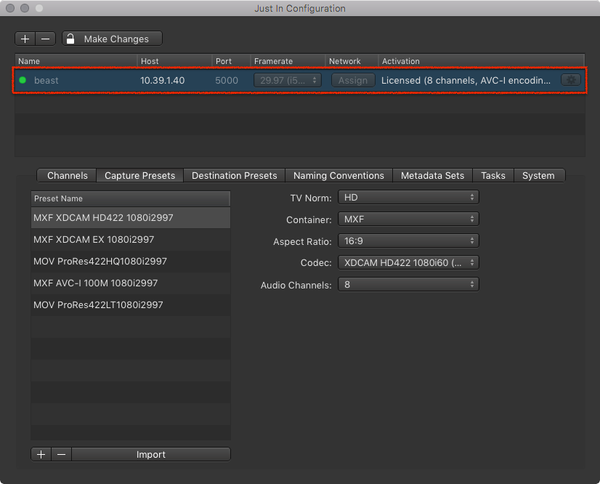
- In the Engine List select the Engine.
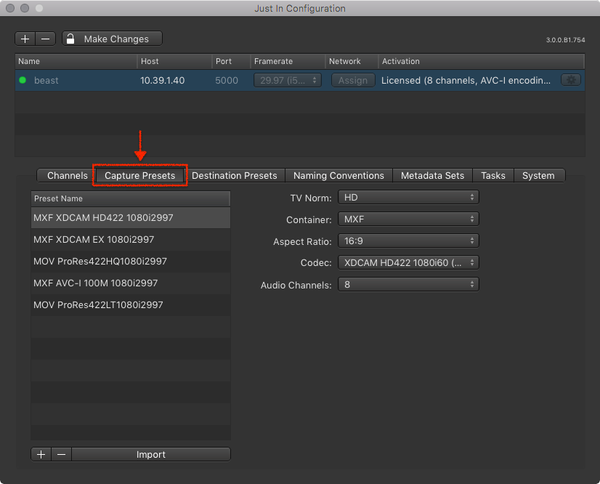
- Click on the Capture Presets tab.
- Below the Capture Preset List press the plus button to add a Capture Preset.
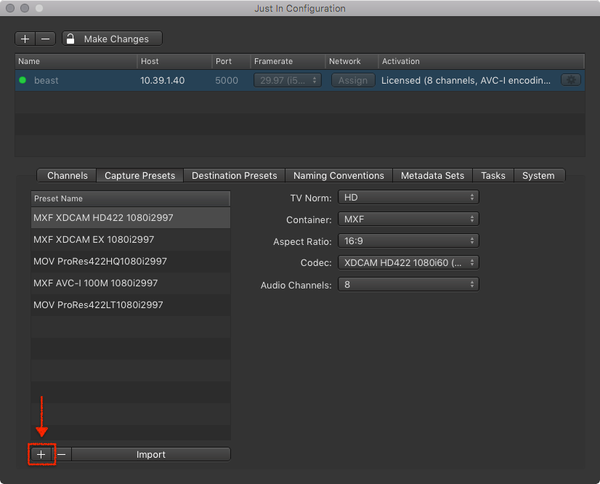
- A dialog appears asking you for the Capture Preset Name. Enter the Capture Preset Name and press the Create button.
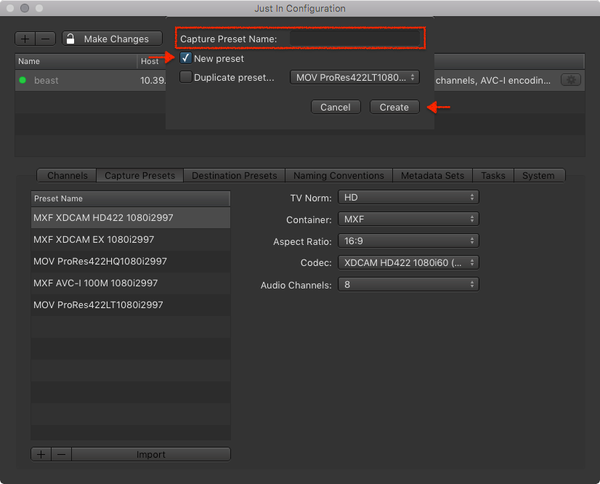
- Configure the Capture Preset. It will be saved automatically after all attributes are defined. You may change the settings of a Capture Preset at any time.
...
- In the Engine List select the Engine.
- Click on the Capture Presets tab.
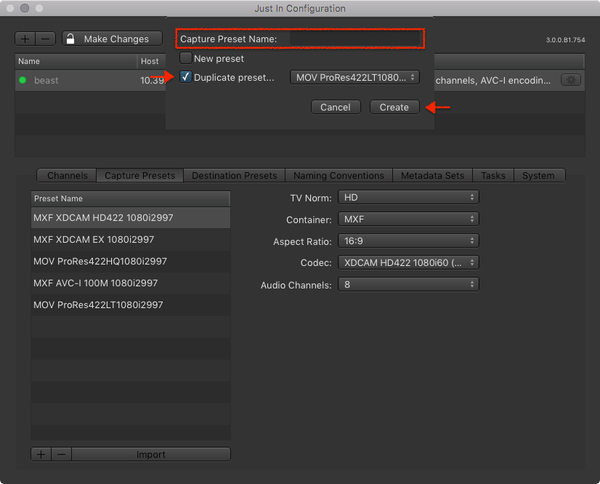
- Below the Engine List press the plus button to duplicate an existing Capture Preset.
- A dialog appears asking you for the Capture Preset Name.
- Enter the Capture Preset Name, activate the Duplicate Preset checkbox, select the Capture Preset you want to duplicate in the drop down menu and then press the Create button.
- Configure the Capture Preset. It will be saved automatically after all attributes are defined. You may change the settings of a Capture Preset at any time.
...
- In the Engine List select the Engine.
- Click on the Capture Presets tab.
- In the Capture Preset List select the Capture Preset you want to edit.
- Edit the Capture Preset. Changes are saved automatically.
...
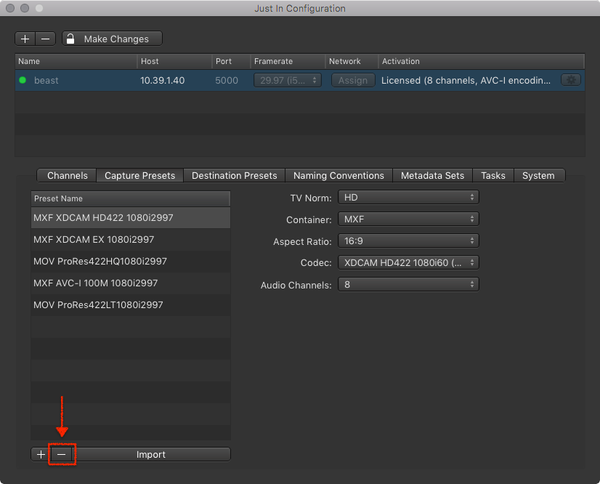
- In the Engine List select the Engine.
- Click on the Capture Presets tab.
- In the Capture Preset List select the Capture Preset you want to remove.
- Below the Capture Preset List press the minus button to remove the selected Capture Preset.
Importing a Capture Preset
You can import Capture Presets which have been created in just:in Engine Mac.
- In the Engine List select the Engine.
- Click on the Capture Presets tab.
- Below the Capture Presets List press the Import button.
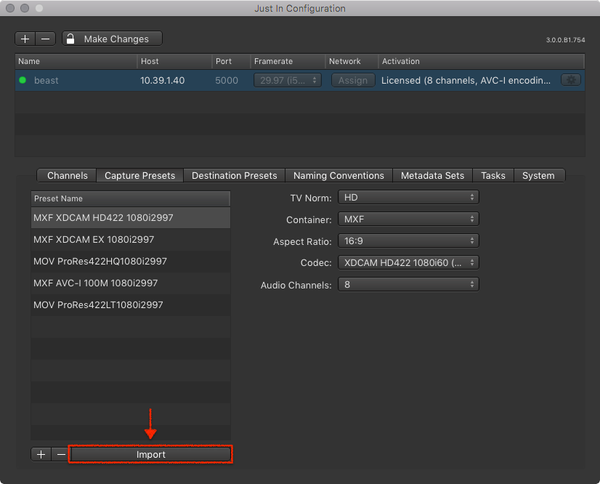
- Select the Capture Preset you want to import.
Apple ProRes
When creating an Apple ProRes-based Capture Preset you need to select the Framerate and Resolution.
...