Metadata Sets can be used to customize your metadata workflow in just:in Engine Linux. It is possible to display user-defined metadata fields within the just:in User Interface and to export sidecar XML files based on the entered data in these fields for every recorded file.
Table of Contents
| Table of Contents |
|---|
Metadata Sets in just:in
Here's a rough outline on how it works:
...
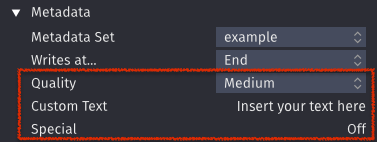
This figure shows how the included example would be displayed in the Inspector. The naming, the number and the type of Metadata Fields is completely user definable.
Getting Started with the Example XML
just:in comes with example XML files which can be adapted to your needs. These XMLs are stored in the folder /Library/Application Support/ToolsOnAir/Just In.
- StartUpXML: contains the XML files which will be listed under Metadata in the Inspector of the just:in User Interface.
- ExportXML: contains the XML files which will be used by just:in Engine to create the output Sidecar XML files.
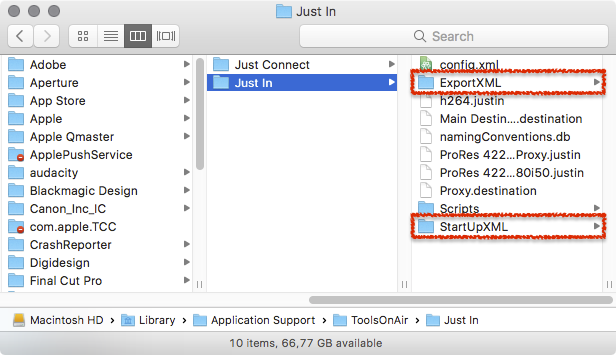
StartUpXML Folder: XML Metadata Sets
- The folder StartUpXML contains the XML files which will be listed under Metadata in the Inspector of the just:in User Interface.
- This folder contains a file named example.xml which can be adapted to your needs.
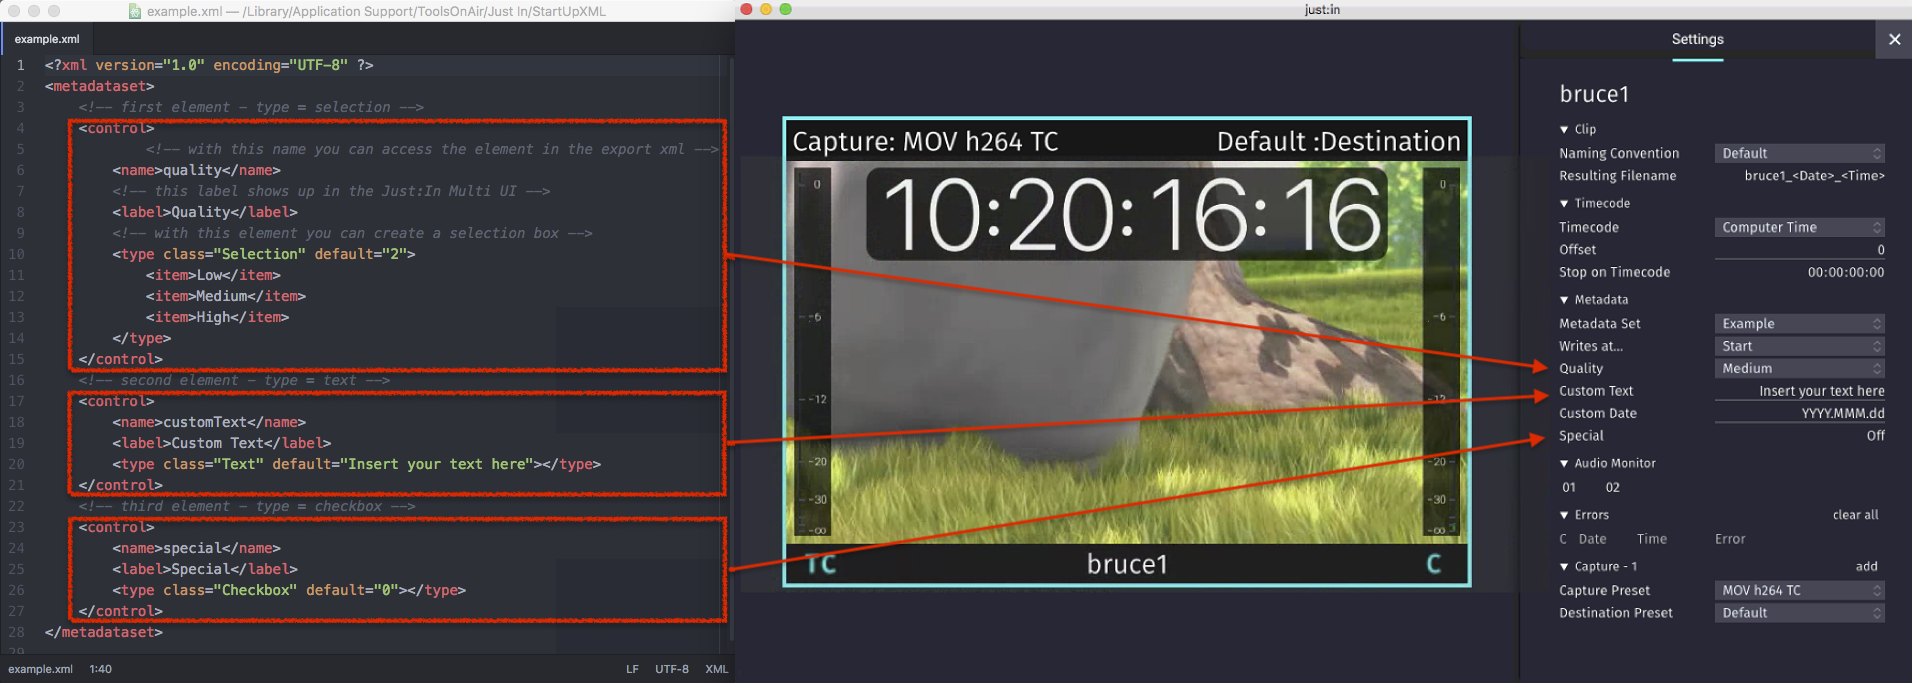
This figure shows how the example.xml would be displayed in the just:in User Interface.
Metadata Types
There are three Metadata Types:
- Selection: drop-down box, containing several, user definable <item> elements.
- Text: text field.
- Checkbox: checkbox, can either be off ("0") or on ("1").
Adding a XML Metadata Set
- Go to the folder /Library/Application Support/ToolsOnAir/Just In/StartUpXML.
- Duplicate the file example.xml and rename it to a name of your choice.
- Open the previously duplicated XML in a plain text editor.
- Edit the XML accordingly to your needs.
- Save the XML file.
- Create a XML Export Template for the Metadata Set, as explained below.
ExportXML Folder: XML Sidecar Templates
- The folder StartUpXML contains the XML files which will be used by just:in Engine to create the output Sidecar XML files.
- This folder contains a file named example.xml which can be adapted to your needs.
...
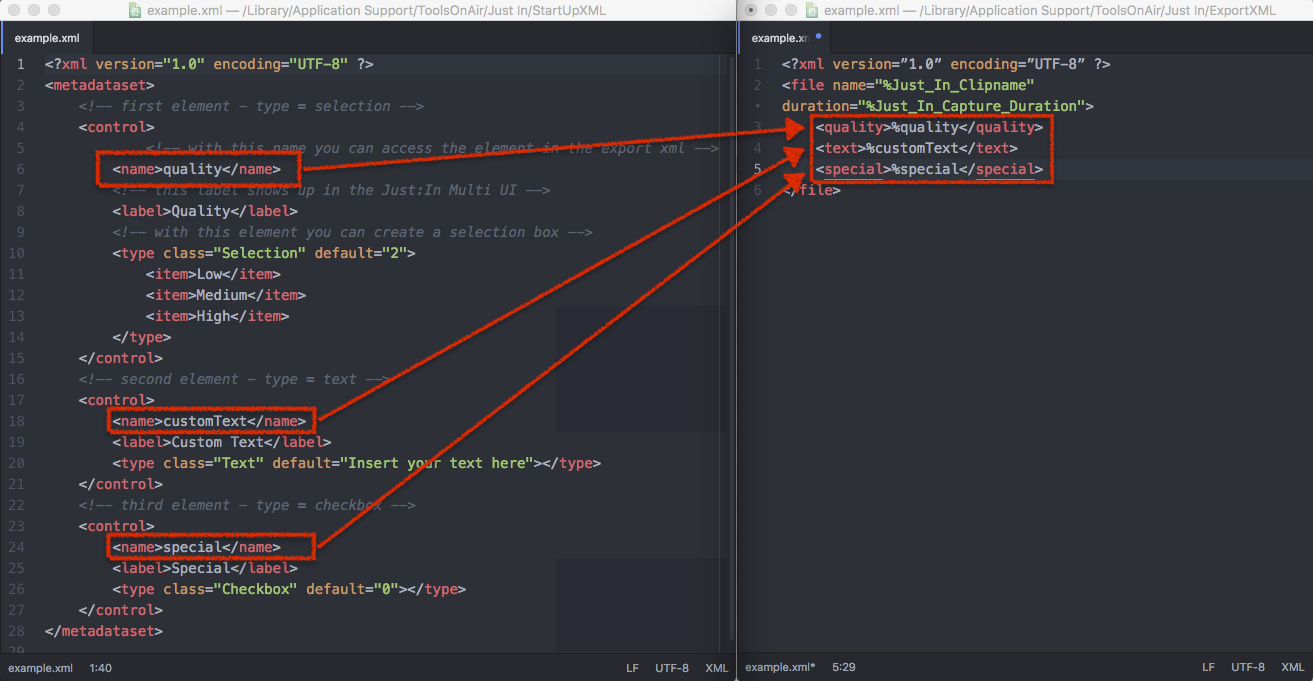
- Each <control> node of the StartUpXML contains a <name> node which must to be represented in the ExportXML template.
- Each <name> node contains a placeholder for the actual data which is entered in the Metadata fields in the Inspector if just:in. just:in Engine will output the Sidecar XML file with the corresponding data.
Adding a XML Export Template
- Go to the folder /Library/Application Support/ToolsOnAir/Just In/ExportXML.
- Duplicate the file example.xml and rename it to a name of your choice.
- Open the previously duplicated XML in a plain text editor.
- Add all nodes to the Export XML which you did create in the XML Metadata Set before.
- Save the XML file.
- Launch just:in Engine and just:in.
- Select the Metadata Set in the Inspector and do your Recordings.
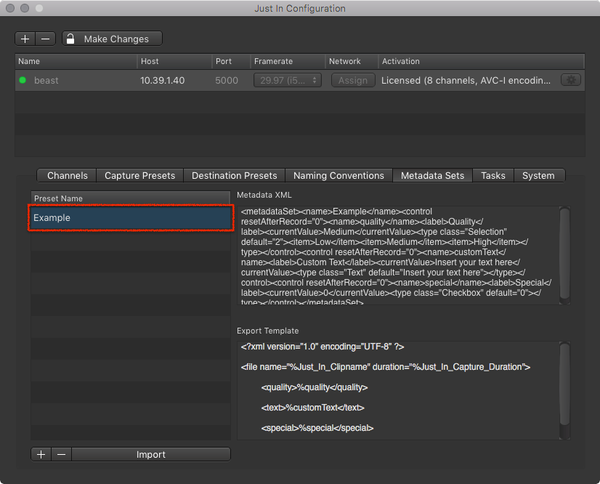
Overview
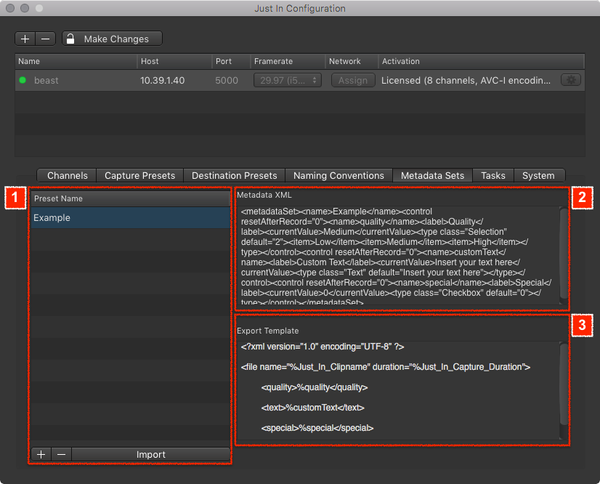
- Metadata Sets Preset List: lists all available Metadata Presets for the currently selected Engine. Use the plus and minus buttons at the bottom to add and remove Metadata Presets.
- Metadata XML: displays the content of the Export Template of the selected Metadata Preset.
- Export Template: displays the content of the Export Template of the selected Metadata Preset.
Adding a Metadata Preset
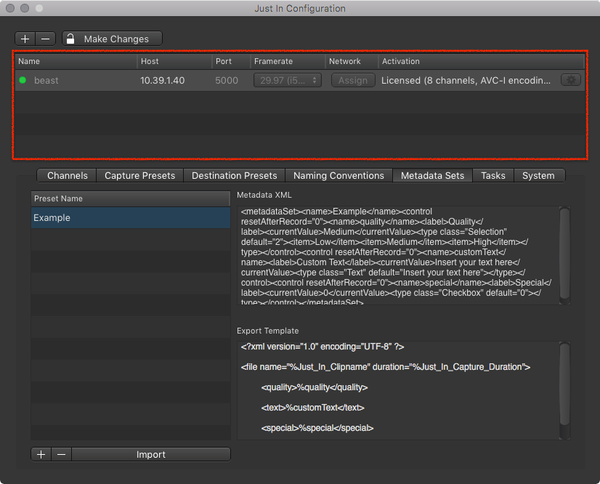
- In the Engine List select the Engine.
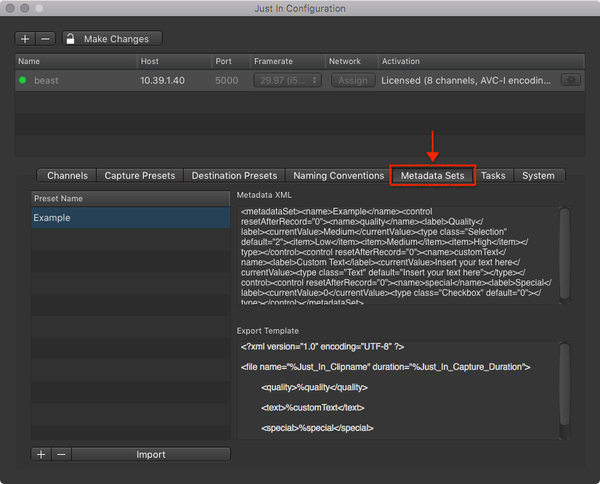
- Click on the Metadata Sets tab.
- Press the plus button below the Metadata Preset List.
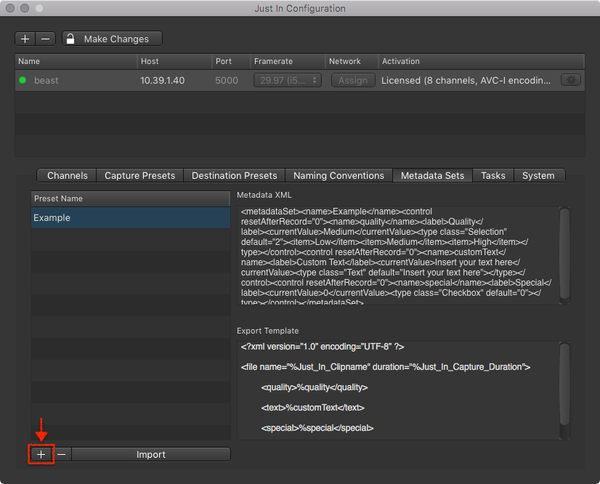
- Enter the Metadata Set Name, select the StartUp XML and the Export XML folder.
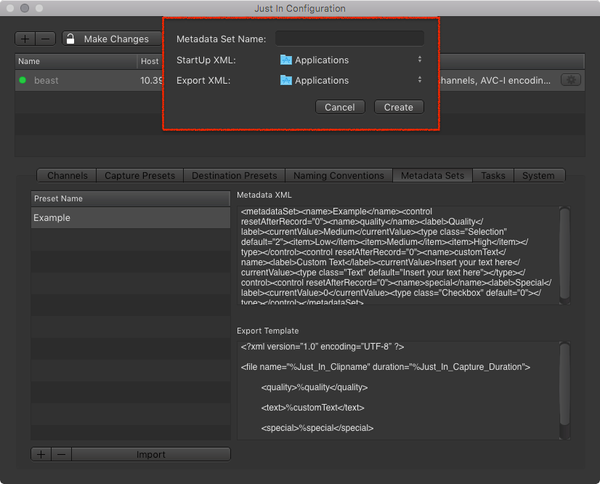
- Press the Create button when you are done.
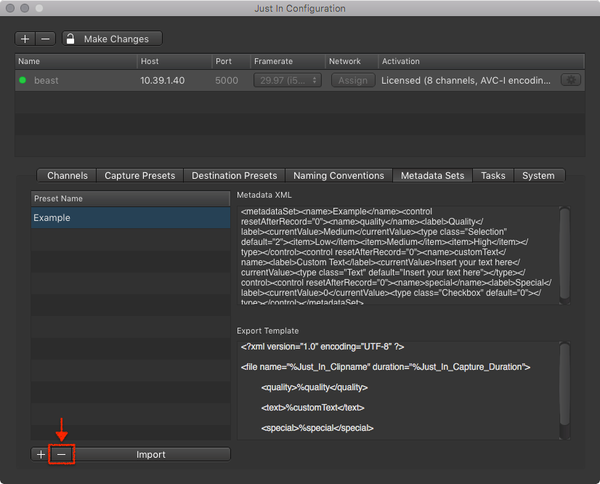
Removing a Metadata Preset
- In the Engine List select the Engine.
- Click on the Metadata Sets tab.
- In the Metadata Preset List select the Metadata Preset you want to remove.
- Press the minus button below the Metadata Preset List. This cannot be undone.
Importing a Metadata Preset
- In the Engine List select the Engine.
- Click on the Metadata Sets tab.
- Press the Import button below the Metadata Preset List.
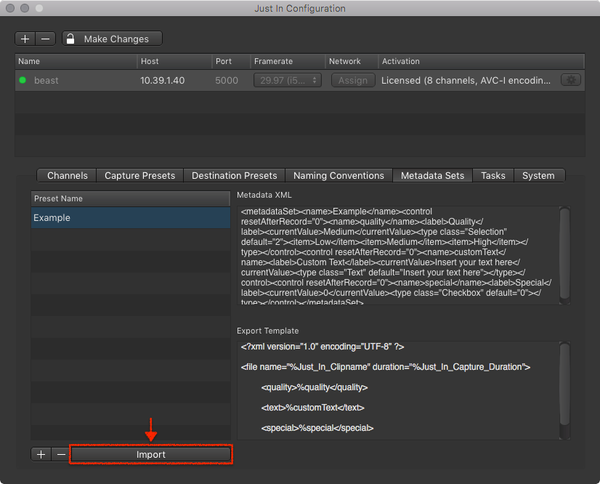
- Select the Metadata Preset you want to import.
Renaming a Metadata Preset
- In the Engine List select the Engine.
- Click on the Metadata Sets tab.
- In the Metadata Preset List double click on the Metadata Preset you want to rename.
- Change the name and press the enter key.