Table of Contents
| Table of Contents |
|---|
1. Validate the Settings
- Open a live:cut Project via the just:in User Interface.
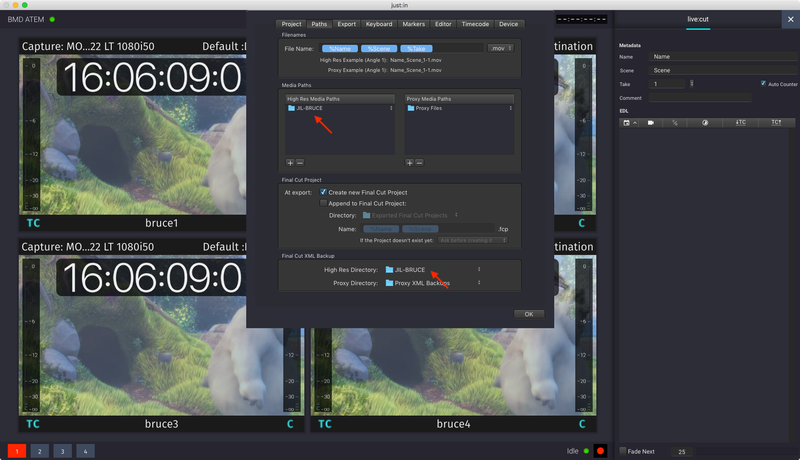
- Go to the menu Project → Settings and click on the Paths tab.
- Verify if everything has been configured properly. Refer to the previous chapters if the configuration is incomplete.
- Click on the Editor tab. Verify if everything the proper Video Editor has been configured properlyselected. Refer to the previous chapters if the configuration is incomplete.

- Click on the Device tab. Verify if everything has been configured properly. Refer to the previous chapters if the configuration is incomplete.

- Close the Project Settings by pressing the OK button.
...
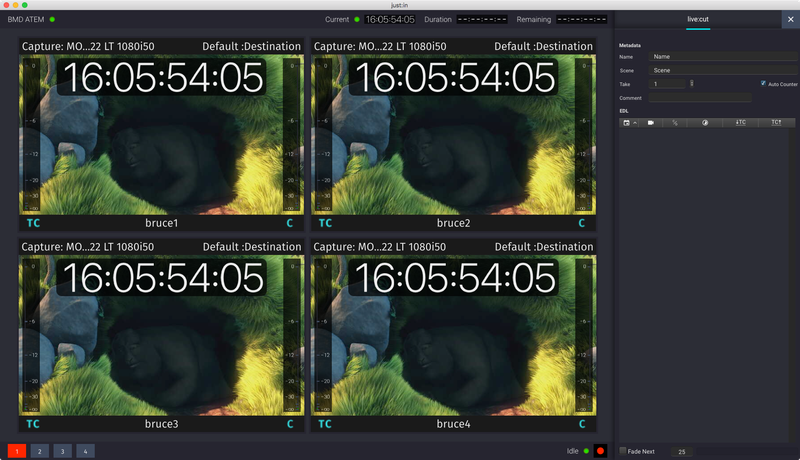
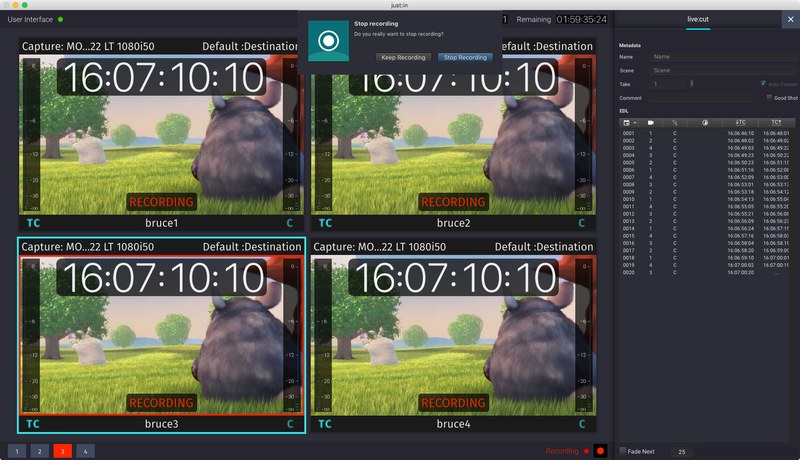
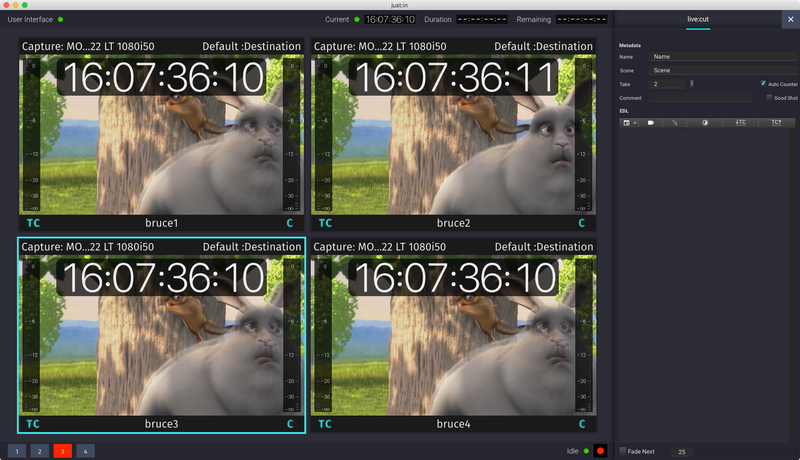
- Before starting the recording make sure that all Channels display the same Timecode.
- Use the Record button at the bottom right of the user interface to start recording.
- It takes a couple of seconds and for the recording process beginsto start. This small delay is necessary as live:cut searches for a starting Timecode on all Channels.
...
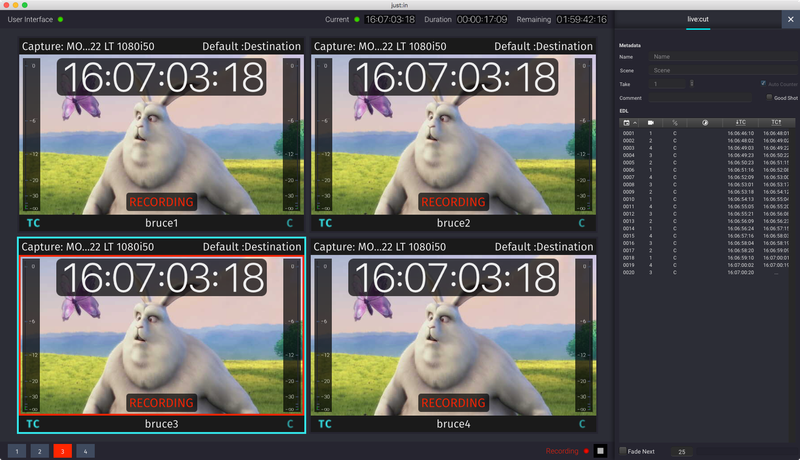
| Info |
|---|
The currently active Channel is displayed with two borders – a red and cyan one , – as displayed above. |
4. Stop Recording
- Press the Record button again and accept
...
- the dialog to stop the
...
- Recording.
- live:cut
...
- stops the ongoing
...
- Recording a few seconds later
...
- . If the Auto Counter option is activated
...
- the Take
...
- number will be increased automatically.
...
5. Importing
...
the EDL XML into
...
a Video Editor
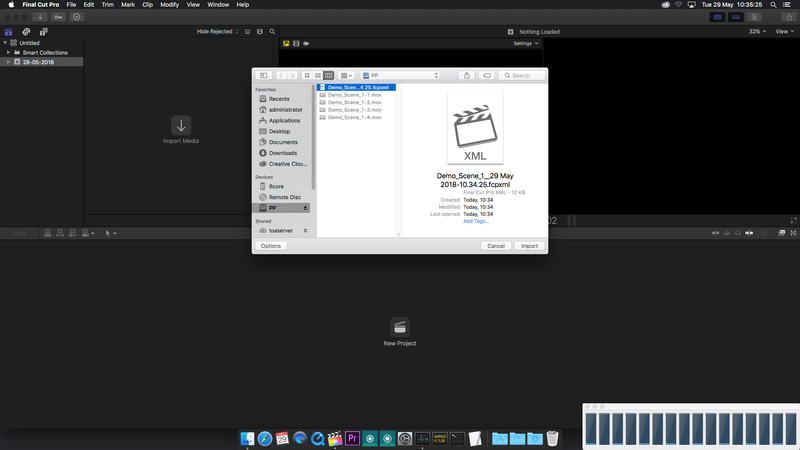
- After the Recording stops live:cut creates a Multi-Camera XML out of the EDL and saves it to the folder which is defined in the Project Settings. This XML can then be imported into the Video Editor. To automate this process you may enable the Open after Export function in the Project menu.
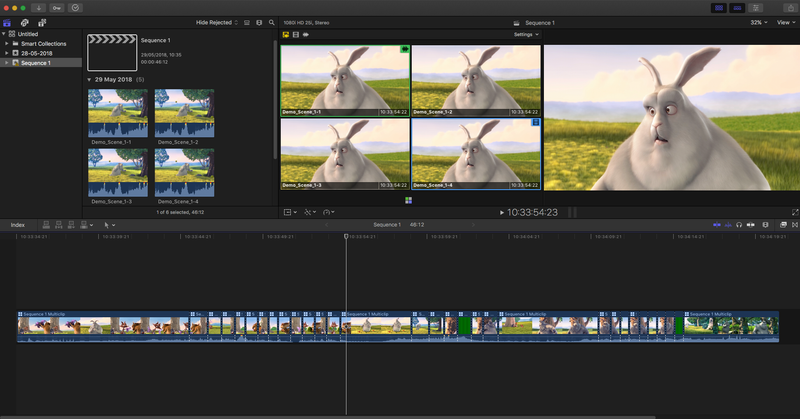
- Open the Video Editor (in this case we are using Final Cut Pro X) and select Import XML.Import the XML fileopen the menu File → Import → XML…
- Select the desired XML file and press the Import button.
- You can may now stark working work on your multicam timeline sequence.