Table of Contents
| Table of Contents |
|---|
Preface
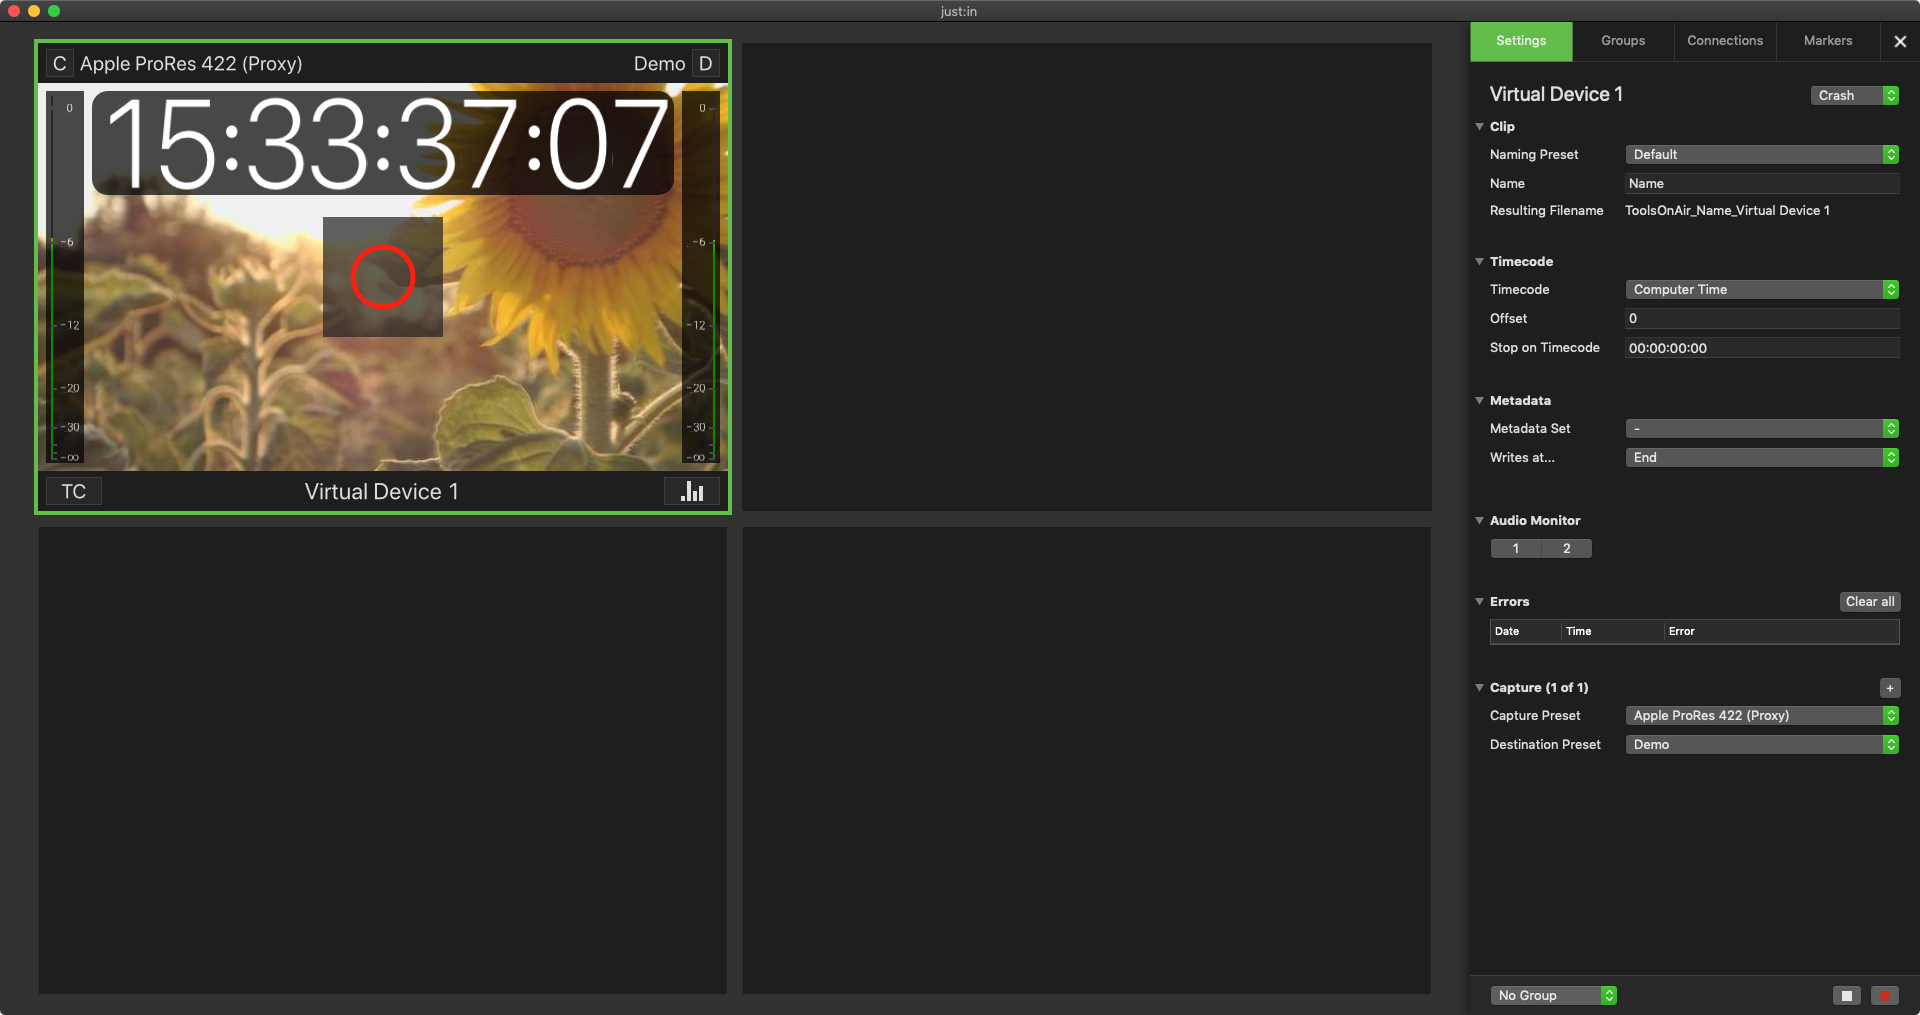
You can record Video signals on the fly in Crash Mode, i.e. you start and stop each Capture process manually.
Starting a Recording
- Make sure to have at least one valid Capture- and one valid Destination-Preset already configured and that at least one Channel is connected successfully.

- Select a Channel and open the Inspector (cmd + i or with the buttons on the right side of the User Interface).
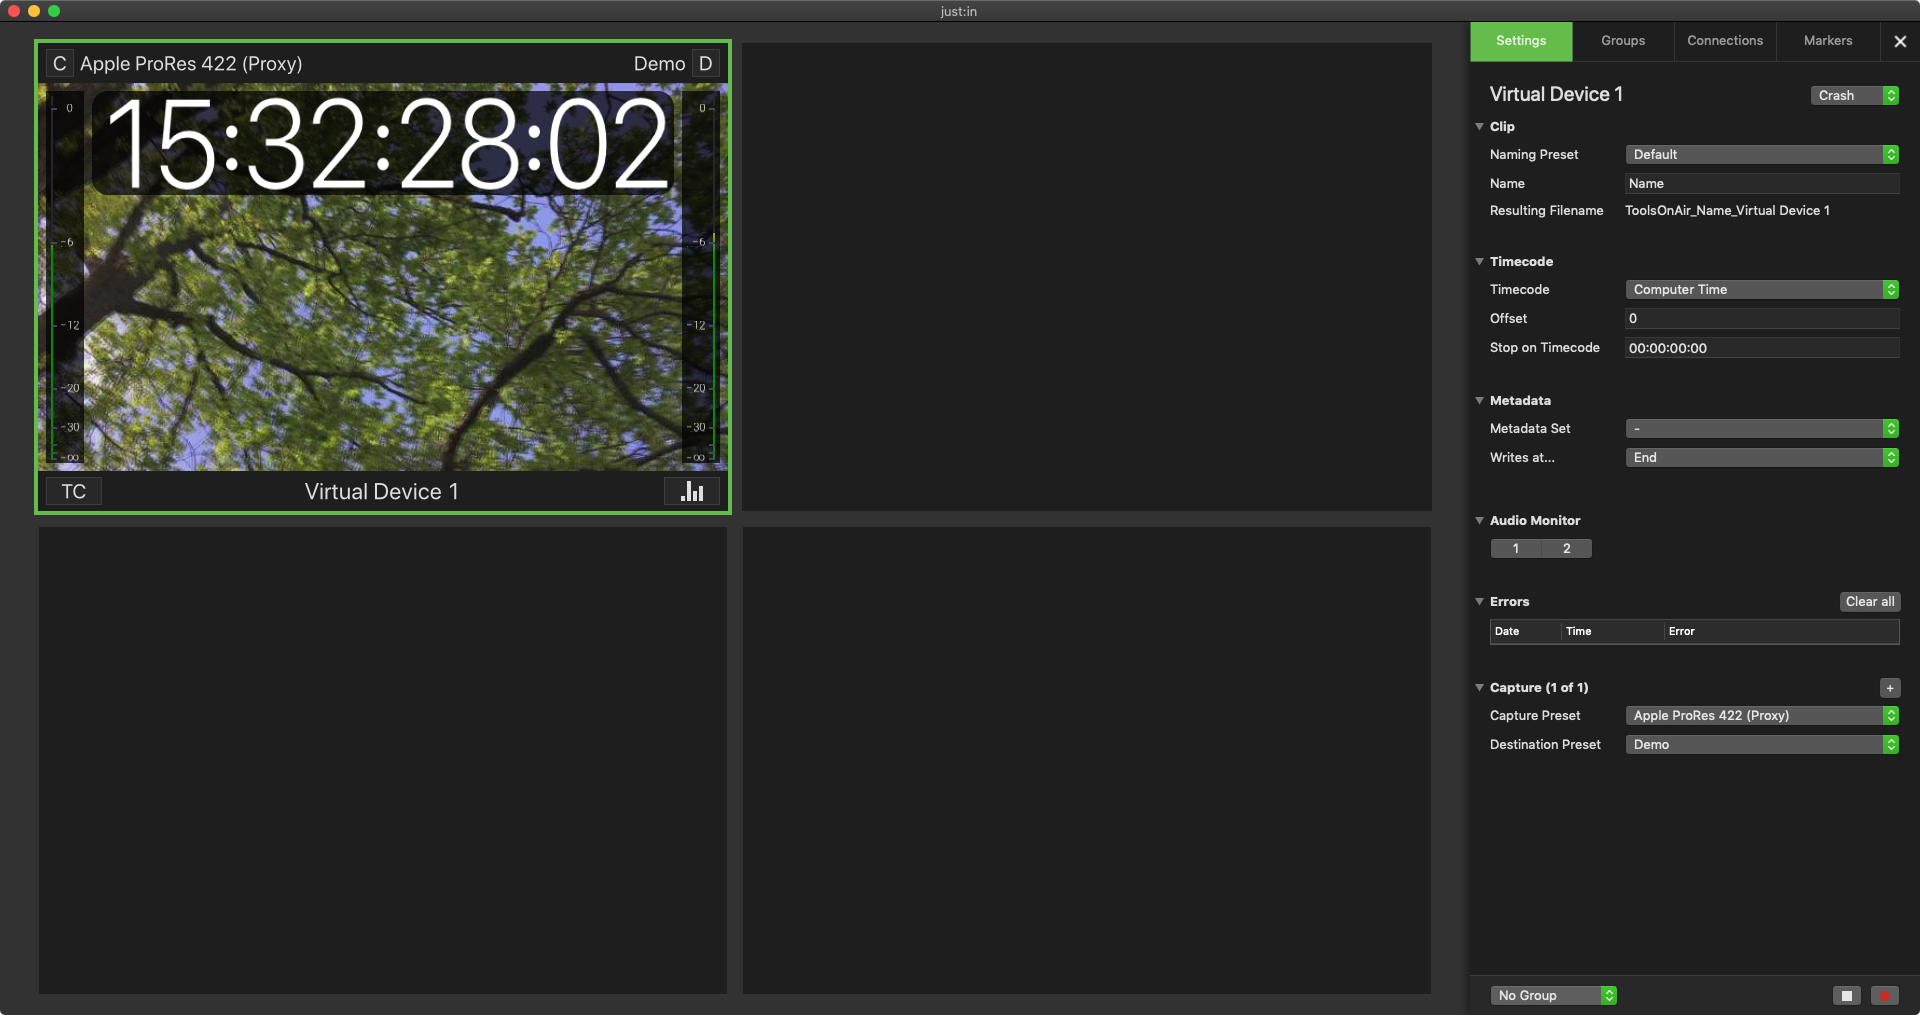
Make sure that the Channel is in Crash Mode and then select a Naming Preset, a Capture Preset and a Destination Preset. If you wish you may also adjust the other settings.
Info Only Capture Presets which match the incoming Video signal will be shown here.
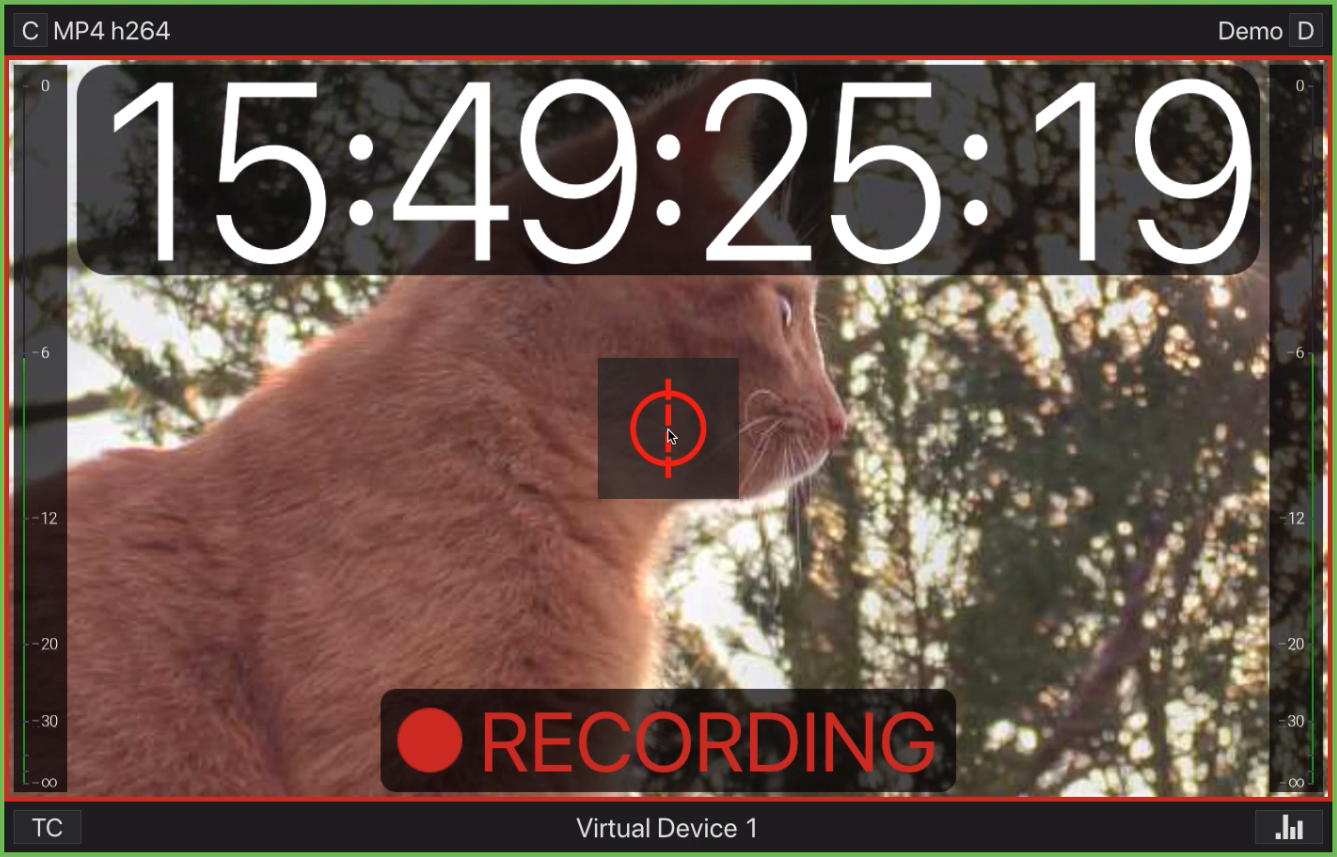
Now hover over the Channel View and the Record button will be visibleshow up. Press this button to start the Recording (shortcut: command + Rr).

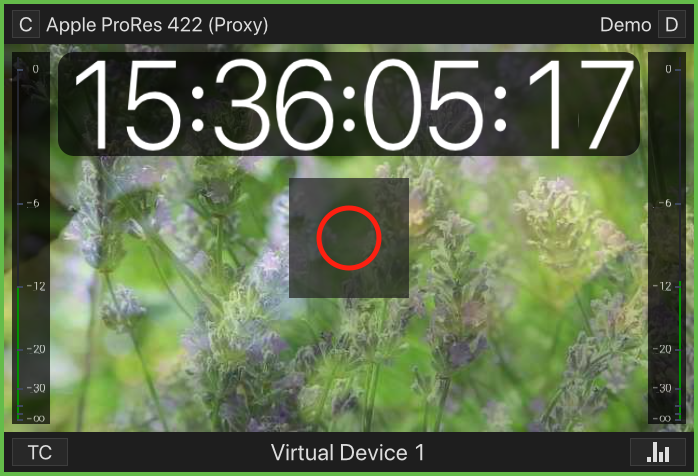
Info If the Record button does not show up, the Channel is either in Schedule Mode or you will see a warning message shows up within the preview areaChannel View.
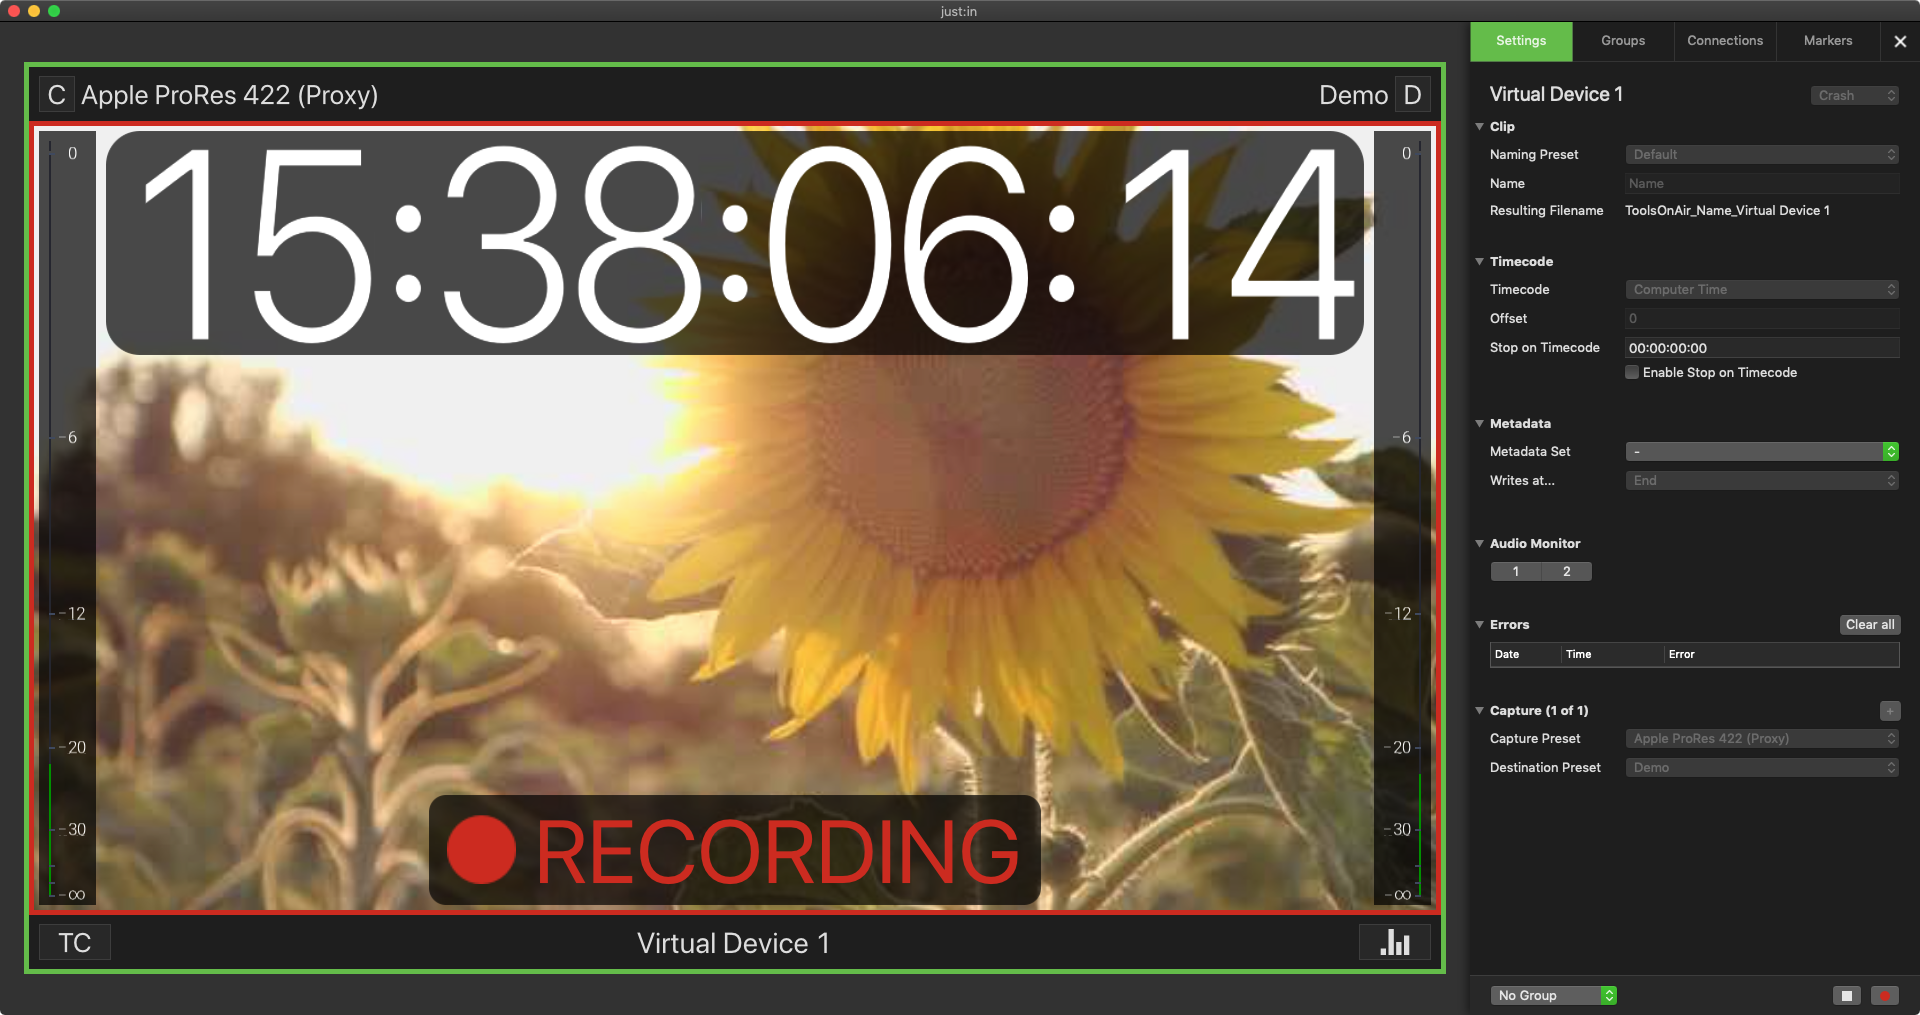
- There will be An ongoing Recording is indicated by a red border around the inner area of the Channel View , indicating an ongoing Recordingand a RECORDING message overlay.
Stopping a Recording
Click the Record button again to stop Recordingrecording. The recorded clip will be available at the appropriate path in the filesystem (defined in the Destination Preset). To directly access the written clip double click on Destination Preset label in the Inspector. This only works if the just:in User Interface can access the storage location with the same path as defined in the Destination Preset (just:in mac only).

...
Doing Multiple Captures at the same Time (Multiple Capture IDs)
| Info |
|---|
A Capture ID consists of a Capture Preset and a Destination Preset. |
- Open the Inspector of the desired Channel.
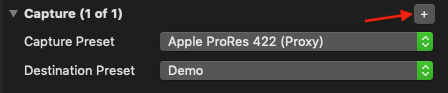
- At the bottom of the Inspector you may add another Capture IDs by pressing the Add ("+") button.
- Select a Capture Preset and Destination Preset for each Capture ID.
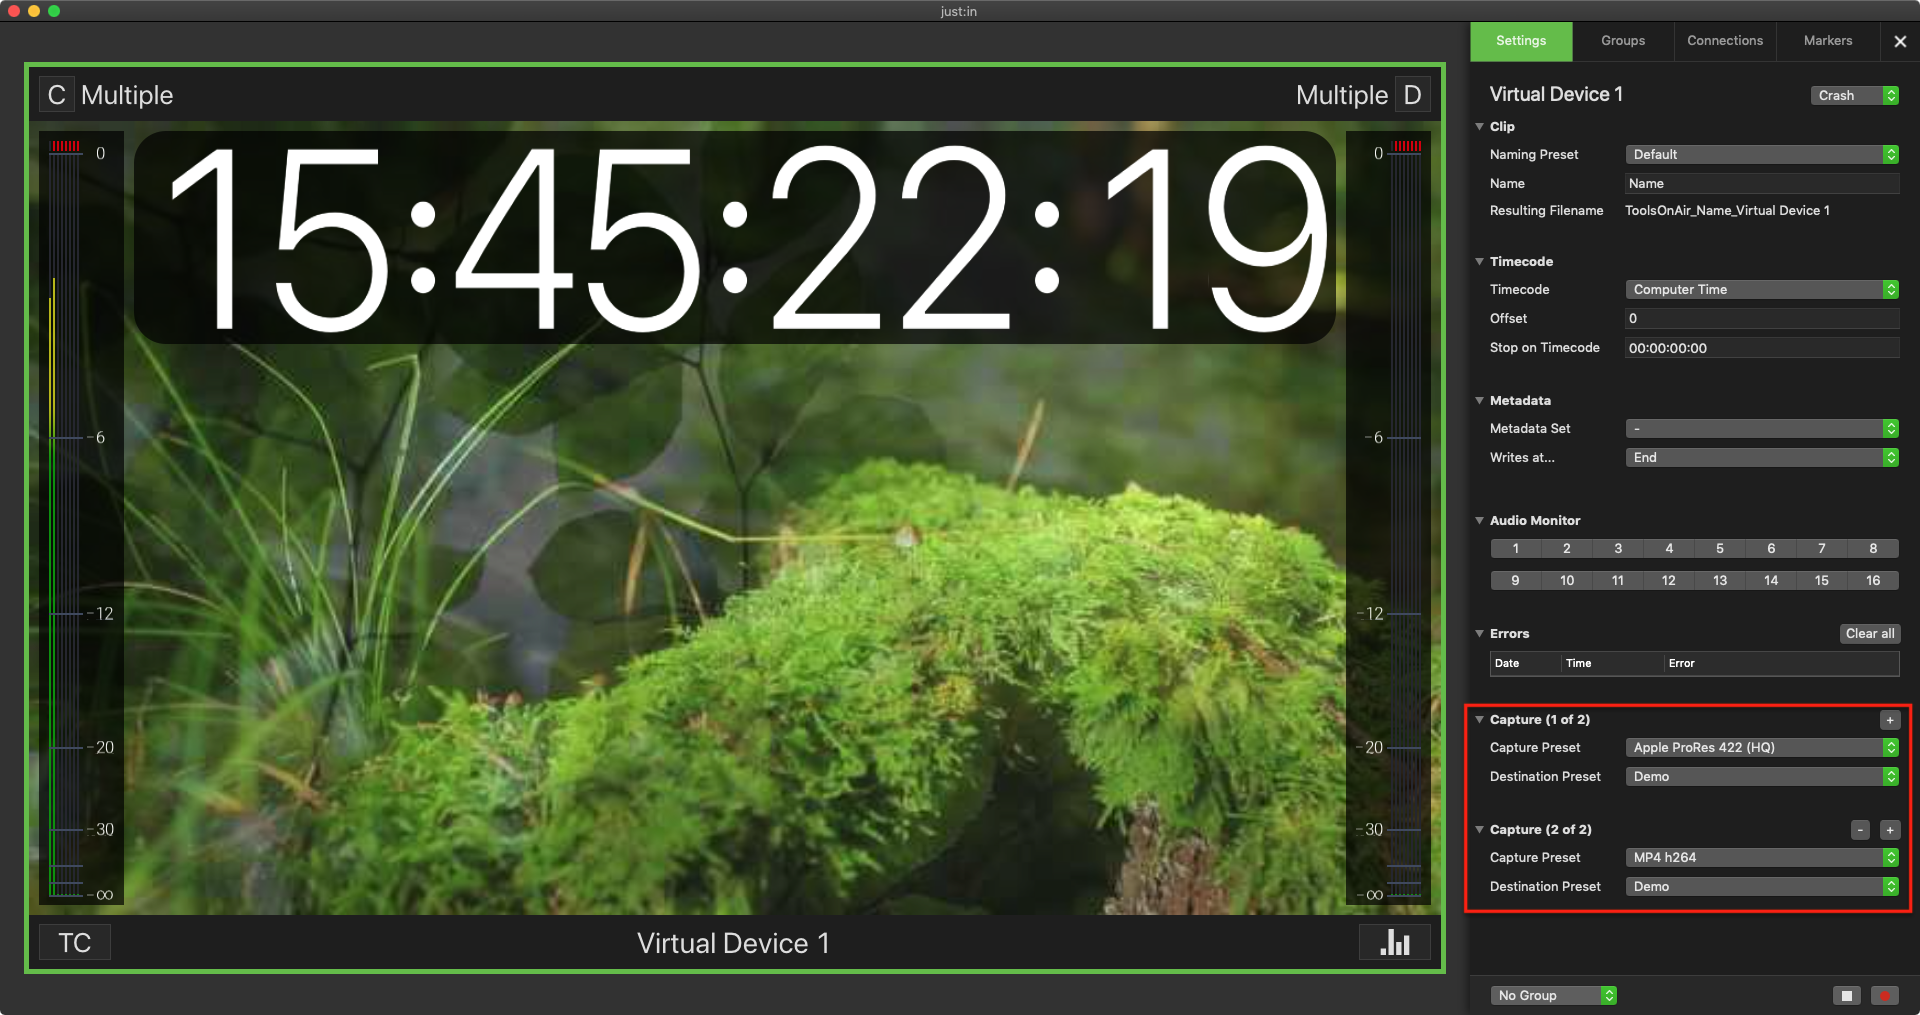
- Start your Recording process as described above.
...
Hold the option key while Recording and press the Record button to split the Recording.

End-of-Recording based on Timecode
...
- Start a Recording.
- Open the Inspector.
- In the Stop on Timecode area enter a valid Timecode.
- Enable the Stop on Timecode feature.
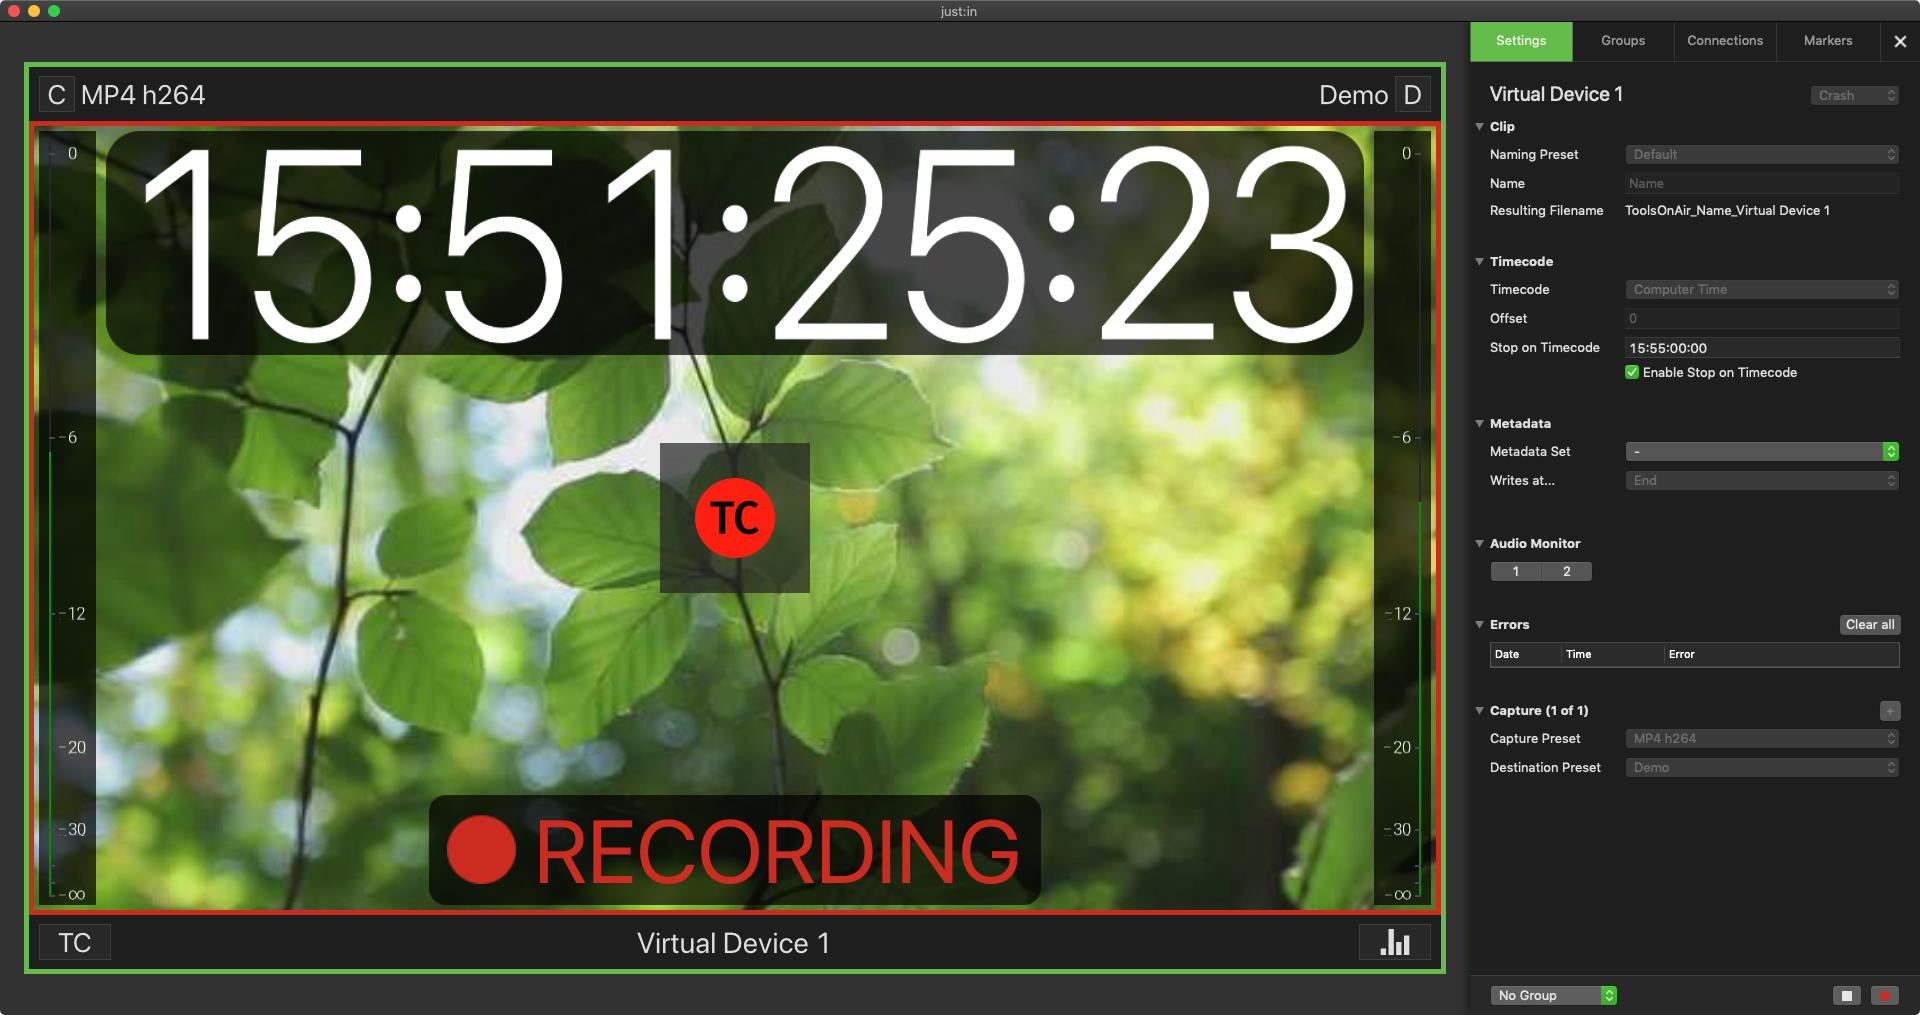
| Info |
|---|
The Recording Button Record button will display that the Stop on Timecode feature is activated. Please beware Note that you can not stop the recording manually now. If you want to do that, disable the Stop on Timecode feature again. |
| Warning |
|---|
Please beware Note that recording the Recording will stop immediately, when when enabling this feature with a Stop on Timecode, which which is in the past. |
Concurrent Capturing
...