Table of Contents
| Table of Contents | ||
|---|---|---|
|
Welcome to AutoMounter!
Thank you very much for choosing our just:store storage solution.
Your just:store hardware appliance generally ships in a preinstalled and preconfigured state, which means that your just:store system is ready to be integrated in your network infrastructure. For your clients we developed a very easy way to mount the Sharepoints of just:storeAutoMounter allows macOS clients to easily mount just:store sharepoints. The application is currently only available for macOS Mojave, Catalina, and above.
This Getting Started document will help you to master this task and is aimed at system administrators or experienced power users.
Information provided in this Document
Installing AutoMounter on your client
Network Design considerations
Configuring AutoMounter for your environment
Connecting Sharepoints with AutoMounter
General Requirements and Prerequisites
Before you start configuring the just:store AutoMounter please configure the just:store appliance before. Therefore, we created a Getting Started for the appliance itself.
Before starting the just:store storage appliance you have to connect the cabling. For more information please see the Getting Started.
Big Sur.
| Note |
|---|
We assume that your just:store appliance has been configured properly and is reachable via the network. If this is not the case, please refer to the https://toolsonair.atlassian.net/wiki/pages/resumedraft.action?draftId=2036858988 |
Install just:store AutoMounter on your Mac
First of all, you will need to connect your Mac to the just:store. You can find the possible Network Design Considerations in the https://toolsonair.atlassian.net/wiki/pages/resumedraft.action?draftId=2036858988. Once you connected everything and configured your just:store appliance you can begin the installation process of just:store AutoMounter.
Steps to install AutoMounter on your Mac:
Download the installer from the just:store User Interface.
Open the DMG Installer from your download folder and execute it.
Now you just have to drag and drop the AutoMounter to the Applications folder.

After the copy process is finished, you can start the just:store AutoMounter.
Installation Support Assistance from ToolsOnAir
Remote Access
...
Installing AutoMounter
| Warning |
|---|
Each client need a valid license to install AutoMounter. Please contact us at sales@toolsonair.com to discuss further. |
Download AutoMounter from the AutoMounter website by pressing the Download button at the end of the page.
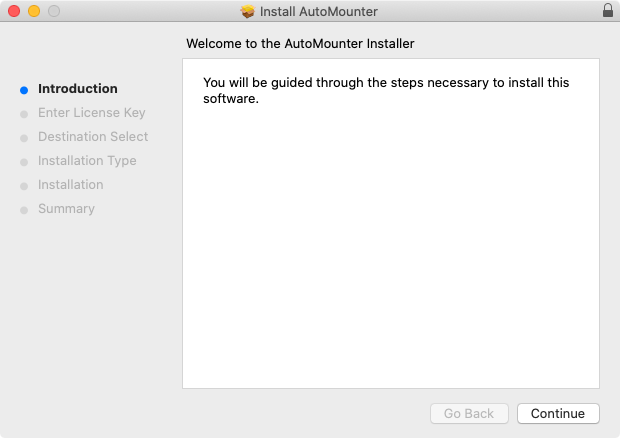
Open the downloaded installation package.
Follow the installation instructions.
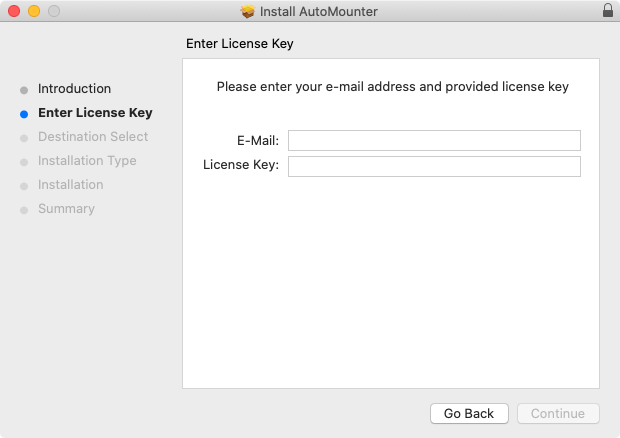
Enter the licensing information and press the Continue button.
Continue the installation process and close it when you’re done.
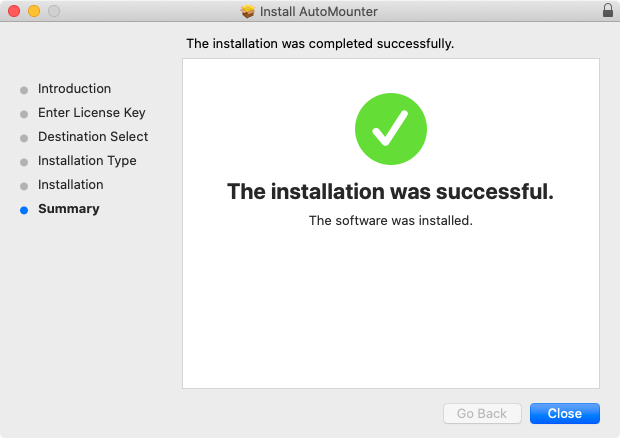
AutoMounter is now located in your /Applications folder.
Continue with chapter Using AutoMounter (AutoMounter v1.0).
| Info |
|---|
Need Help?
|
...
|
...
|