| Table of Contents |
|---|
As mentioned in previous chapters and as you can see when using the new interface, we completely changed the interface and the way to interact with the just:in channels. One of our main goals for the new interface was to be more flexible when it comes to a multi-channel setup. In order to connect more channels to the interface, we added two features to this application.
- Split
- Join
When you open just:in v2.0 for the very first time, you will see following screen:
So basically you can connect one channel now and you can interact with this channel. Please continue reading for getting more information about the Split and Join feature.
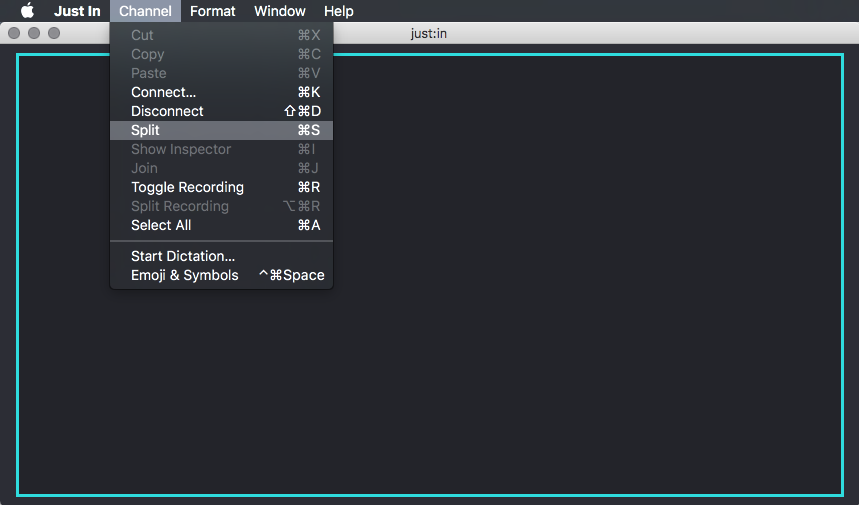
Split
You can split a preview window, whether a channel is already connected or not. You can execute a split command by selecting a preview and then just hit cmd + s. You will see following screen:
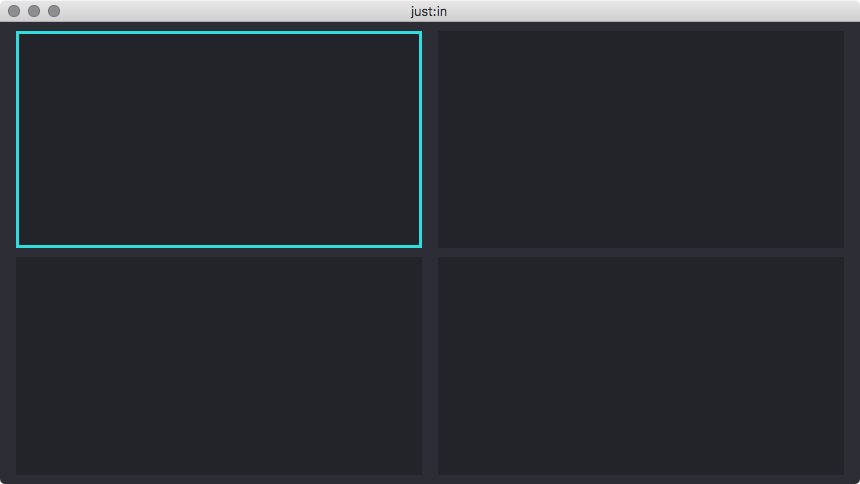
Then you can even split this preview area for one more time, like this:
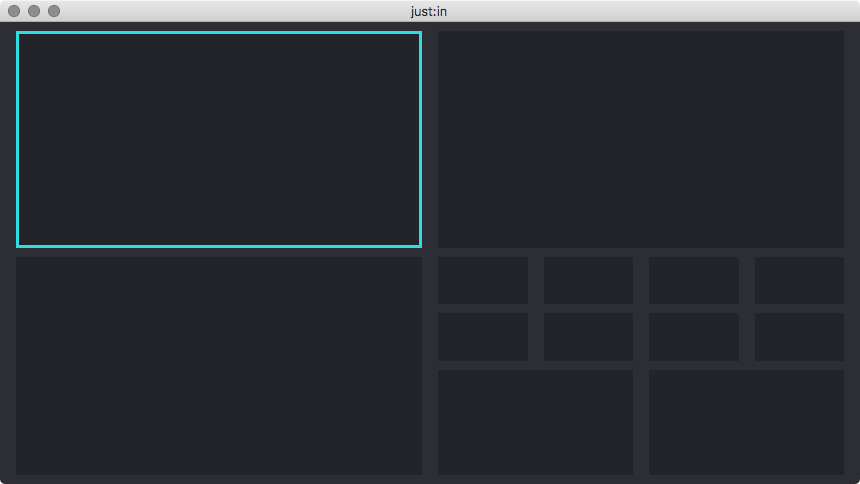
Then you can go ahead and connect your channels to the interface. As described before you can also split preview areas where a channel is already connected, like here:
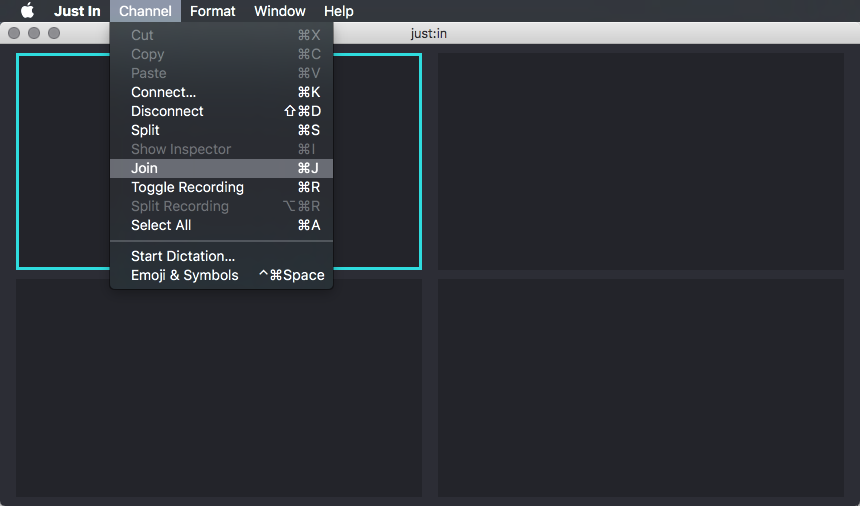
Join
If you want to join four preview areas to one single preview again, then you can use the Join command. You can do so by just using cmd + j.
| Info |
|---|
There is no need to select all four channels when executing the join command. |
So, if you want to join the red marked channels, just select one of these four preview areas and press cmd + j.
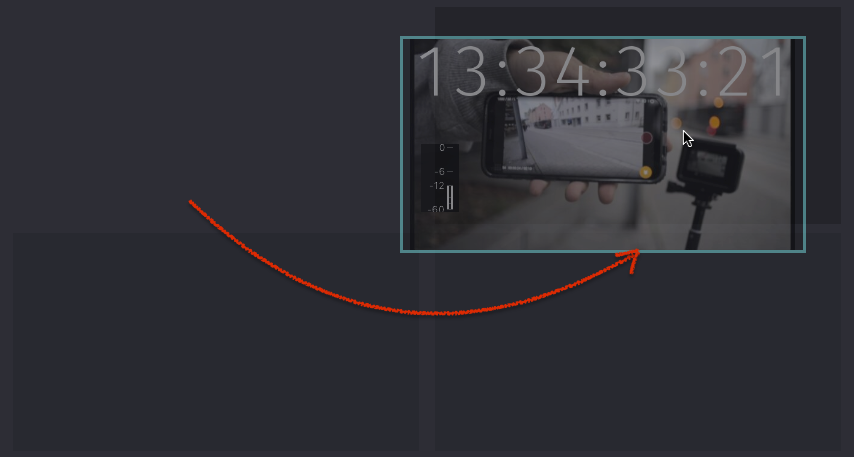
You can also execute the join command on a channel, which is already connected, like here:
The just:in user interface allows you to control multiple Channels at a time. The Main Window can be splitted and joined to fit your needs. This chapter explains how to use the Split & Join functionality of just:in.
...
| Table of Contents |
|---|
...
Single View
When opening just:in for the first time it will present a single View. Basically you can connect to one Channel now. It's possible to display multiple Channels at once by using the Split & Join functionality of just:in.
Splitting a View
- Select the View by clicking it once, the border will turn turquoise. Make sure you don't click the button in the middle.

- Select the menu command Channel → Split or use the shortcut command + S.
- Four views are now displayed. You can connect each View to a Channel as described in the previous chapters.
- You may repeat these steps for each View to create further Views.
| Info |
|---|
When using the smallest Channel View the Audio Bars and the Buffer Status are disabled automatically for those Views. |
Joining a View
- Select a View by clicking it once, the border will turn turquoise. Make sure you don't click the button in the middle.
- Select the menu command Channel → Join or use the shortcut command + J.
- There's only one View now.
| Info |
|---|
It is not possible to join Views which would result in a connected Channel becoming unavailable. Select the connected Channel of the quadrant you would like to join, otherwise the join will not work. |
Reordering Views
Moving a View to another Position
Drag and drop the View of a connected Channel to move it to another position.
Interchanging Views
Drag and drop a View onto another View to interchange them.
