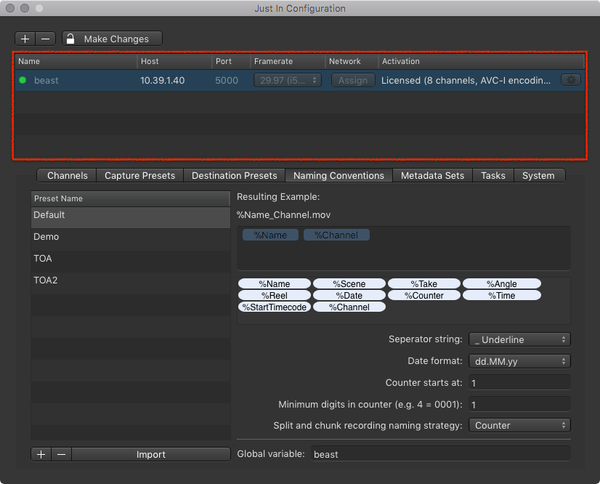
While it is possible to enter a Name for each Capture in the just:in User Interface manually, Naming Conventions can be used to speed up the naming process rapidly. From automatic file numbering to timestamps and user customized variables – Naming Presets provide file naming in an efficient and straightforward way. They are defined per Engine and are available for all Channels of the particular engine.
...
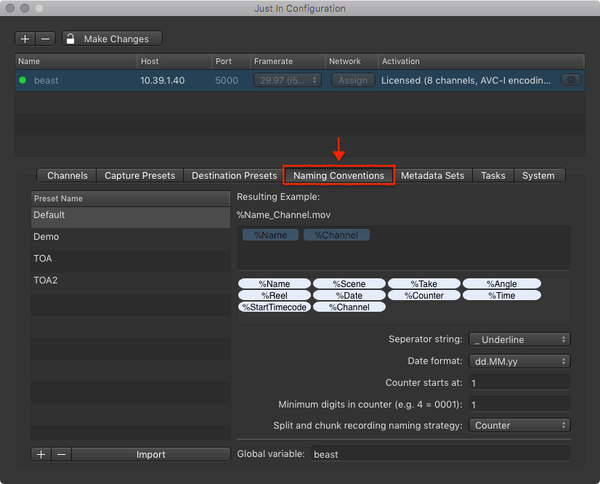
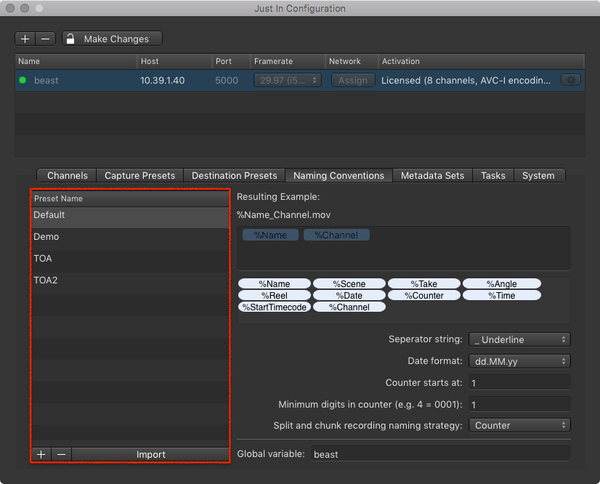
Adding a New Naming Preset
- In the Engine List select the Engine.
- Click on the Naming Conventions tab.
- Press the plus button below the Naming Preset List.
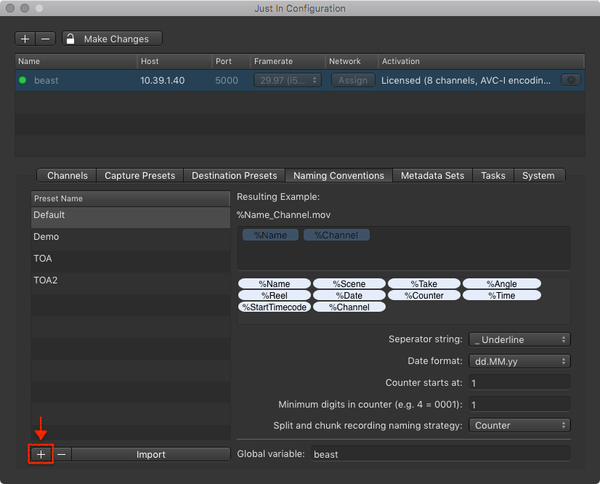
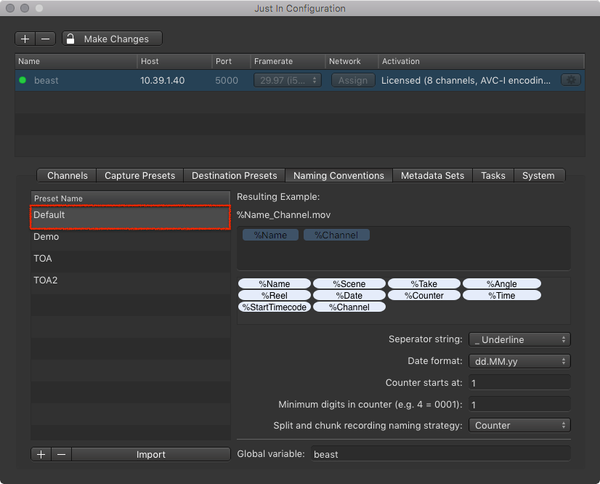
- A new entry appears in the list. Double click it and enter the name for your new Naming Preset.
- Press the return key to accept the name.
- Configure the Naming Preset accordingly to your needs.
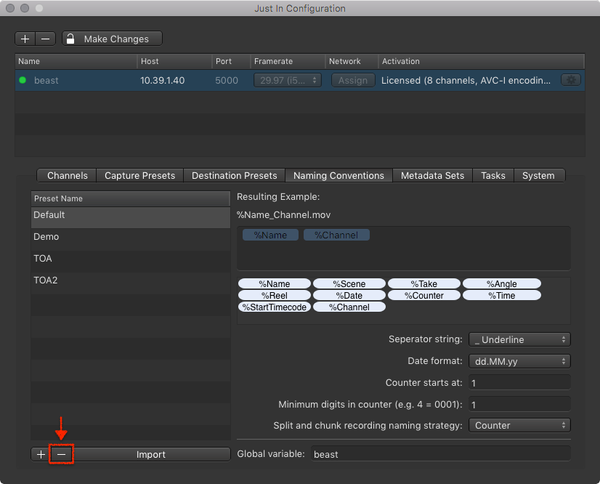
Removing a Naming Preset
- In the Engine List select the Engine.
- Click on the Naming Conventions tab.
- Select the Naming Preset in the Naming Preset List.
- Press the minus button below the Naming Preset List. This cannot be undone.
Importing a Naming Preset
You can import Capture Presets which have been created in just:in Engine Mac.
- In the Engine List select the Engine.
- Click on the Naming Conventions tab.
- Press the Import button below the Naming Preset List.
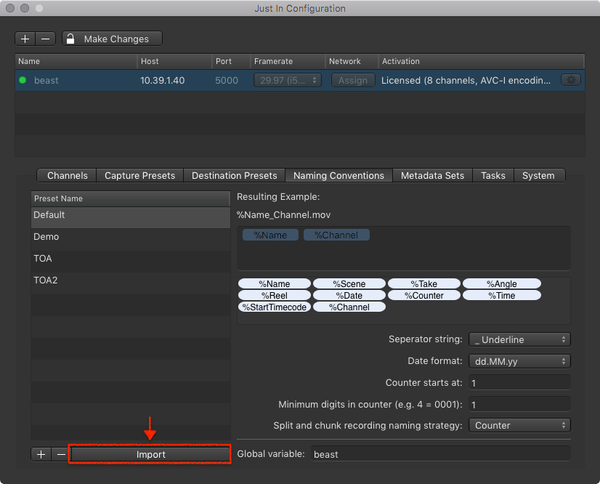
- Select the Capture Preset you want to import.
...
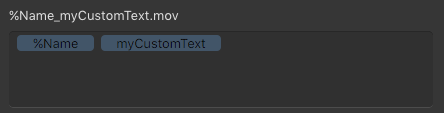
Adding Static Text to a Naming Preset
- In the Engine List select the Engine.
- Click on the Naming Conventions tab.
- Select the Naming Preset you want to configure in the Naming Preset List.
- Click on an empty area in the Variable Drop Zone.
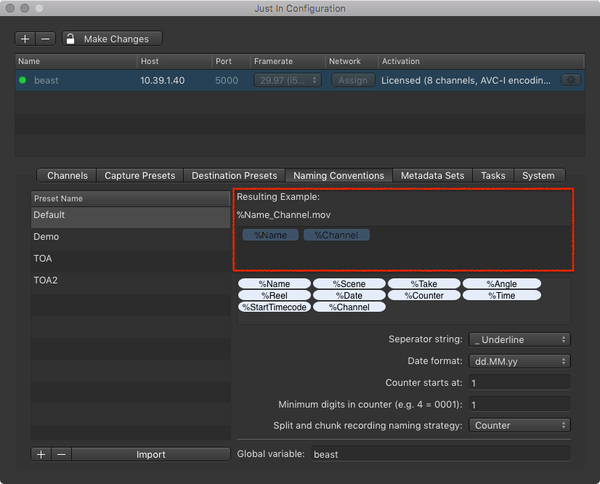
- Type your text and press the enter key.
- The static text appears as a pale blue element in the Variable Drop Zone.
...
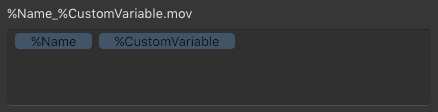
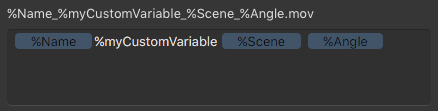
You can add your own Variables to a Naming Preset. Customized Variables will be displayed as additional fields in the just:in User Interface the Clip section.
- In the Engine List select the Engine.
- Click on the Naming Conventions tab.
- Select the Naming Preset you want to configure in the Naming Preset List.
- Click on an empty area in the Variable Drop Zone.
- Type "%" (without quotes) followed by your custom Variable Name and press the enter key.
- The custom Variable appears as a pale blue element in the Variable Drop Zone.
Removing Variables or Static Text
- In the Engine List select the Engine.
- Click on the Naming Conventions tab.
- Select the Naming Preset you want to configure in the Naming Preset List.
- Click on the Variable or the Static Text in the Variable Drop Zone.
- It will light up in bright blue color.

- Press the backspace key to remove the Variable. This cannot be undone.
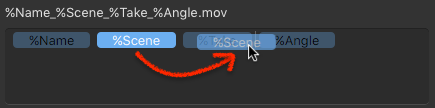
Reordering Variables or Static Text
- In the Engine List select the Engine.
- Click on the Naming Conventions tab.
- Select the Naming Preset you want to configure in the Naming Preset List.
- In the Variable Drop Zone drag the Variable or the Static Text and drop it at the desired position.
Renaming Variables or Static Text
- In the Engine List select the Engine.
- Click on the Naming Conventions tab.
- Select the Naming Preset you want to configure in the Naming Preset List.
- In the Variable Drop Zone double click the Variable or the Static Text.
- Change the name and press the enter key.
Editing the Global Variable
- In the Engine List select the Engine.
- Click on the Naming Conventions tab.
- Select the Naming Preset you want to configure in the Naming Preset List.
- At the bottom of the configuration area you find the Global Variable.

- Change the Variable accordingly to your needs. It will be put in front of each filename which is created by the Engine.
...