| Table of Contents |
|---|
Important: Before Installation
...
Drag the Just Playout folder from the disk image to the Applications folder.
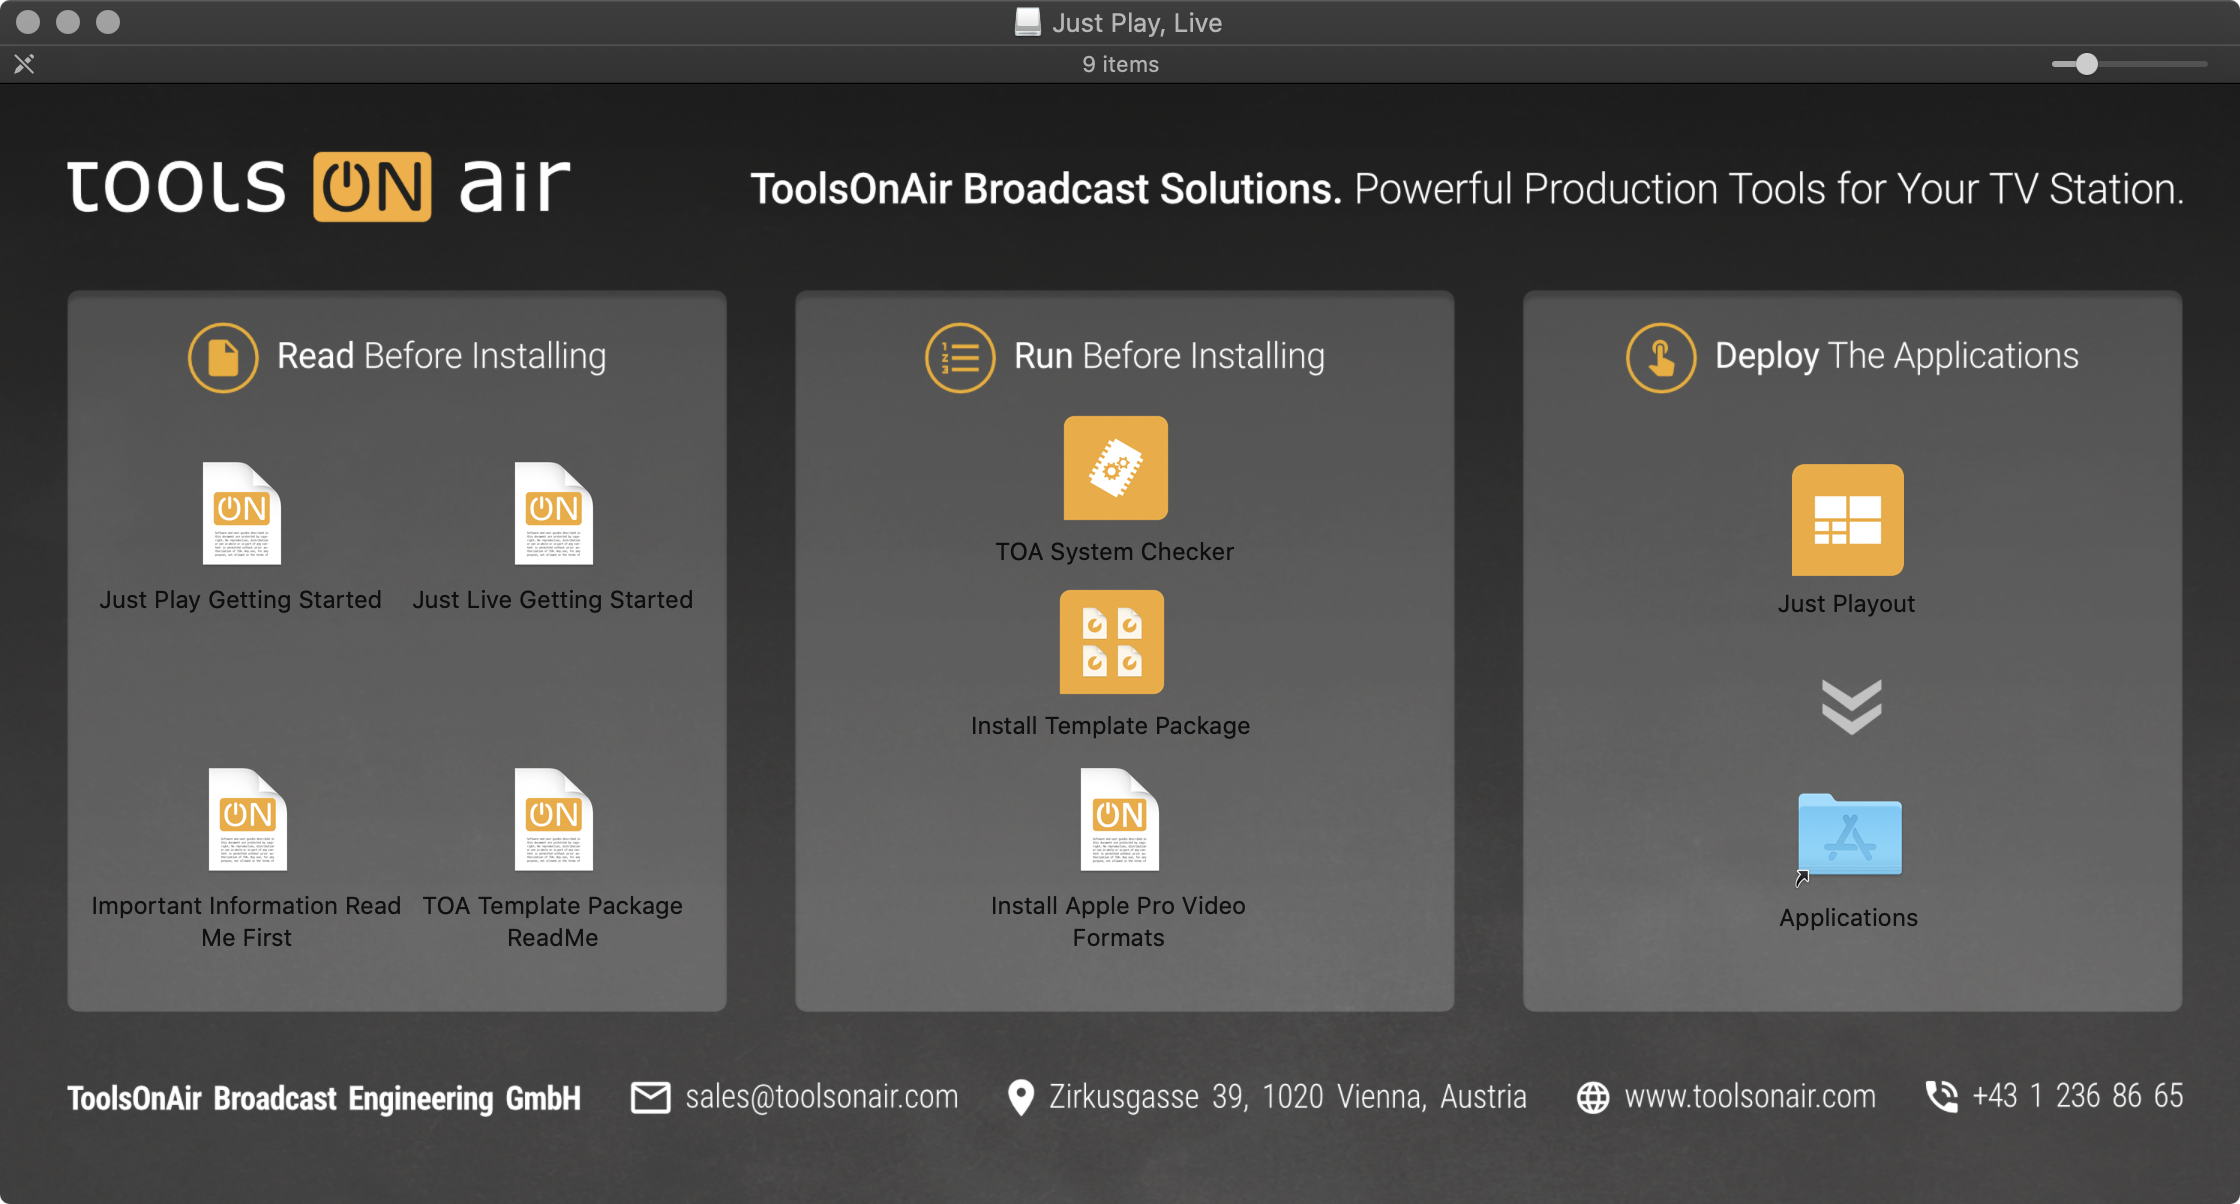
Eject the disk image afterwards.
Navigate to the Just Playout folder inside of your Applications folder.
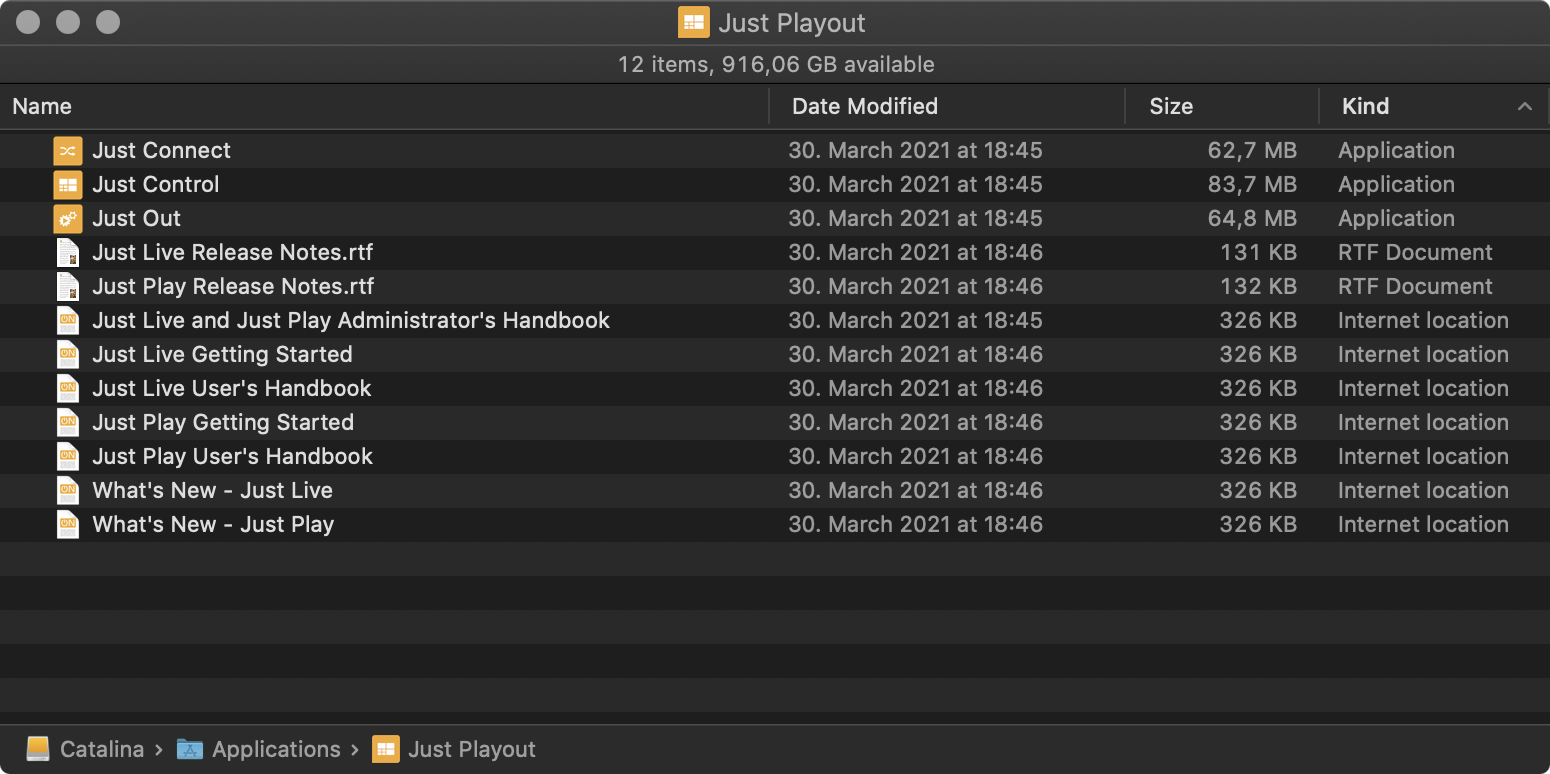
Just Out: this is the Playout Engine which does the final output and therefore should never be quitted.
Just Connect: this is the software which receives and sends information from and to the just:live user interfaces which are connected to the Channel. just:connect is also responsible for intercommunication between interface(s) and just:out Playout Engine(s).
Just Control: this is the graphical user interface which allows you to prepare live rundowns which will then be played out manually.
Add the applications Just Out, Just Connect and Just Control to your Dock.
4. Configuration
| Info |
|---|
We assume that – in this scenario – just:out, just:connect and just:control are all running on the same machine. For more advanced setups with multiple machines distributed over the network, please refer to the Playout v3.0 Administrator Manual. |
Start Just Out and Just Connect.
Start Just Control (on the same machine running just:out and just:connect) which which will automatically display the the User Login window. We recommend keeping the defined username for now.
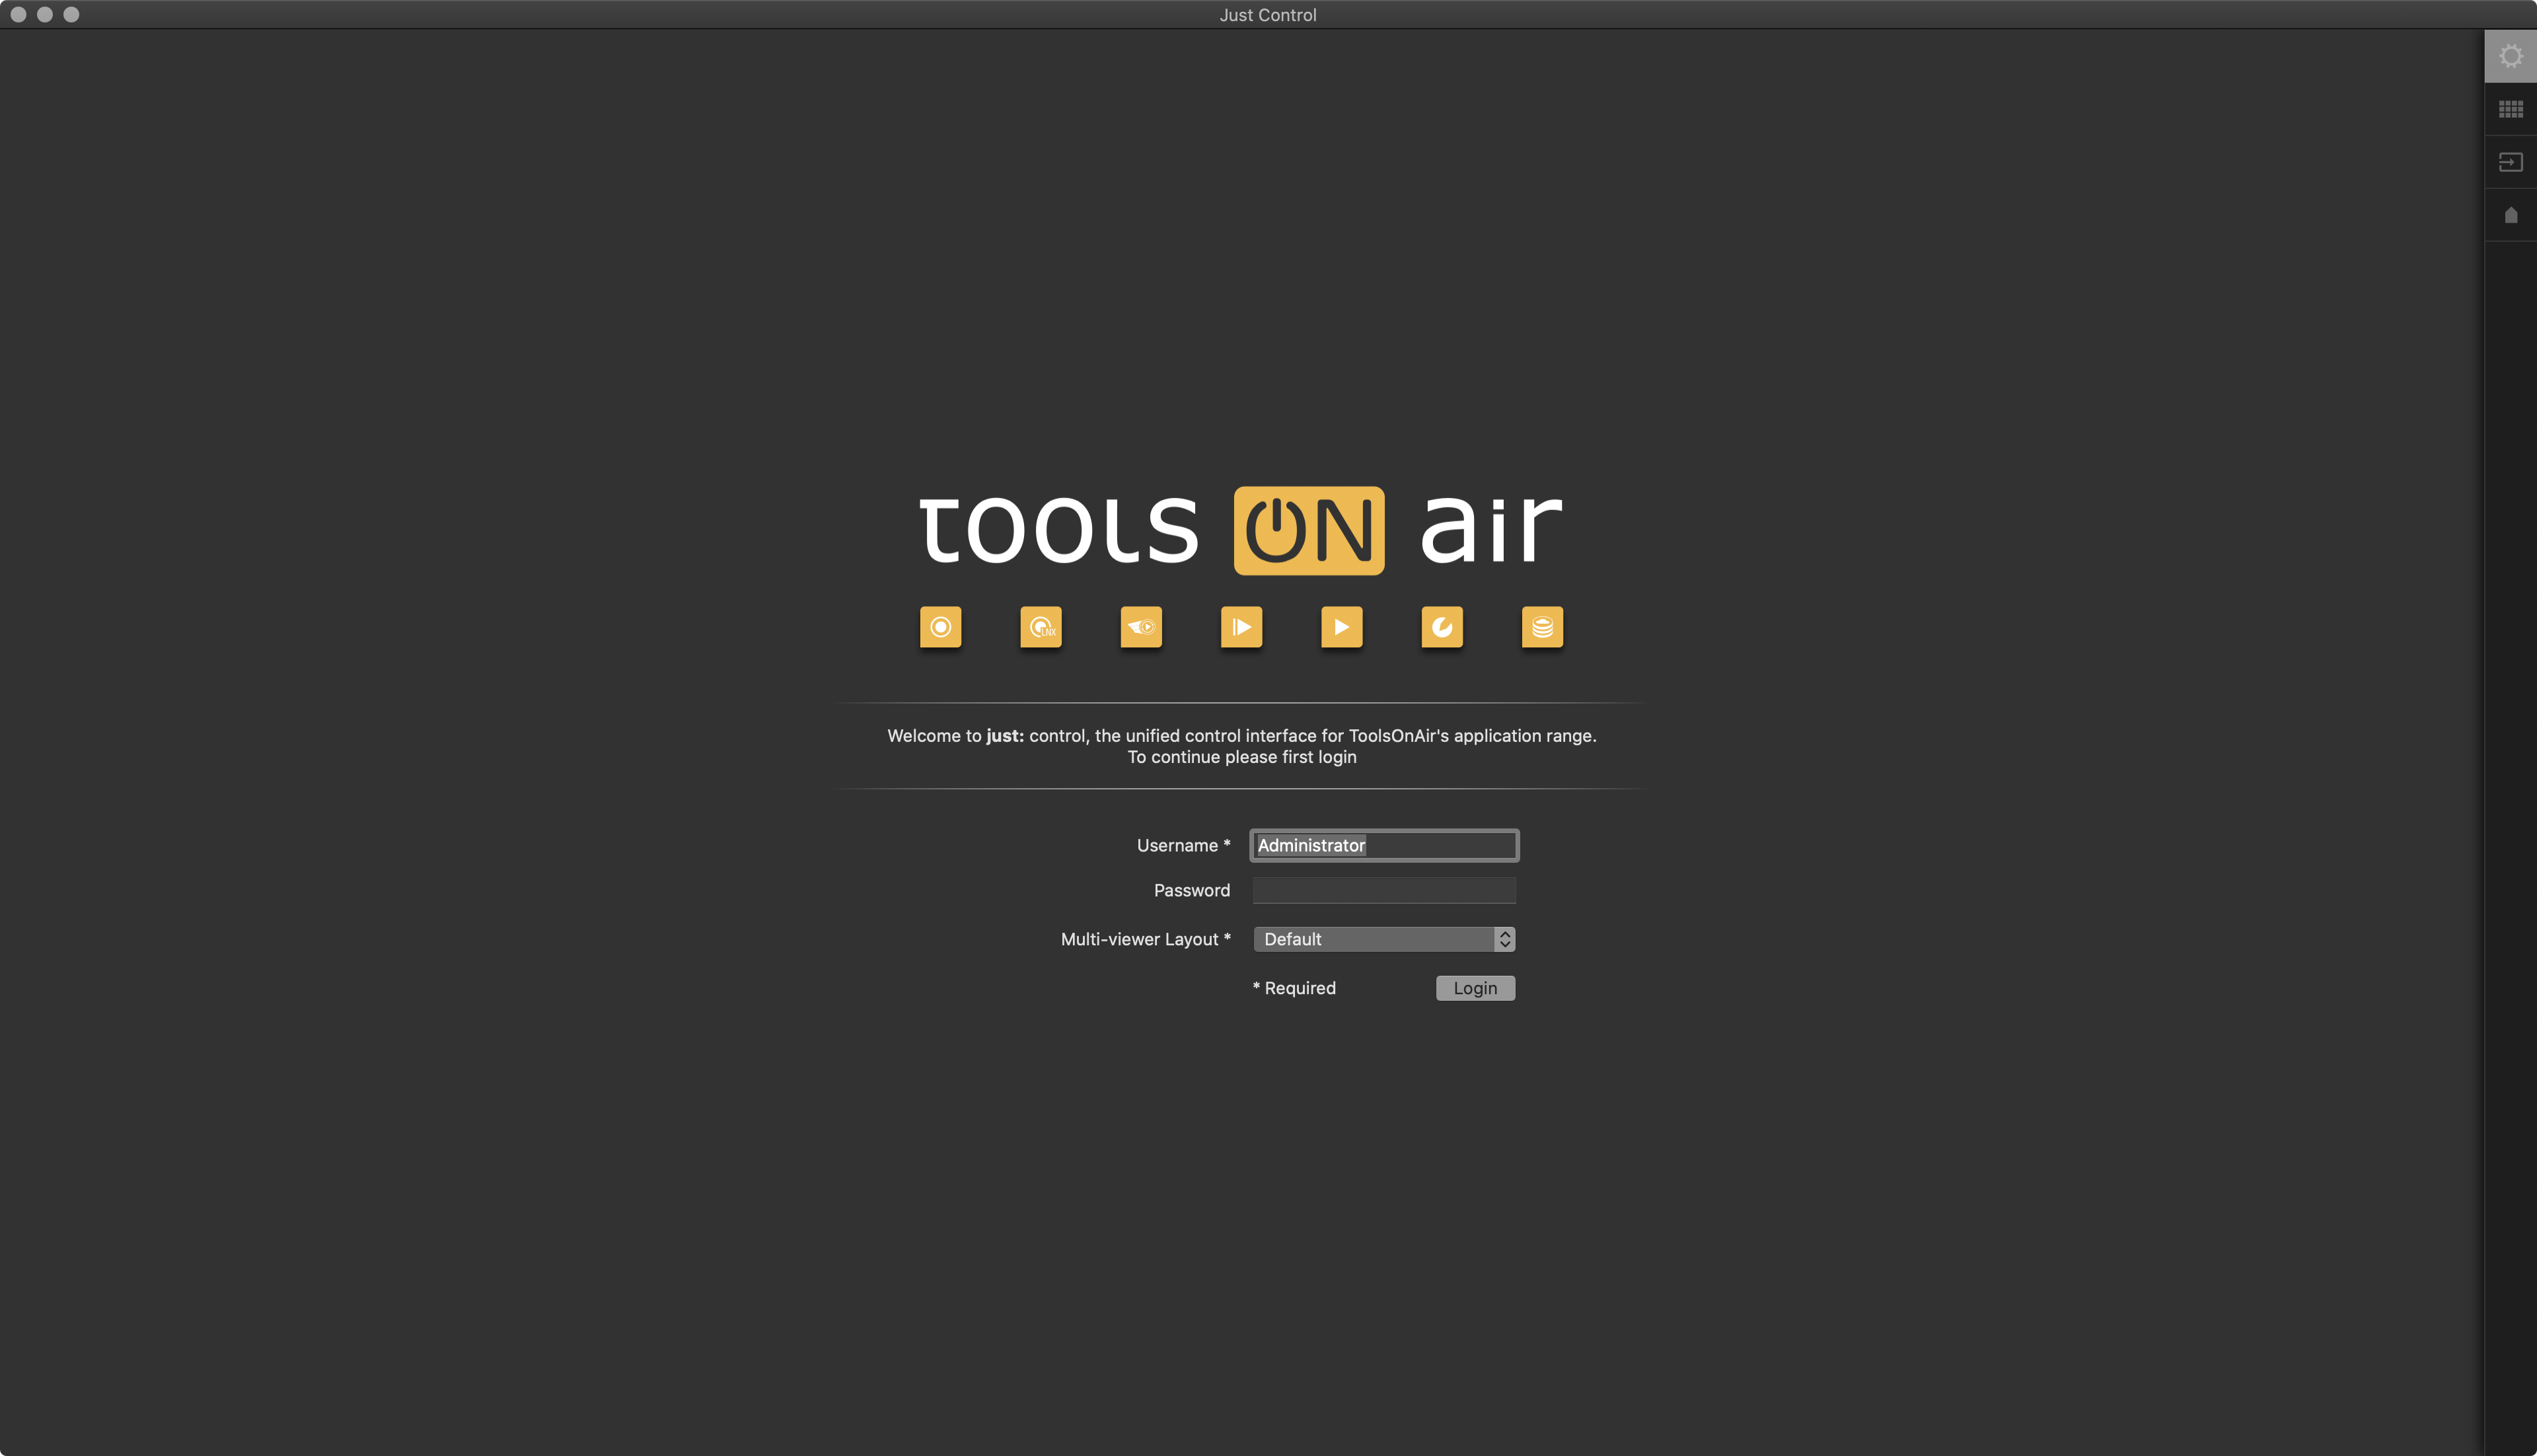
Click on the Login button to open the Device configuration window.
We assume that Just Out and Just Connect have been started (as described in step 1) and press . Click on the Connect button to open the playout channel Wizard.
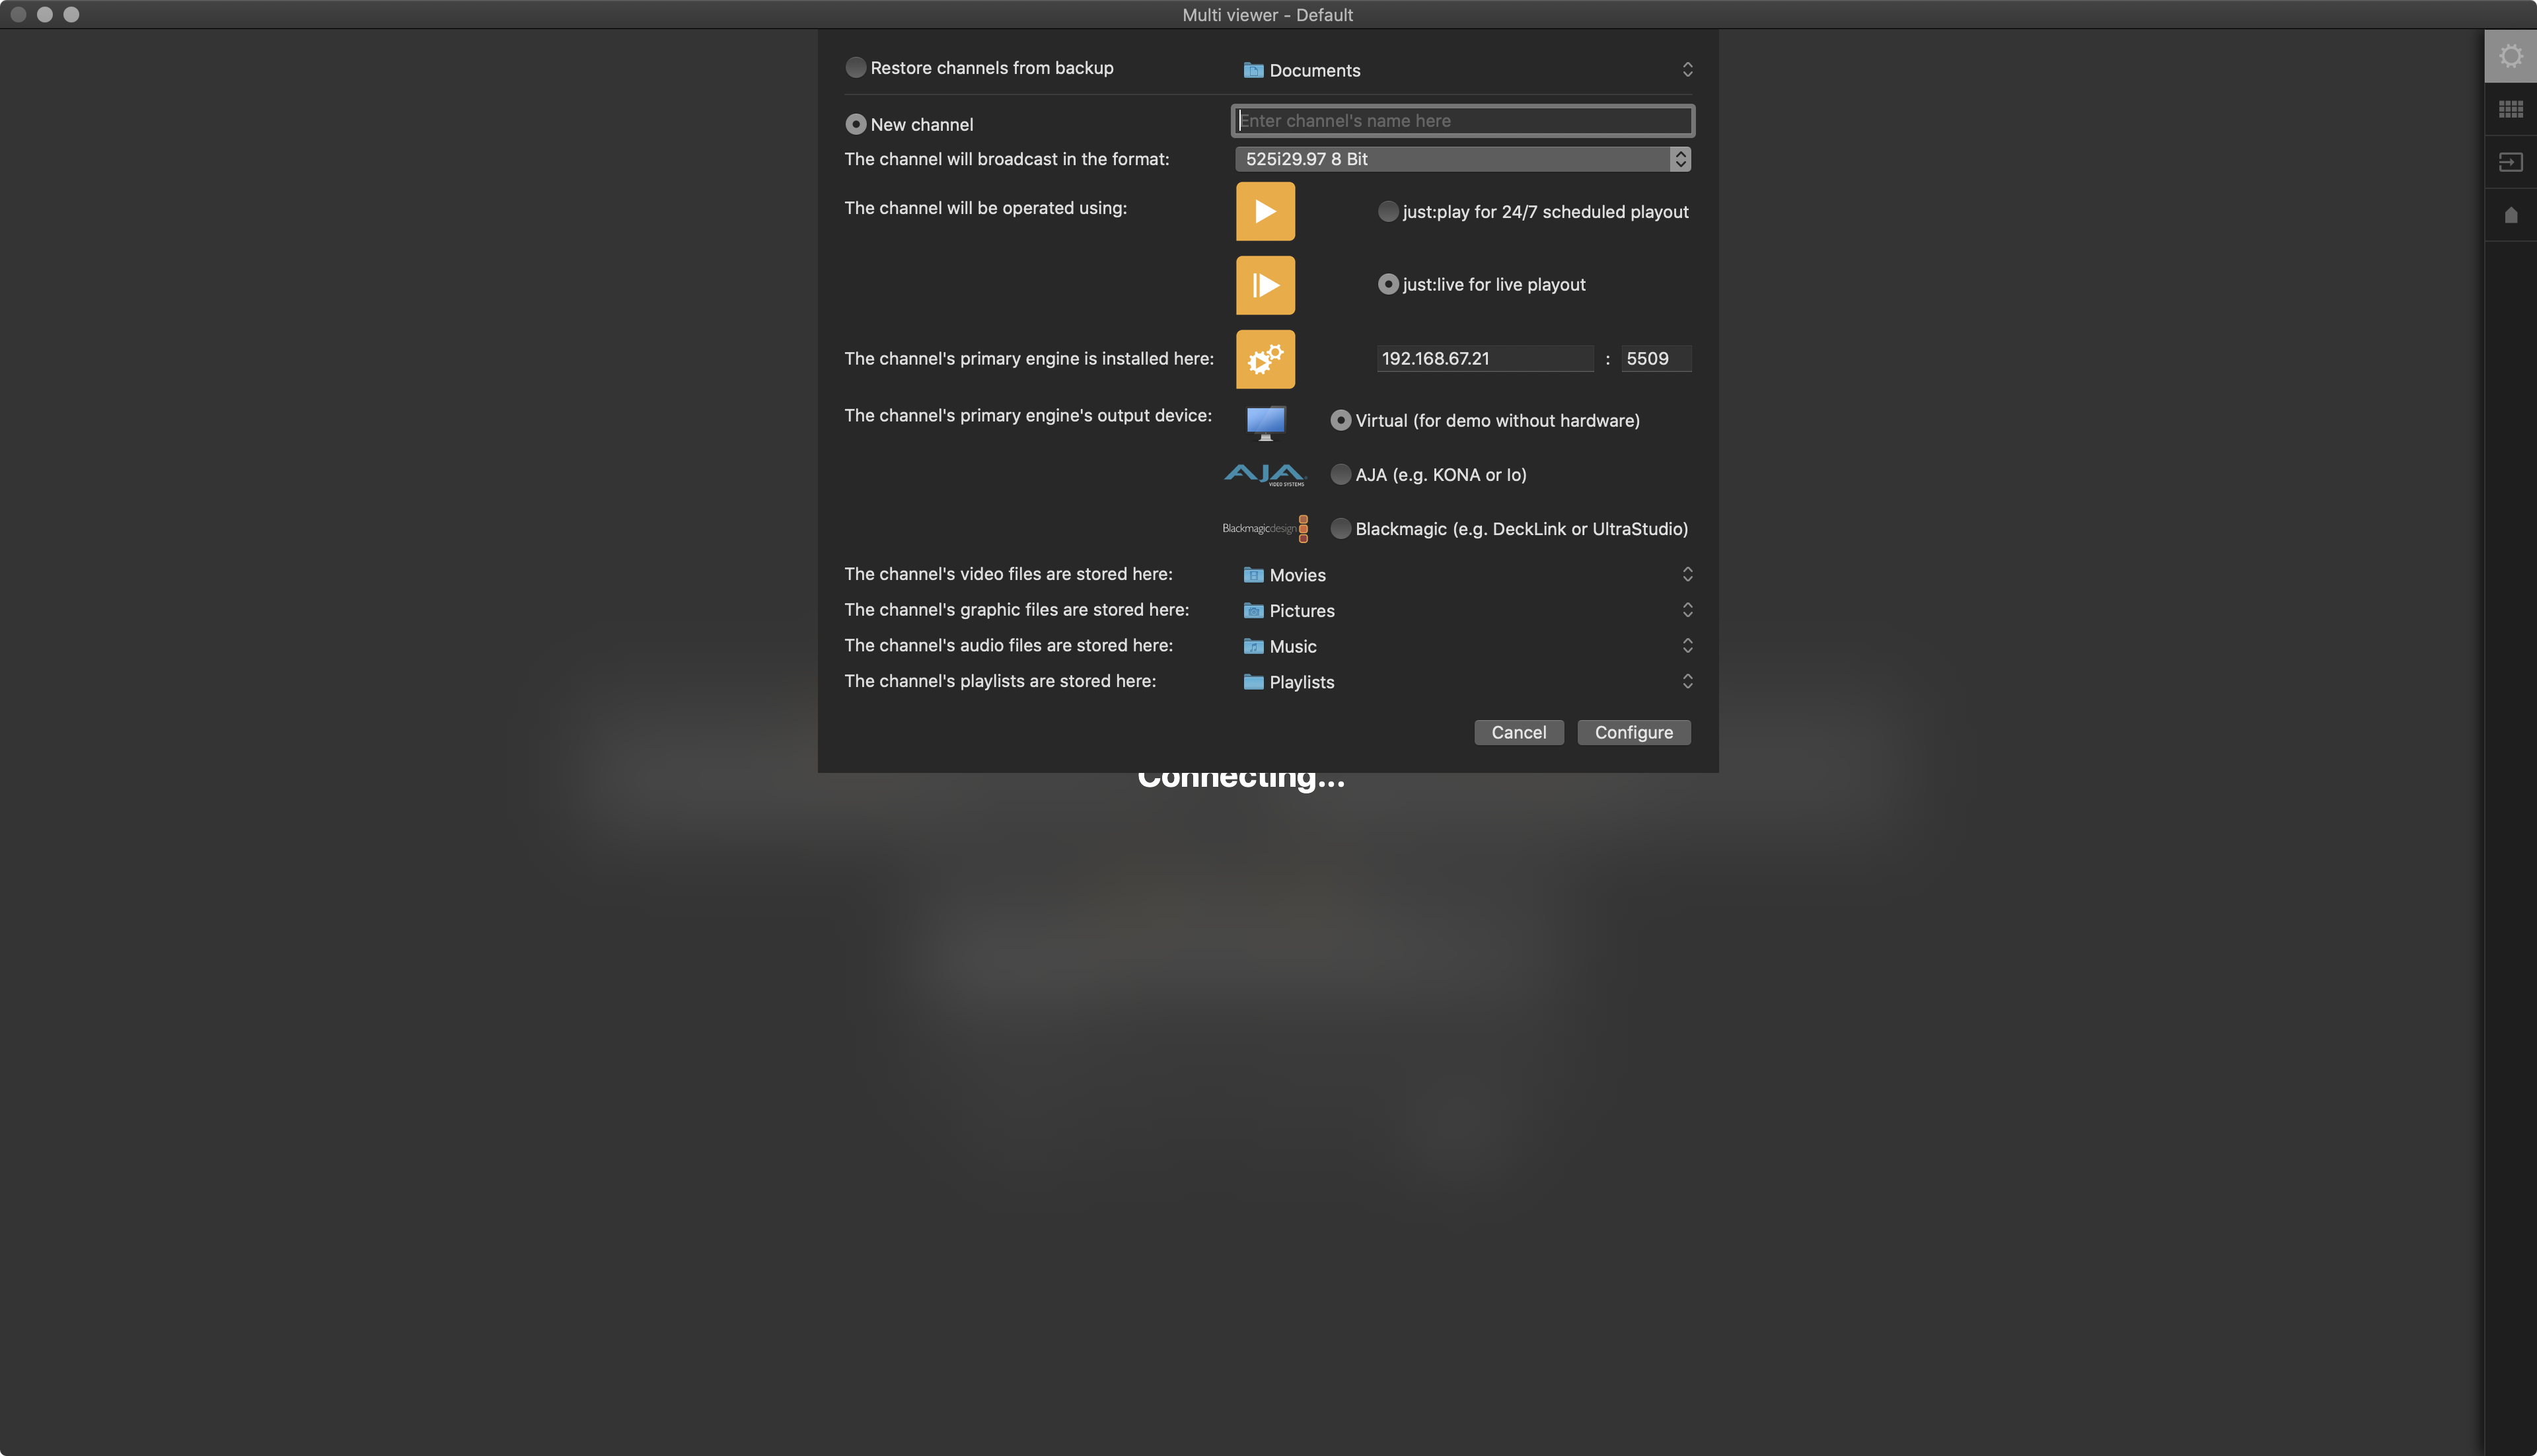
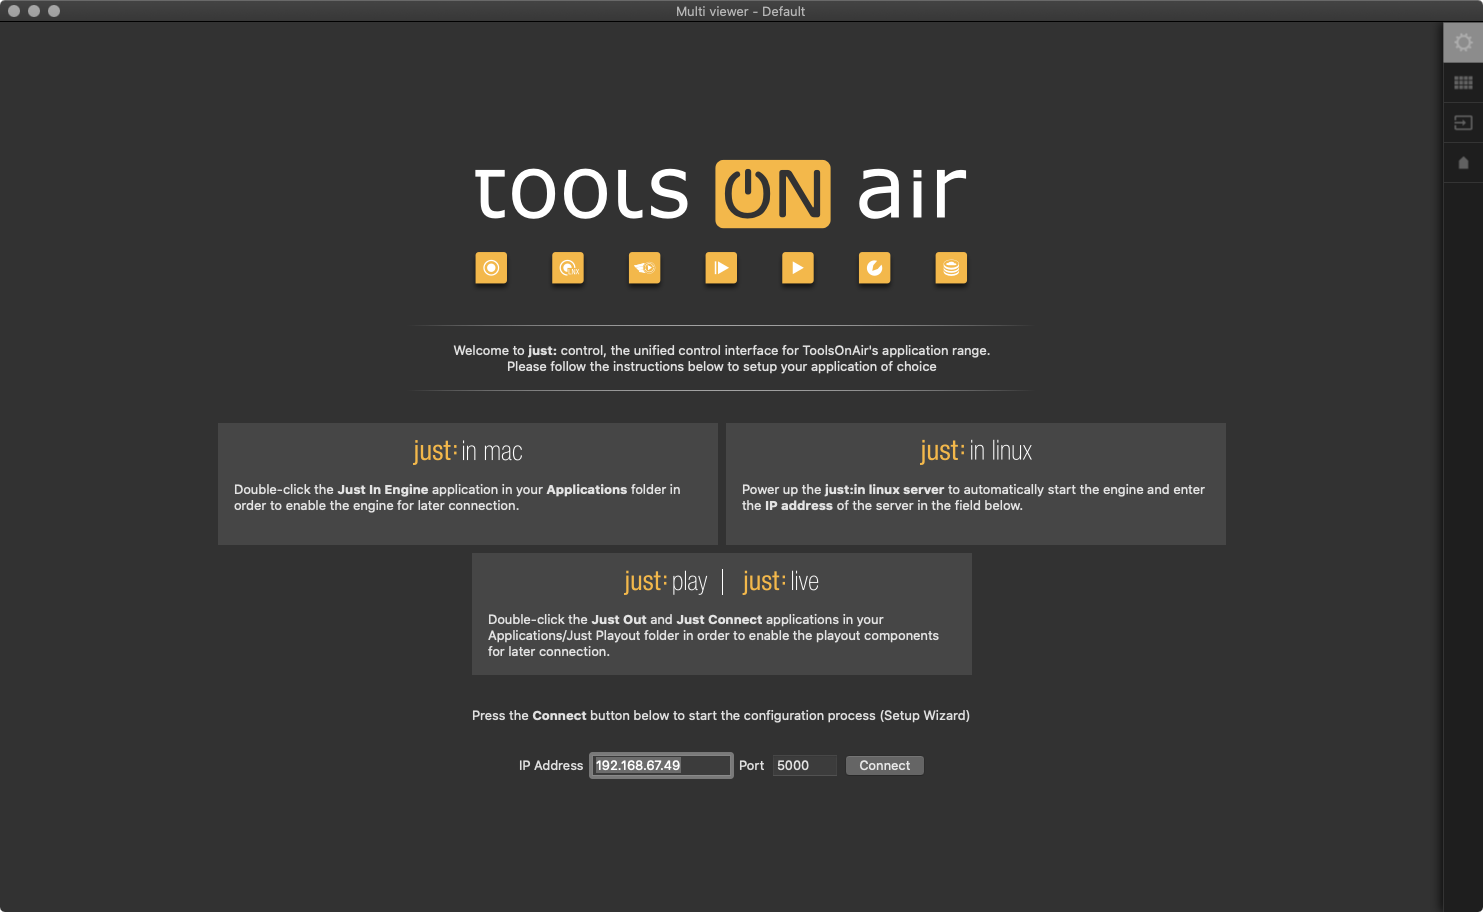
Make sure the option New Channel is selected and enter the name of the Channel into the Channel's name field.
Select the Format you would like to use for broadcast.
Activate the option just:live for live Playout.
If there is a dedicated Video device, select AJA or Blackmagic, otherwise keep the Virtual option selected.
Change the Repository Folders if desired. The default Repositories are:
Video files:
/Users/yourUserName/VideosGraphic files:
/Users/yourUserName/PicturesAudio files:
/Users/yourUserName/MusicPlaylist files:
/Users/yourUserName/Documents/Playlists
5. Start the Playout System
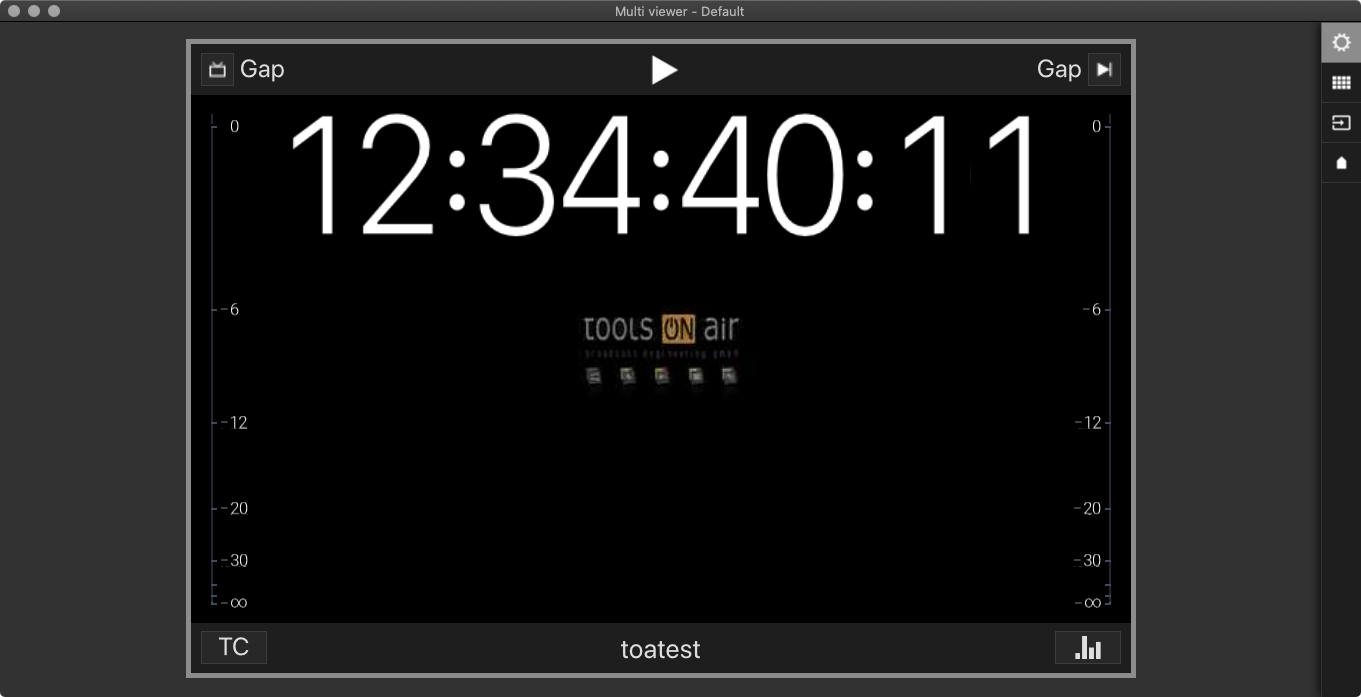
Click the Configure button to finish the setup
...
. The Just Control
...
user interface
...
should look similar to the figure below.
| Warning |
|---|
If the user interface does not look like seen above, please follow the steps below. |
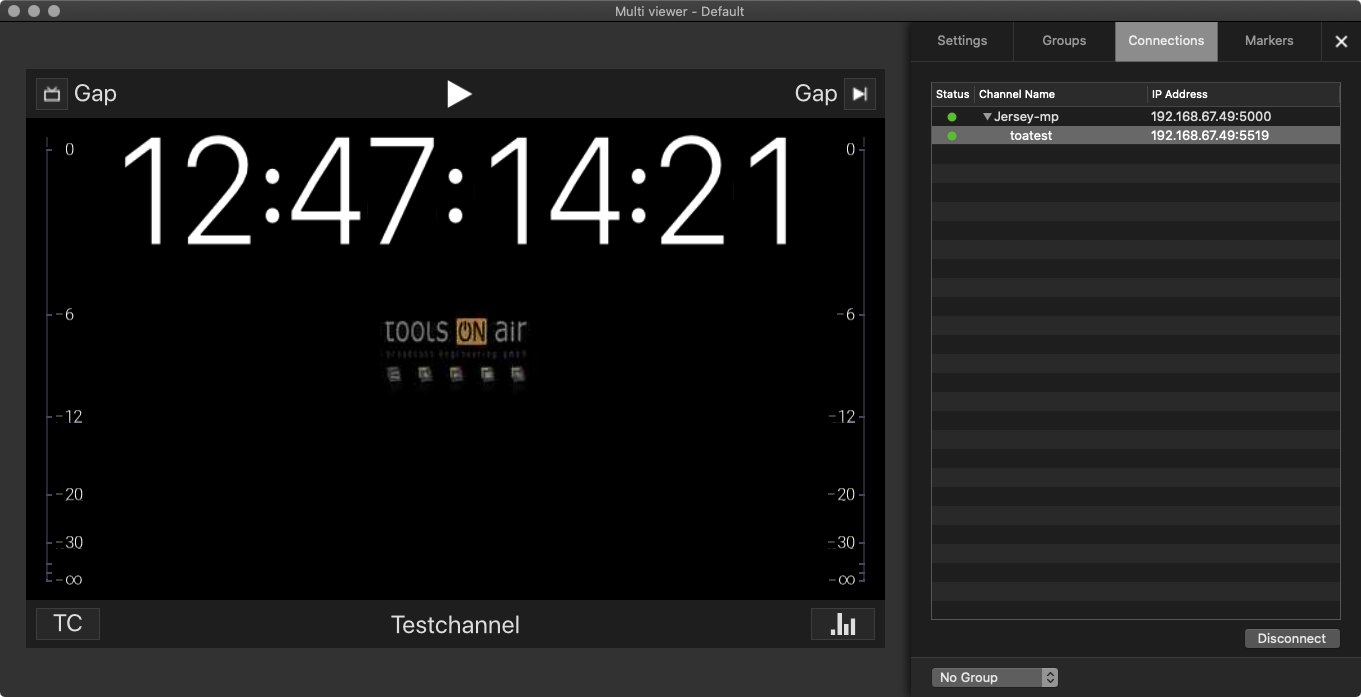
In the sidebar, click on the Connections icon.
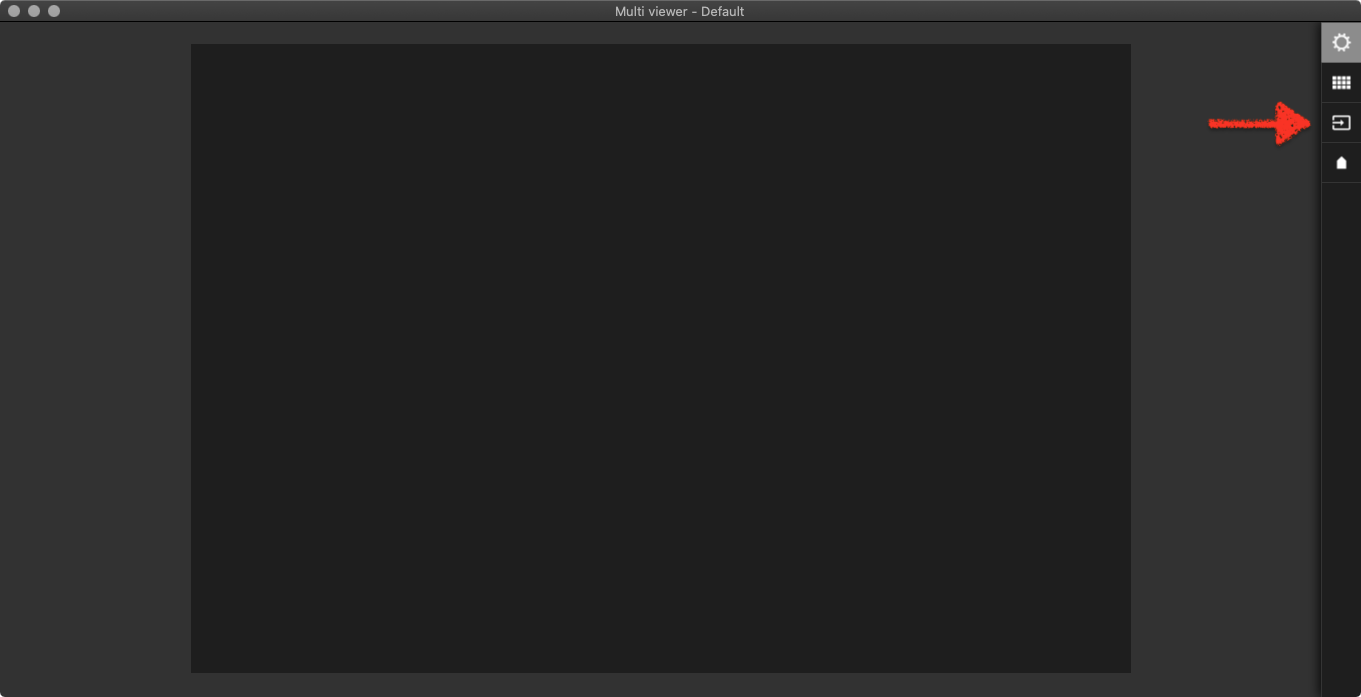
Drag the previously created Channel from the Connections list onto the empty viewer area.
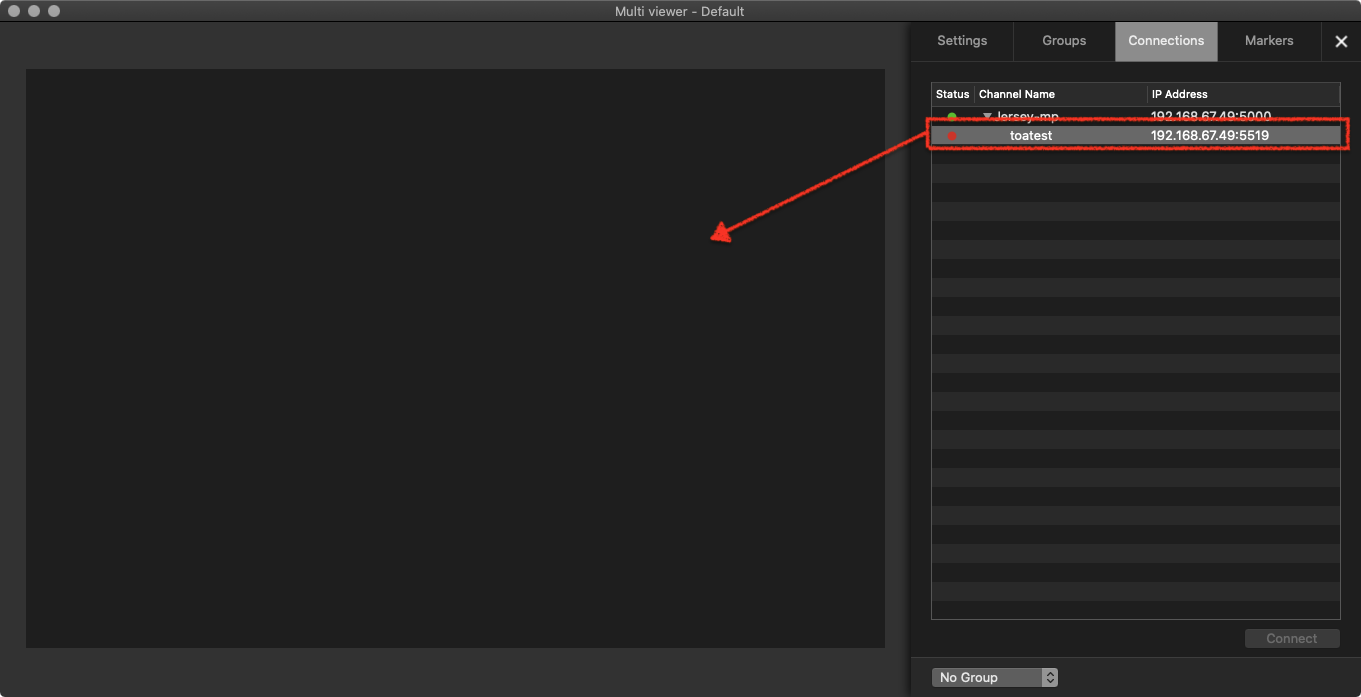
The connection should now be established, and Just Control looks similar as shown in this screenshot.
5. Accessing the just:live User Interface
Click the button in the middle of the viewer to open the just:live user interface.
...
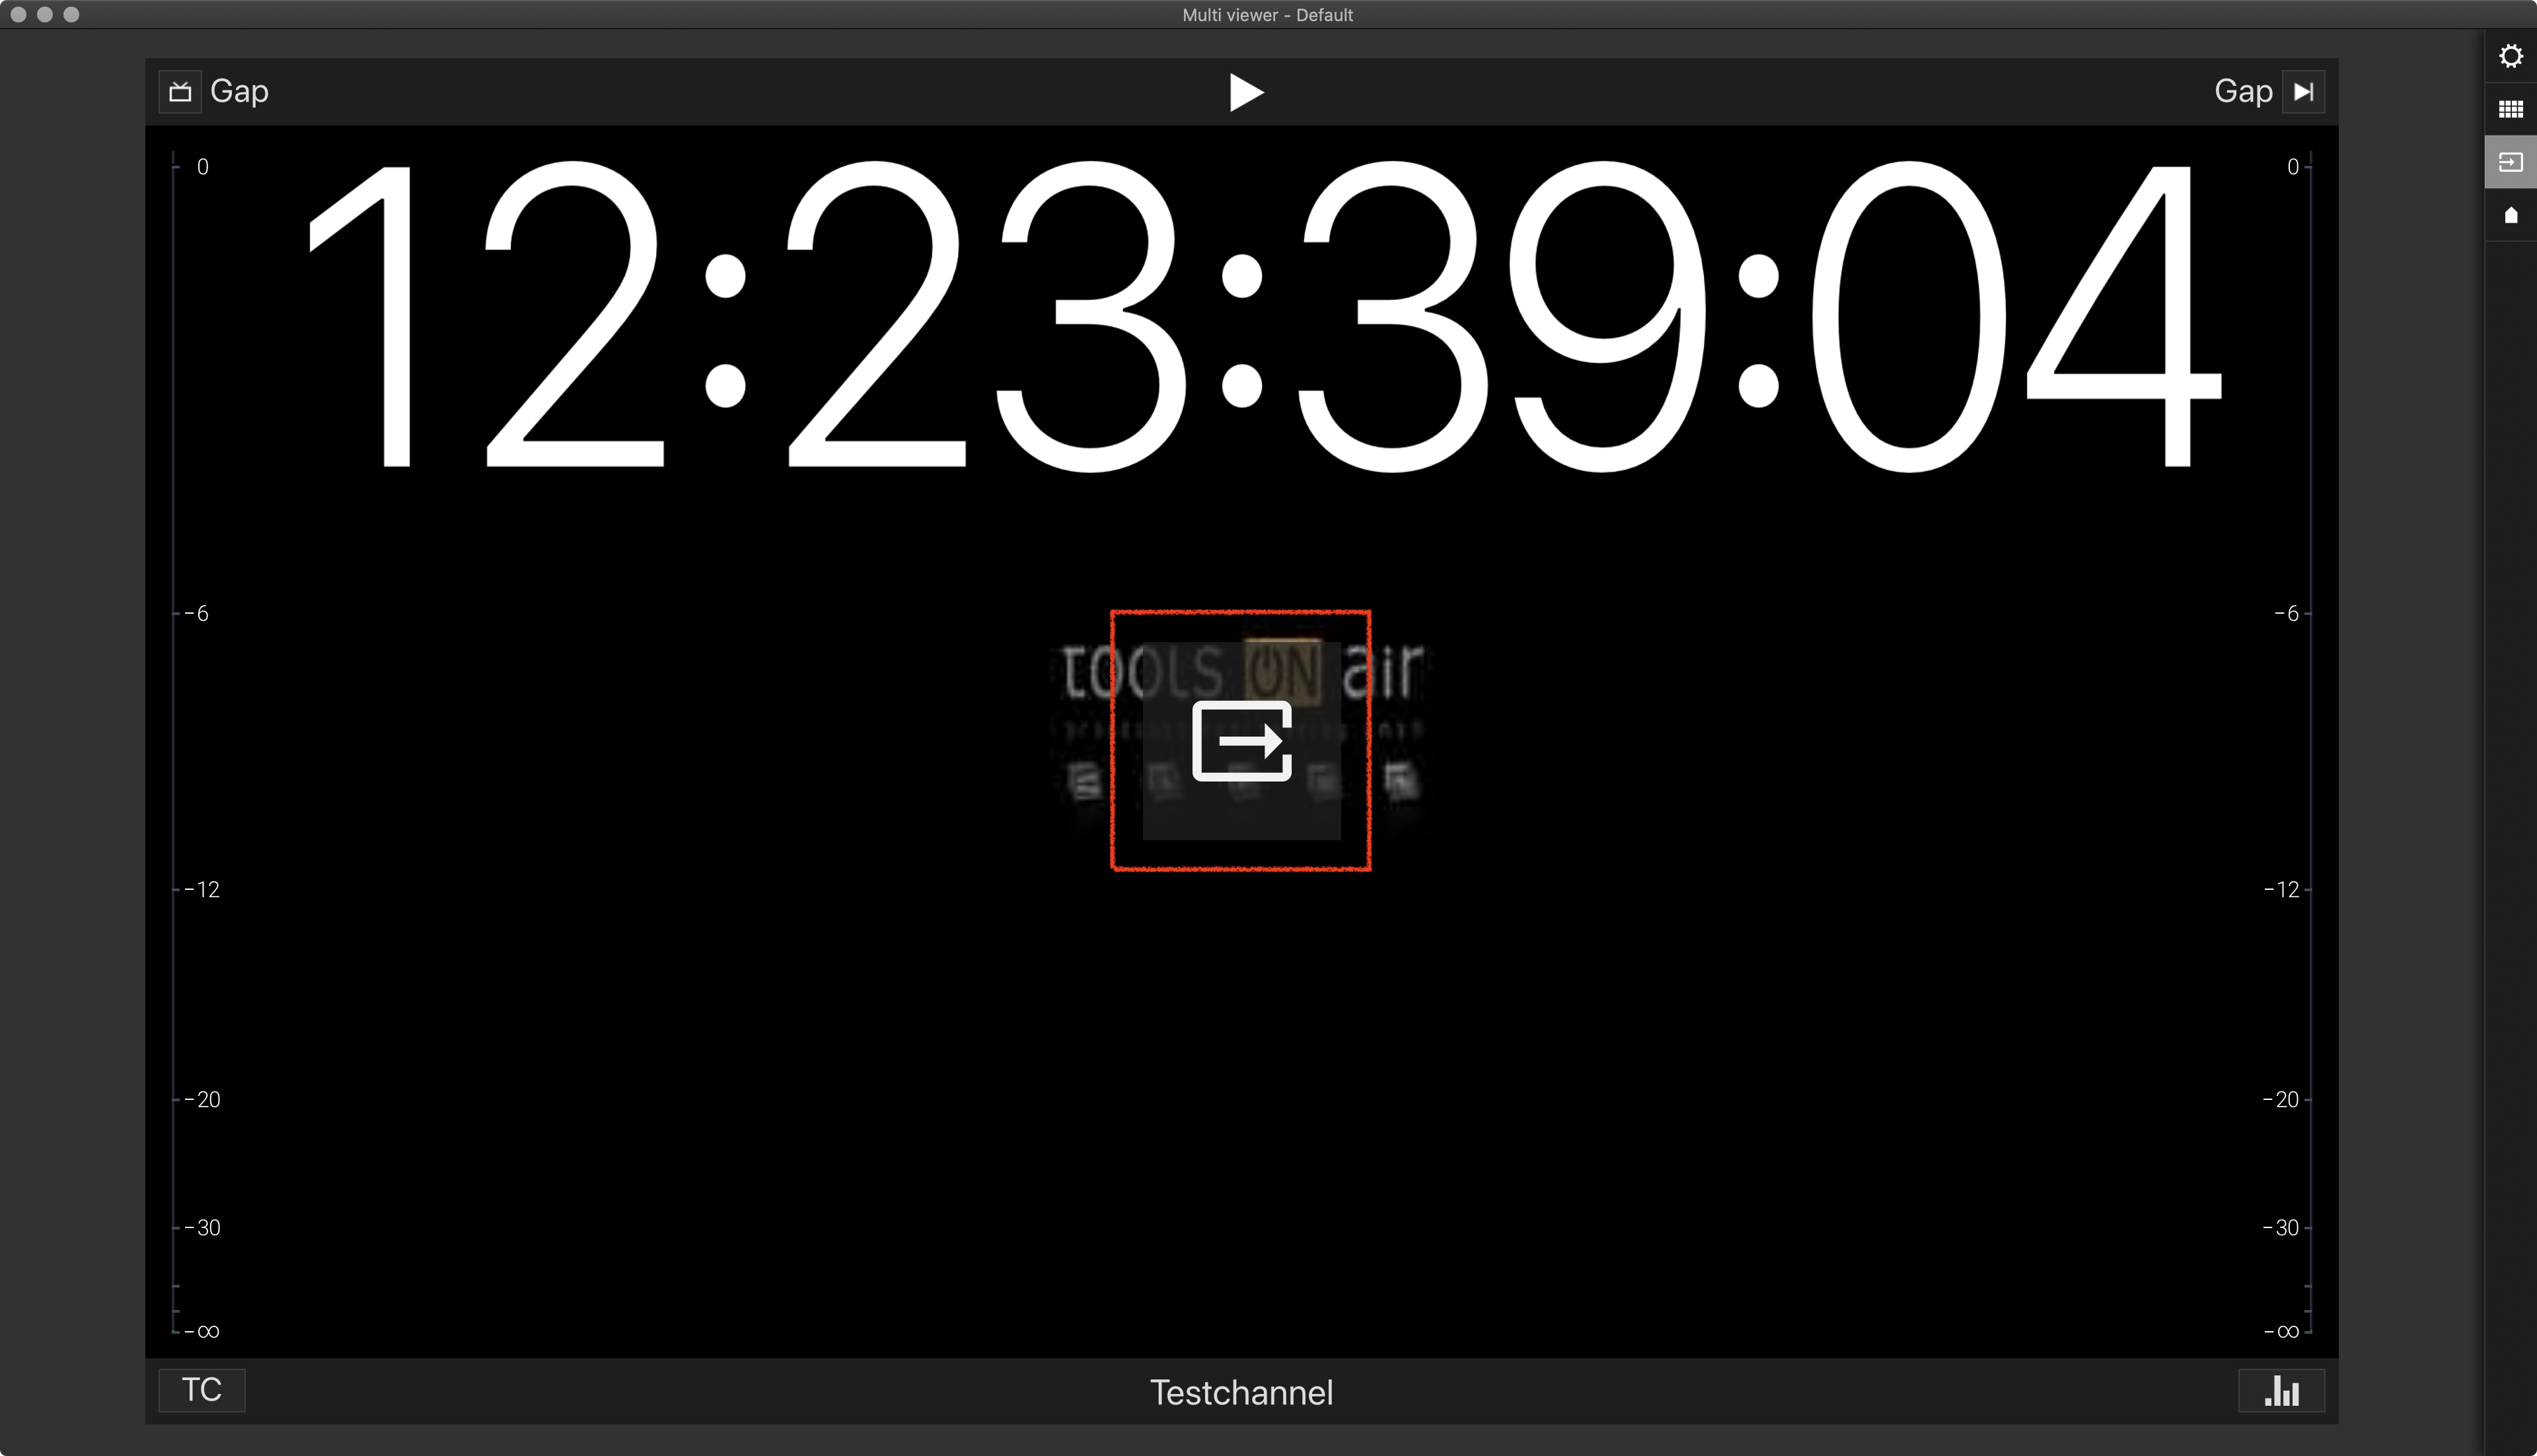
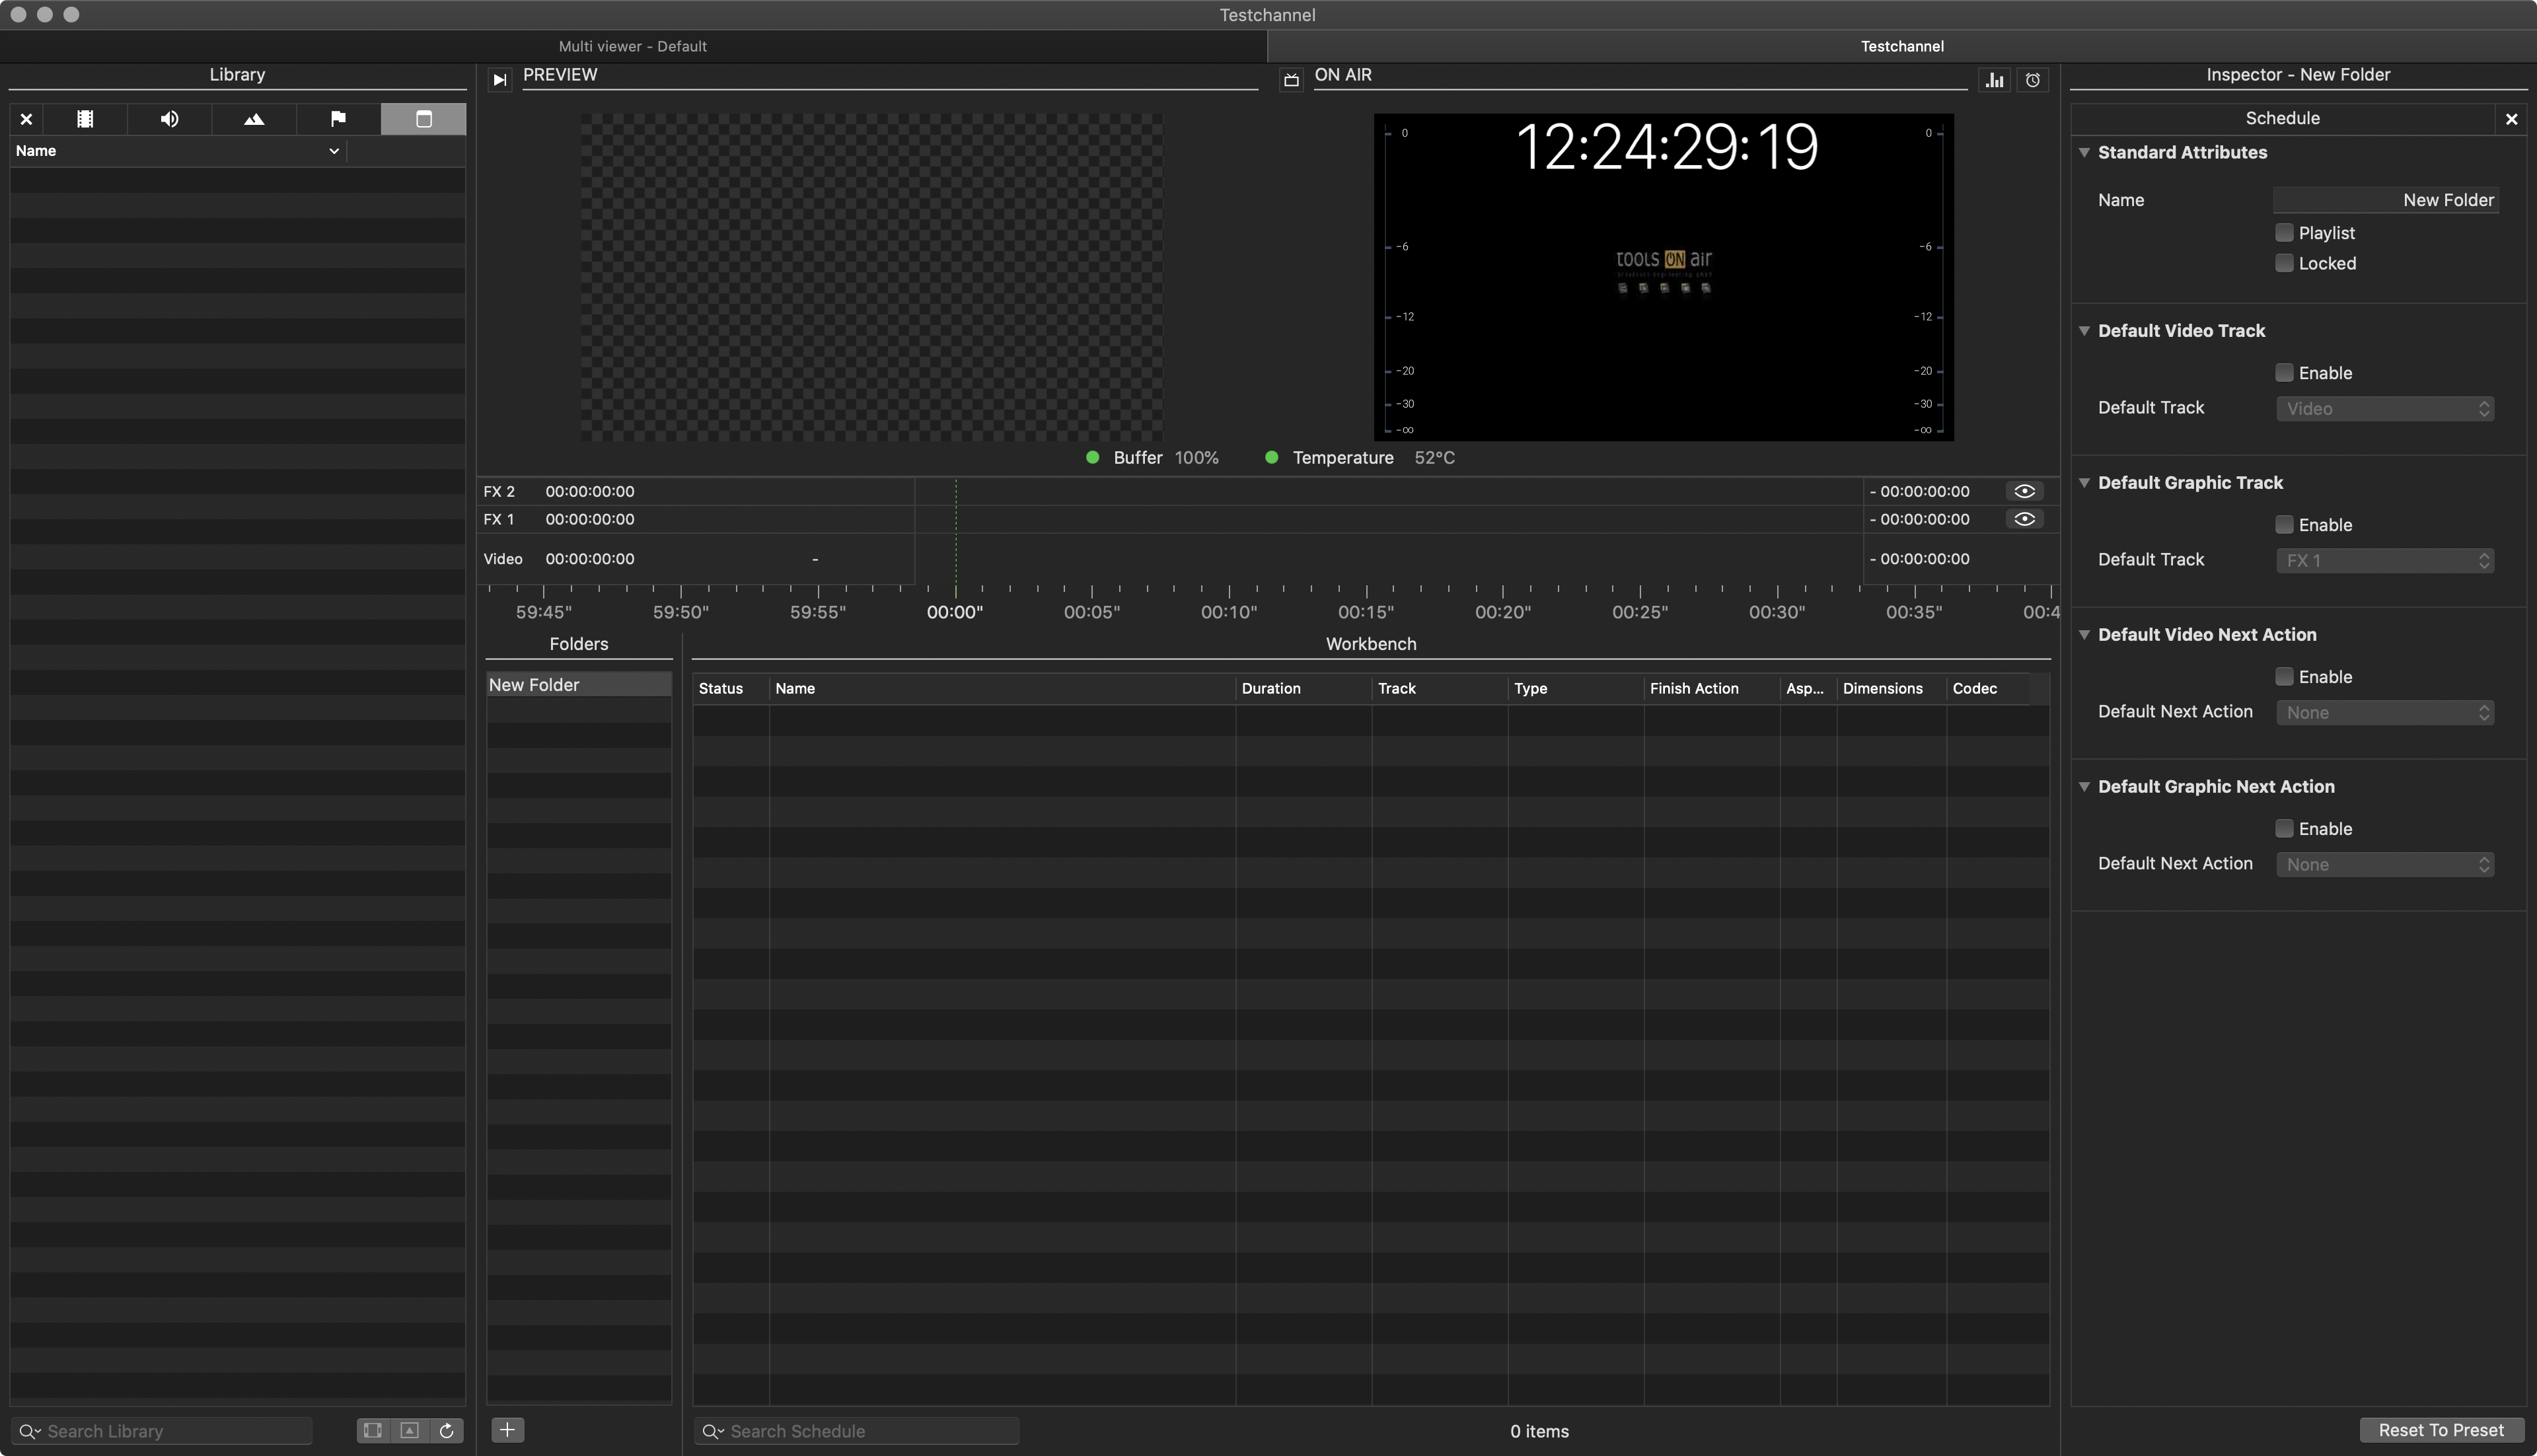
The just:live user interface will now be shown.
6. Verify your Channel is working properly
...