...
- Open a live:cut Project via the just:in User Interface.

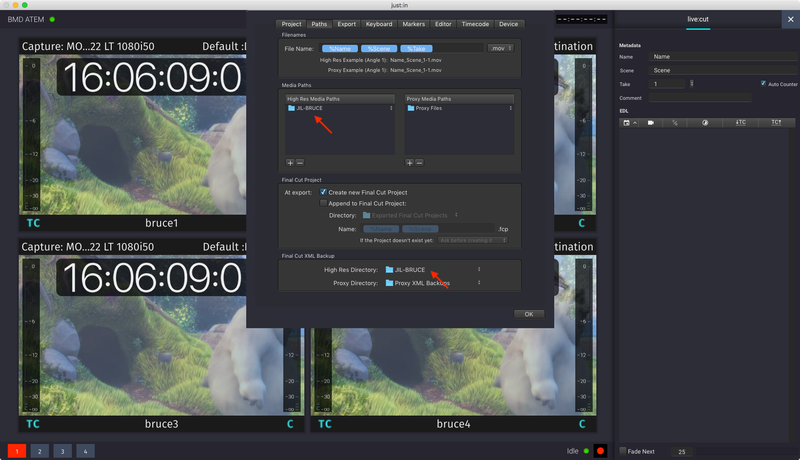
- Go to the menu Project → Settings and click on the Paths tab. Verify if everything has been configured properly. Refer to the previous chapters if the configuration is incomplete.

- Click on the Editor tab. Verify if everything has been configured properly. Refer to the previous chapters if the configuration is incomplete.


- Click on the Device tab. Verify if everything has been configured properly. Refer to the previous chapters if the configuration is incomplete.


- Close the Project Settings by pressing the OK button.
...
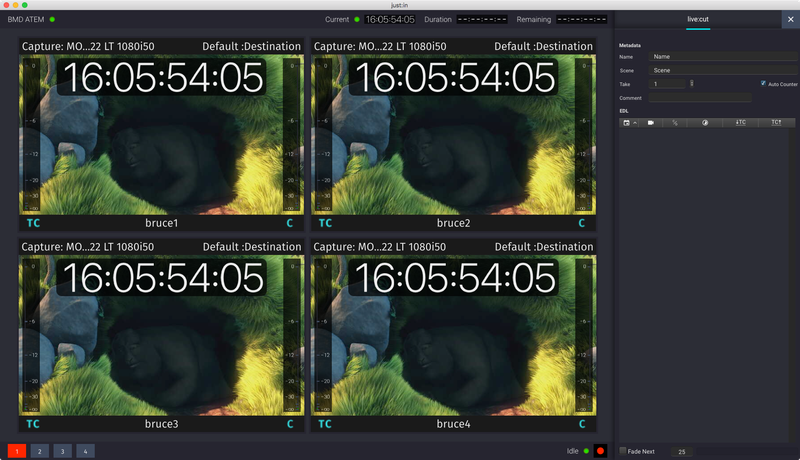
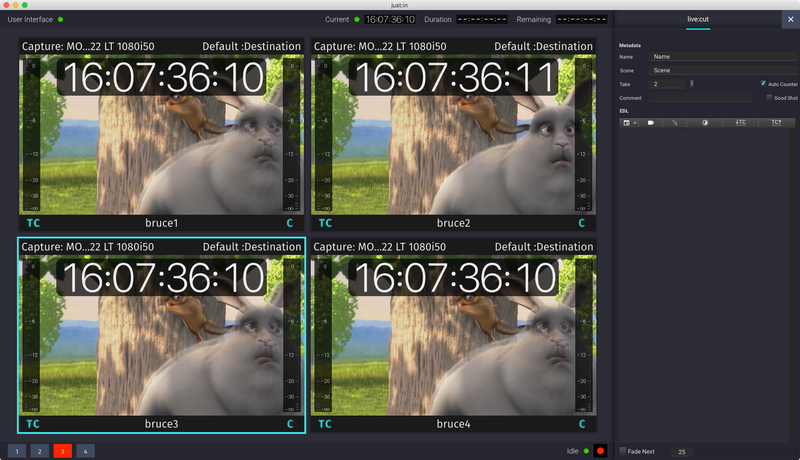
- Before starting the recording make sure that all Channels display the same Timecode.
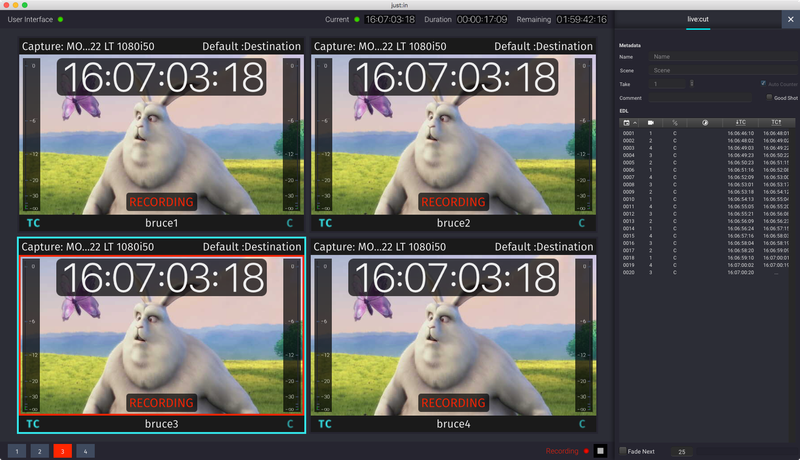
- Use the Record button at the bottom right of the user interface to start recording.

- It takes a couple of seconds and the recording process begins. This small delay is necessary as live:cut searches for a starting Timecode on all Channels.

3. Changing Cameras / EDL Recording
...
| Using the Switcher Buttons (live:cut UI only) | Clicking on one of the Switcher buttons in the lower left of the live:cut User Interface changes the Camera and creates a new entry in the EDL.
|
|---|---|
| Using the Channel Views (live:cut UI only) | Clicking on one of the Channel Views of the live:cut User Interface changes the Camera and creates a new entry in the EDL.
|
| Using Keyboard Shortcuts (live:cut UI only) | Pressing ctrl + 1, 2, 3, 4, 5… changes the Camera and creates a new entry in the EDL. Refer to the Project Settings to get and define the keyboard shortcuts.
|
| Using an external Device | Switch the Cameras by using an external device. When the top left label displays User Interface or BMD Atem you may also use the previously described switching methods. |


...
| Info |
|---|
The currently active Channel is displayed with two borders a border that changes colors between red and cyan one, as displayed above. |
4. Stop Recording
Press the Record button again and accept to dialog to stop the recording.
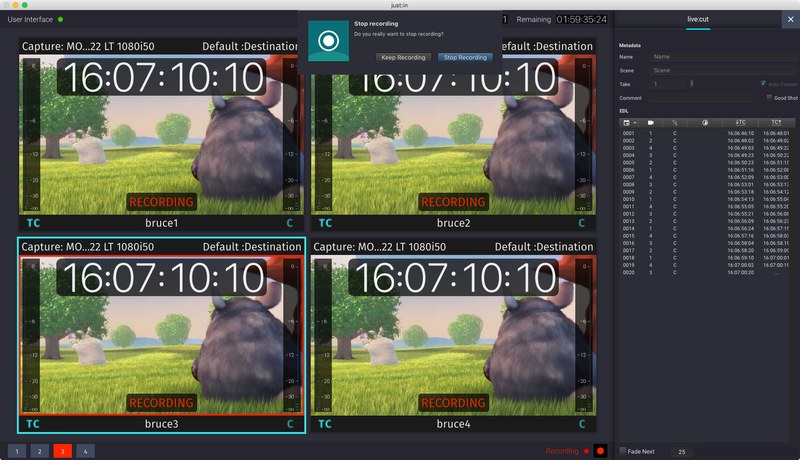
live:cut will stop the ongoing recording a few seconds later and if the auto-counter is activated, then the Take-Number will be increased automatically.

5. Importing Multi-Camera XML into NLE
...