...
- Timecode: displays the Timecode depending on the selected Timecode mode (see below).
- Channel View Border: when you click on a Channel View it gets a coloured border which means it's selected. You may select multiple Channel Views by holding the command-key. This is useful if you want to change the capture settings of multiple Channels at once.
- Channel Recording Border: when a Channel is recording, then there will be a red recording around the video preview area.
- Record Button (command + R): this button shows up as soon as you hover over a Channel. Press this button to start or stop the Recording on the particular Channel.
- This button only shows up after selecting a valid Capture and Destination Preset in the Inspector. Refer to the just:in Engine configuration chapter for further details on Presets.
- If the Channel is in Schedule Mode, then you will not see the Recording Button.
- Audio Bars: shows Audio levels (dB).
- Status Display: shows the status of the particular Channel View (see below).
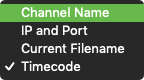
- Channel Info: click to switch between Channel Name, IP-Address & Port, Name of the current Recording or current Timecode.
- Lower Bar: Within within the lower bar you can choose between different timecode options, turn on/off the audio bars and switch between different channel info options.
- Timecode Mode: click to select the Timecode Mode (see below).
- Audio Bars: Turn turn audio bars on/off.
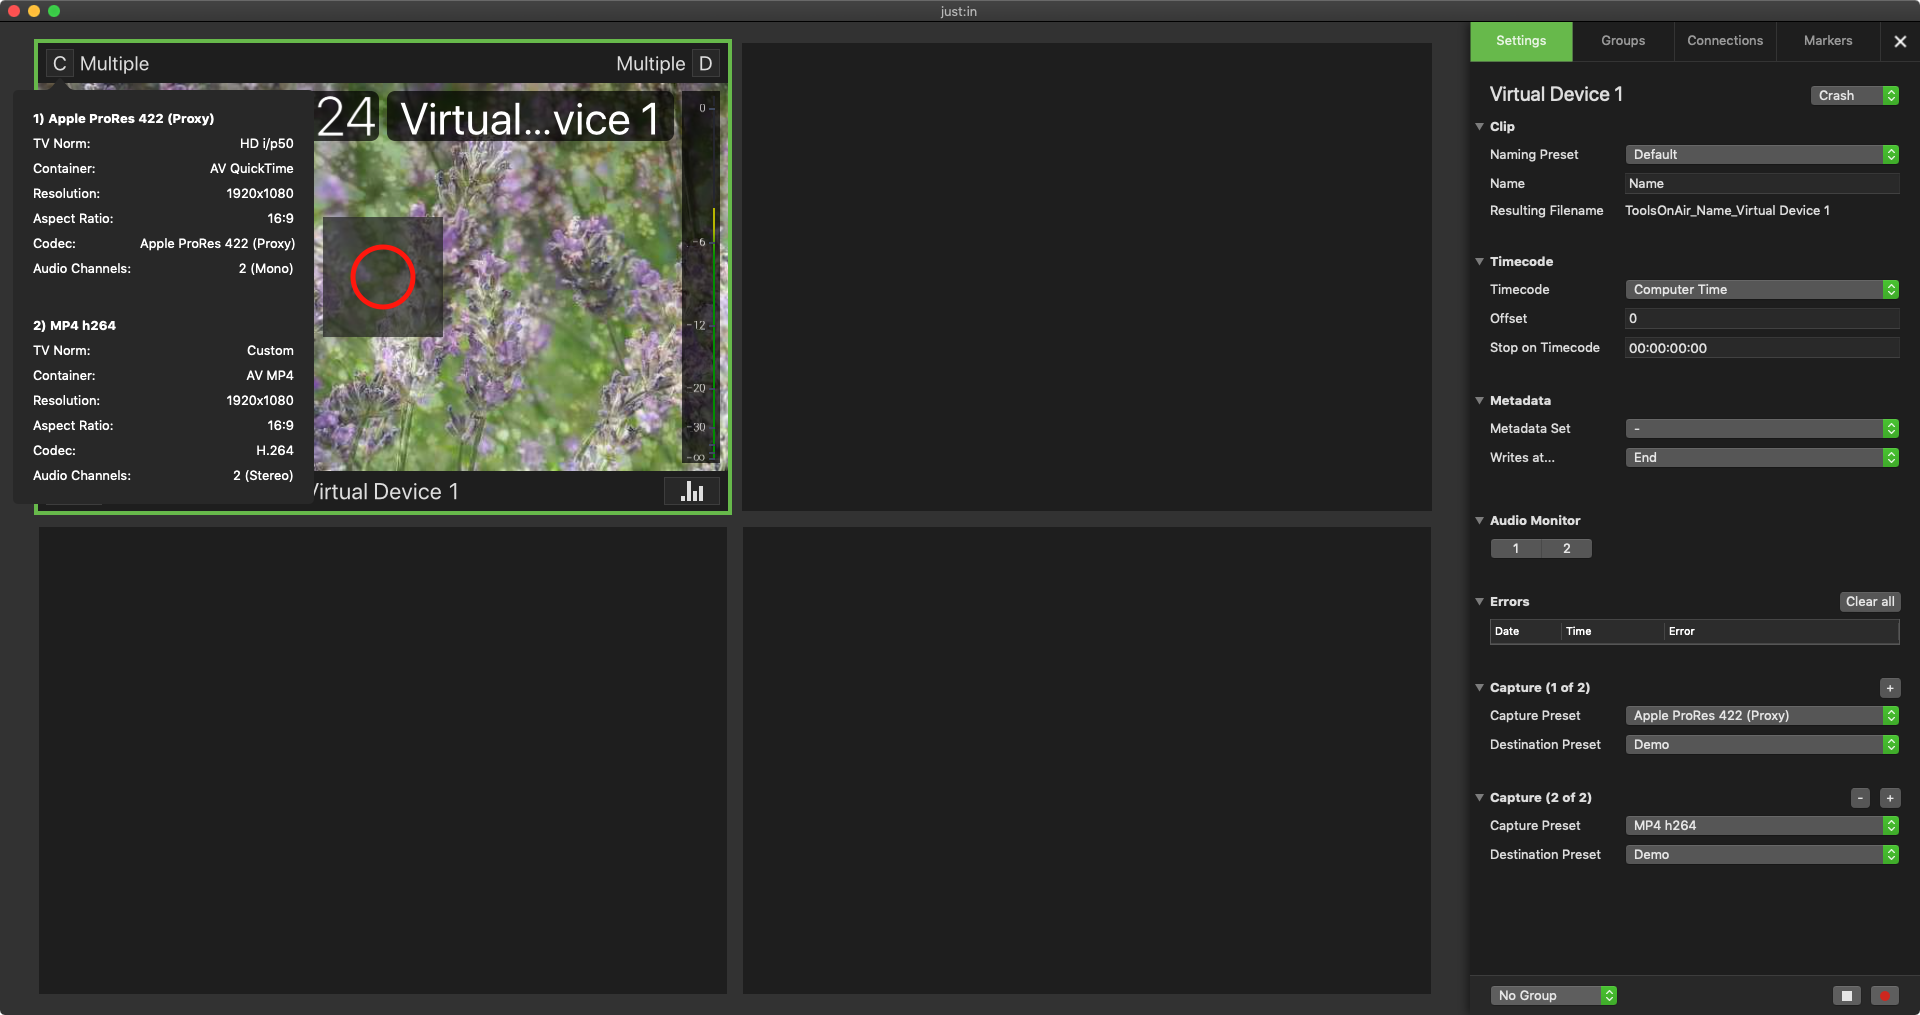
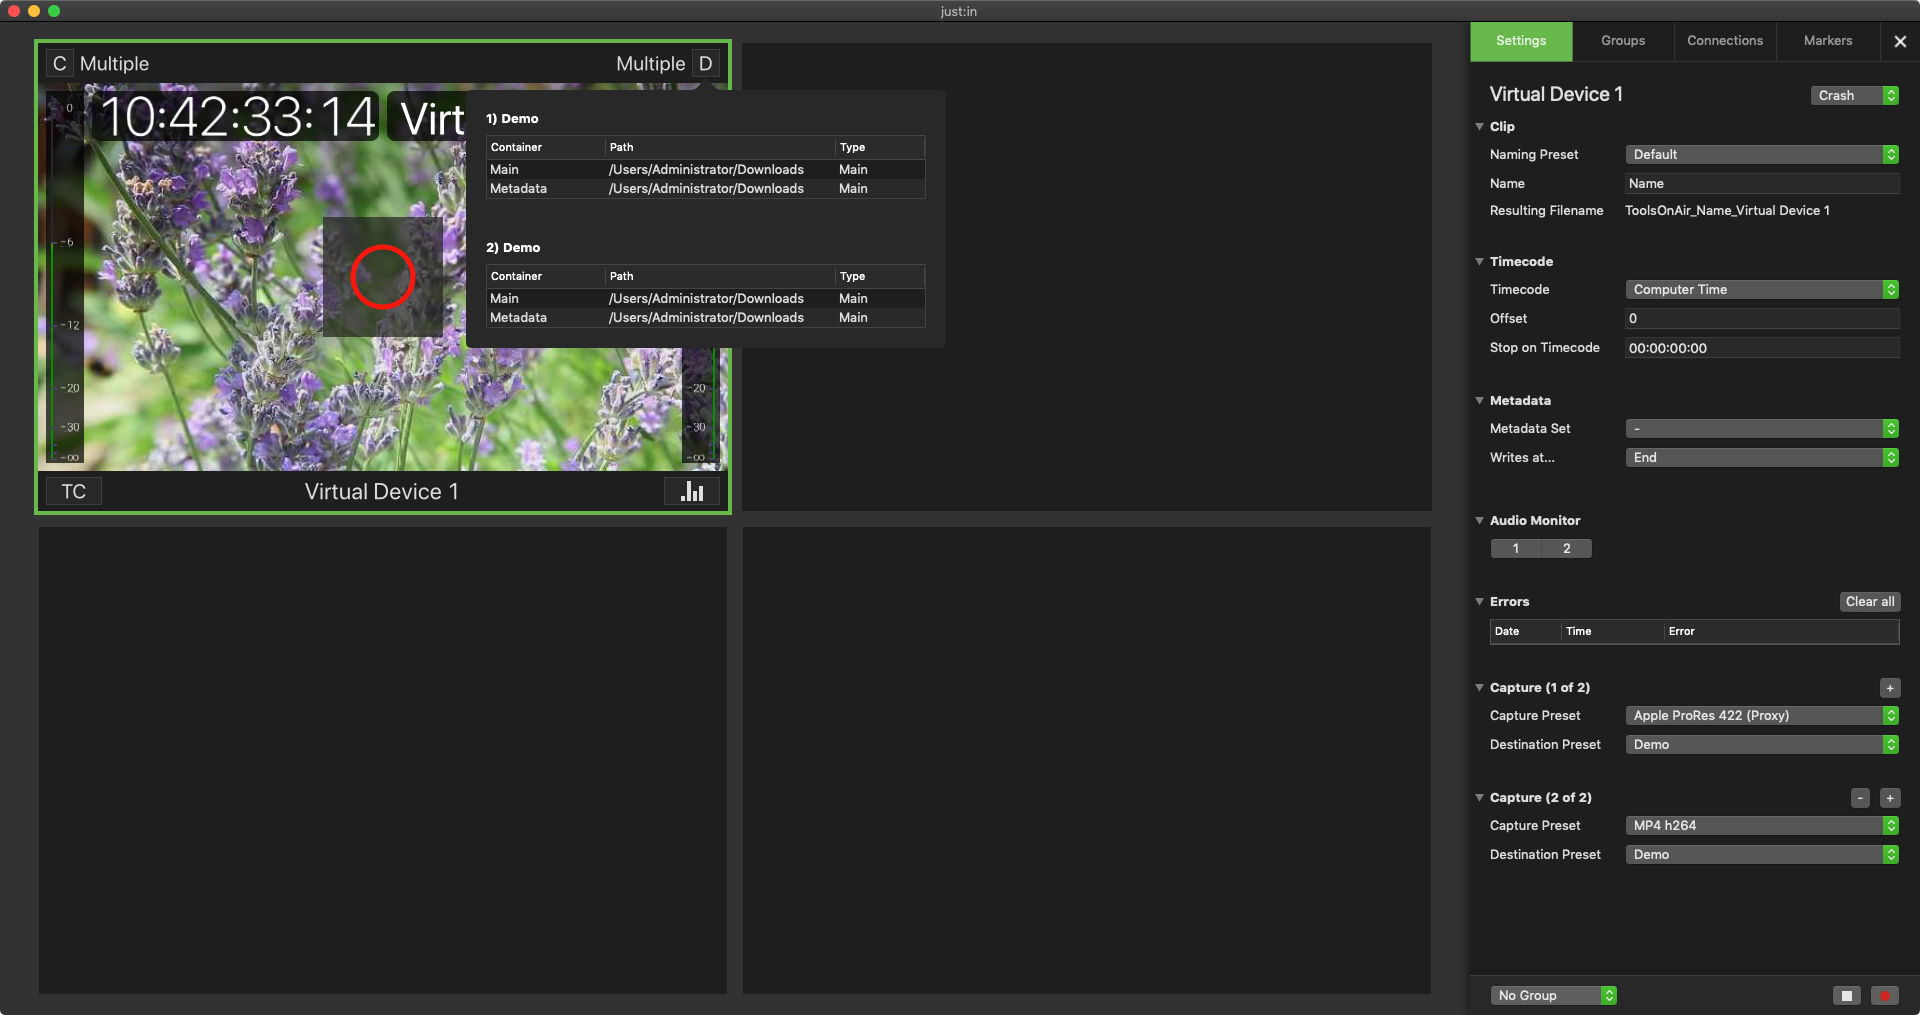
- Upper Bar: displays the Capture and Destination Preset. If you have more than one Capture ID these areas will display "Multiple". When clicking on the "C" or "D" icon, you will see more information about Capture- or Destination Preset.
- Capture-Preset: Displays displays the current selected Capture-Preset(s).
- Destination-Preset: Displays displays the current selected Destination-Preset(s).
...
| Info |
|---|
All Overlays of the Channel View resize automatically depending on the display resolution and the size of the Channel Viewer. The dB scale of the Audio Bars will be removed once the numbers are becoming too small and only the Audio Bars will be visible thenis hidden depending on the size of the Channel Viewer. |
Timecode Modes
You can choose between following Timecode Modes.
...
Displays the current Timecode in the top left corner and the Elapsed Time during Recording in the top right corner.

Small/Medium/Large
Displays a small/medium/large Timecode in the upper center.

Medium
Displays a medium Timecode in the upper center.

Large
Displays a large Timecode in the upper center.

Timecode + Name
Displays the current Timecode in the top left corner and the Channel Name in the top right corner.
...
You can turn the Audio Bars on/off for each Channel Viewer.


...


...
Recording and Buffer
The Channel is in Recording Mode mode and the Buffer Status is visible. This is an indication for a performance problem, either a CPU or Storage related problem (or both). The CPU and/or storage may be too slow.

Recording with Errors
There was a problem during recording. More information can be found within Consult the Error Section section in the Settings tab of the Inspector and/ the Channel or take a look at the channel log.

No Connection
The channel A connection could not be connected correctlyestablished or a connection has not yet been established.

No Preset
Capture ID(s) are not correctly configured. Go to the Inspector and set up your Capture- and/or Destination Presets accordingly to your needs.

Configuration
This Error Message indicates an invalid Preset -Configurationconfiguration.

Errors
There was a problem during the last Recording or during the time where the Channel was in Idle Mode. To get more information check Consult the Error Section within section in the Settings tab of the Inspector (Settings Tab) or the Channel Logor take a look at the channel log.

No Signal
Channel has no or an invalid signal.
