...
| Table of Contents |
|---|
...
Single View
When opening just:in for the first time it will present a single View. Basically you can connect to one Channel now. It's possible to display multiple Channels at once by using the Split & Join functionality of just:in.
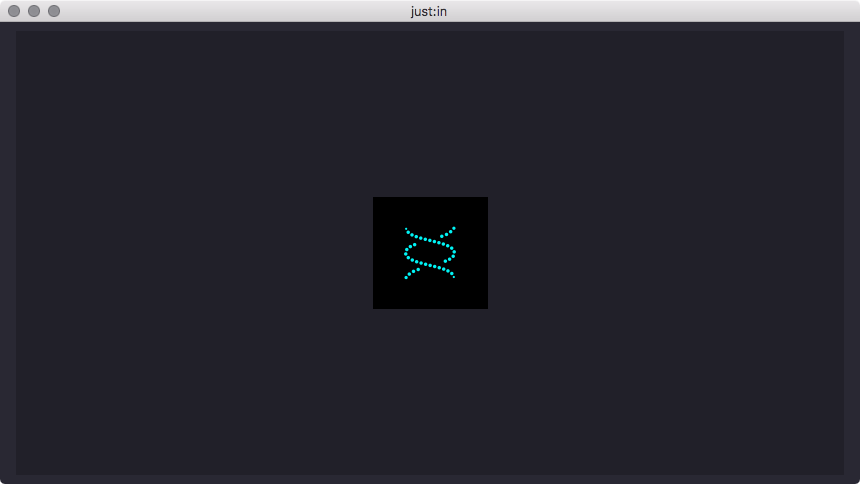
When you open just:in v2.0 for the very first time, you will see following screen:
So basically you can connect one channel now and you can interact with this channel. Please continue reading for getting more information about the Split and Join feature.
Split
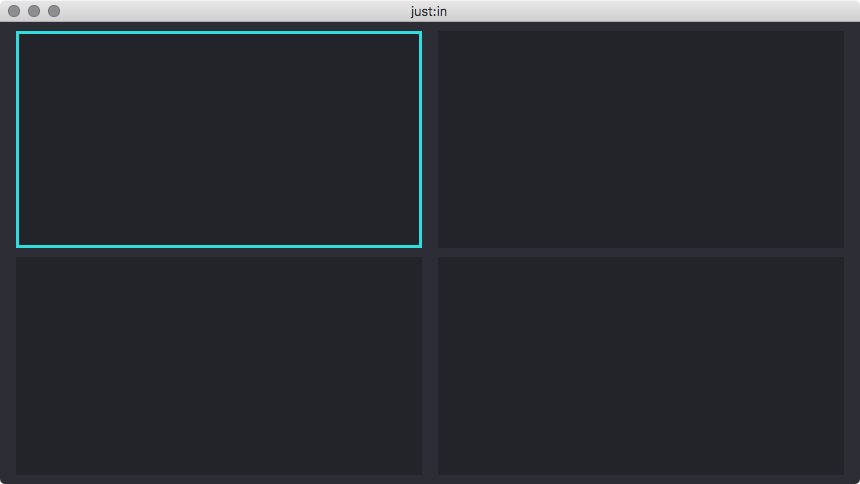
You can split a preview window, whether a channel is already connected or not. You can execute a split command by selecting a preview and then just hit cmd + s. You will see following screen:
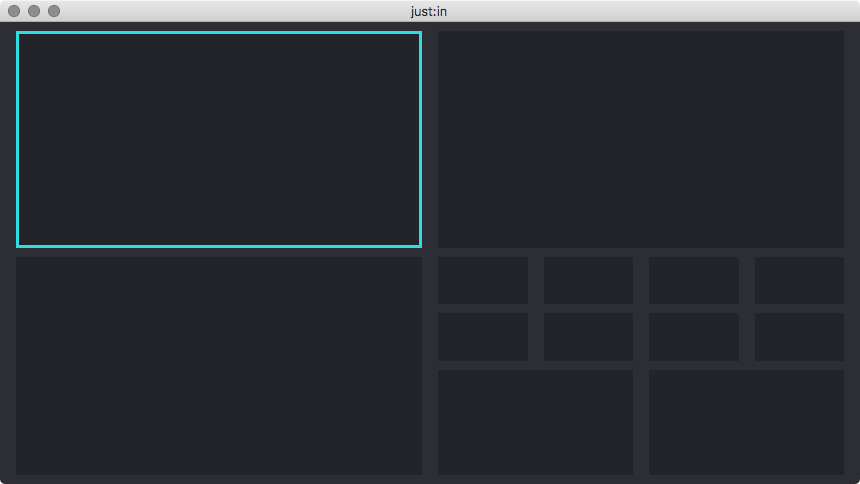
Then you can even split this preview area for one more time, like this:
Then you can go ahead and connect your channels to the interface. As described before you can also split preview areas where a channel is already connected, like here:
Join
If you want to join four preview areas to one single preview again, then you can use the Join command. You can do so by just using cmd + j.
| Info |
|---|
There is no need to select all four channels when executing the join command. |
So, if you want to join the red marked channels, just select one of these four preview areas and press cmd + j.
You can also execute the join command on a channel, which is already connected, like here:
Splitting a Viewer
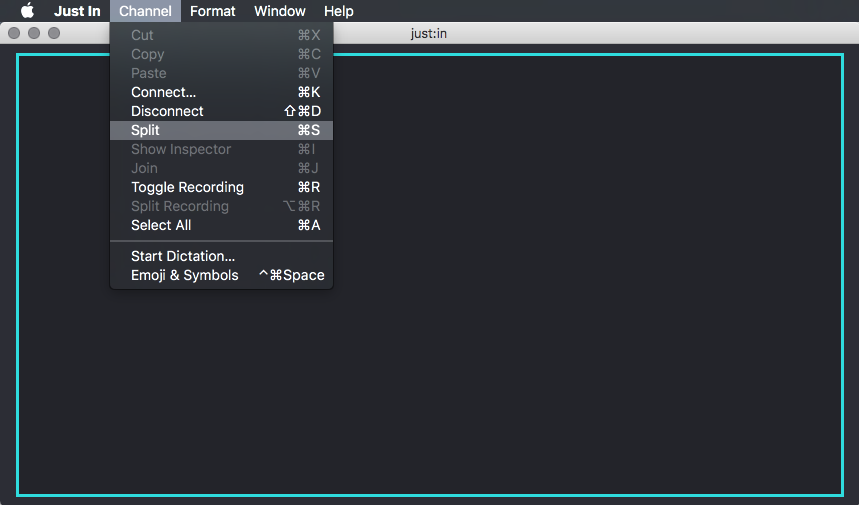
- Select the Viewer by clicking it once, the border will turn turquoise. Make sure you don't click the button in the middle.

- Select the menu command Channel → Split.
- The Viewer has four Views now. You can connect each View to a Channel as described in the previous chapters.
- You may repeat these steps for each View to create further Views.
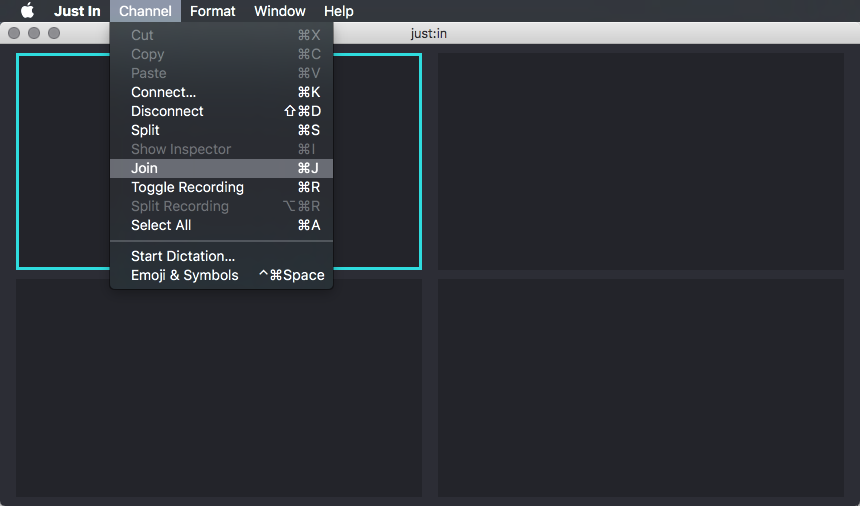
Joining a Viewer
- Select a Viewer by clicking it once, the border will turn turquoise. Make sure you don't click the button in the middle.
- Select the menu command Channel → Join.
- The Viewer has one View now.