This chapter describes the initial and basic setup of just:in Engine and the just:in user interface.User Interface.
Table of Contents
...
Table of Contents
...
Start just:in Engine
...
- Got to the Applications folder.
- Start Just In Engine. The operating system may display a window which says Verifying "Just In Engine".

When the verification process is done another dialog may appear. Press the Open button. This dialog will only appear once.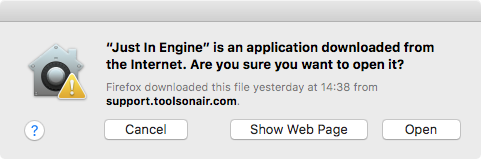
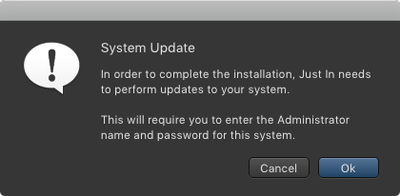
Accept the system update - Accept the System Update dialog to continue.
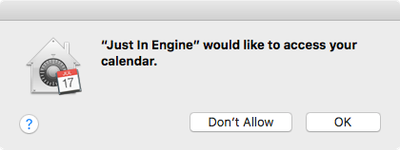
- Allow just:in Engine to access the Calendar (this is required for Scheduled Recording).
just:in Engine
will launch and display the Preferences windowdisplays the Preferences window automatically.
Info If just:in Engine has been launched and/or configured previously on this system, the preferences window needs to be opened manually. Go to the menu Just In Engine → Preferences (shortcut: command + comma).
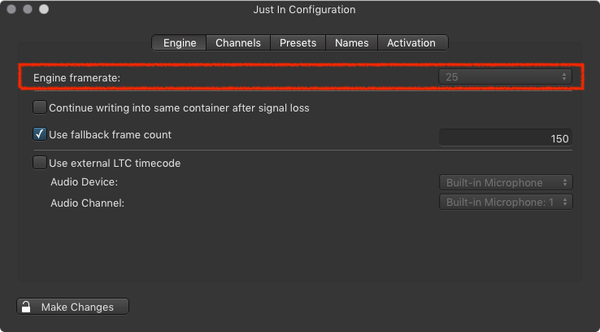
- Unlock the Preferences in the lower left corner by pressing the Make Changes button.
- Engine tab. Select the desired framerate Framerate in the Engine tab.
- Go to the Channels tab : Configure at least the Video Mode and the Audio Bitrate of and configure the desired Channels.

Info - Enable the Channel(s) in the Channels tab by clicking the corresponding checkbox in the Channels list.

- The Channel Status window will appear Diagnostics window should appear. You can always show it by using the menu Window → Diagnostics.

Start the just:in User Interface
- Go to the Applications folder and open the just:in Application.
- Make sure just:in Engine is running.
- Open the The just:in application. The operating system may display a window which says Verifying "Just In".

When the verification process is done another dialog may appear. Accept the dialog to launch the app. Both – the verification window and the opening dialog will only show once.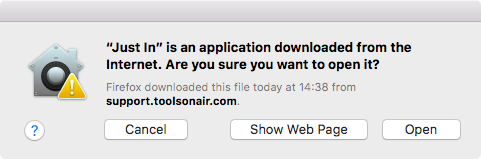
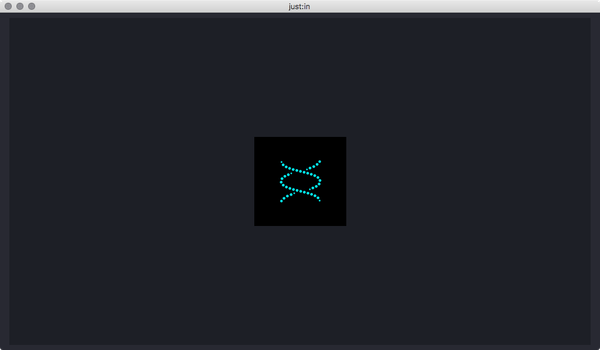
- The just:in main window appears.
- Click the icon in the center to open a connection to a Channel.
Enter the Channel IP-Address and the Channel Port, then press the Add button. In a test setup (engine and user interface running main window appears.
Connecting to a Channel
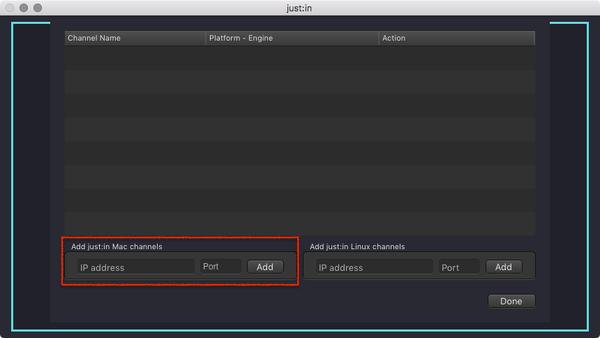
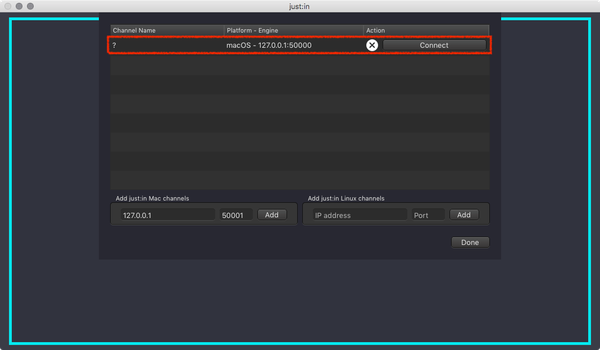
Click the icon in the center of the main window to show the Connections Window which allows you to connect to a Channel.
Info A Channel is hosted by a just:in Engine, so – at this point – it is mandatory that one or multiple Channels are configured and running, otherwise you cannot connect to a Channel.
Enter the IP-Address and the Port of a Mac Channel and press the Add button. Repeat this for every Channel you would like to connect to from this user interface.
Info In a default test setup (i.e. Engine and User Interface are running on the same machine) you may use the following data:
IP-Address: 127.0.0.1
Port: 50000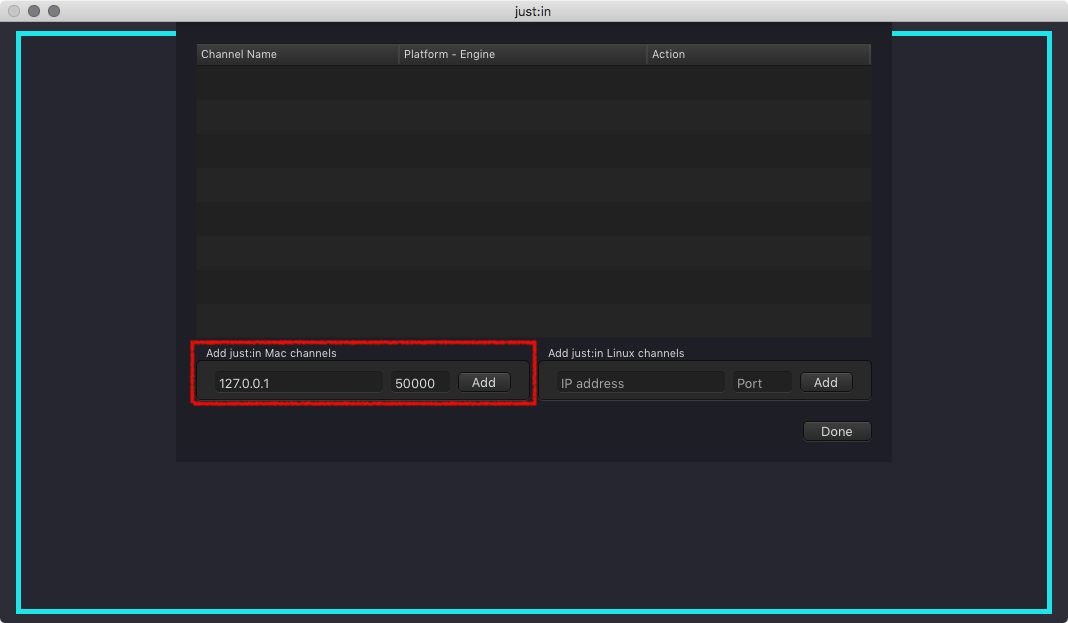
.
- Press the Connect button to connect to the a Channel.
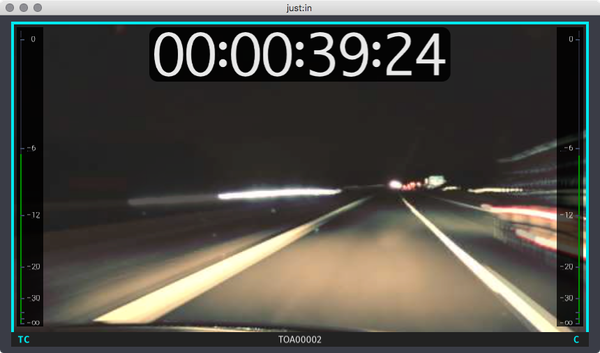
- Upon successful connection just:in displays the Channel Preview.
Continue with the following chapters of the just:in User Manual.